




BRN-180 SCNR Maintenance: Field Stripping, Cleaning, and Reassembly
BRN-180 SCNR Maintenance: Field Stripping, Cleaning, and Reassembly
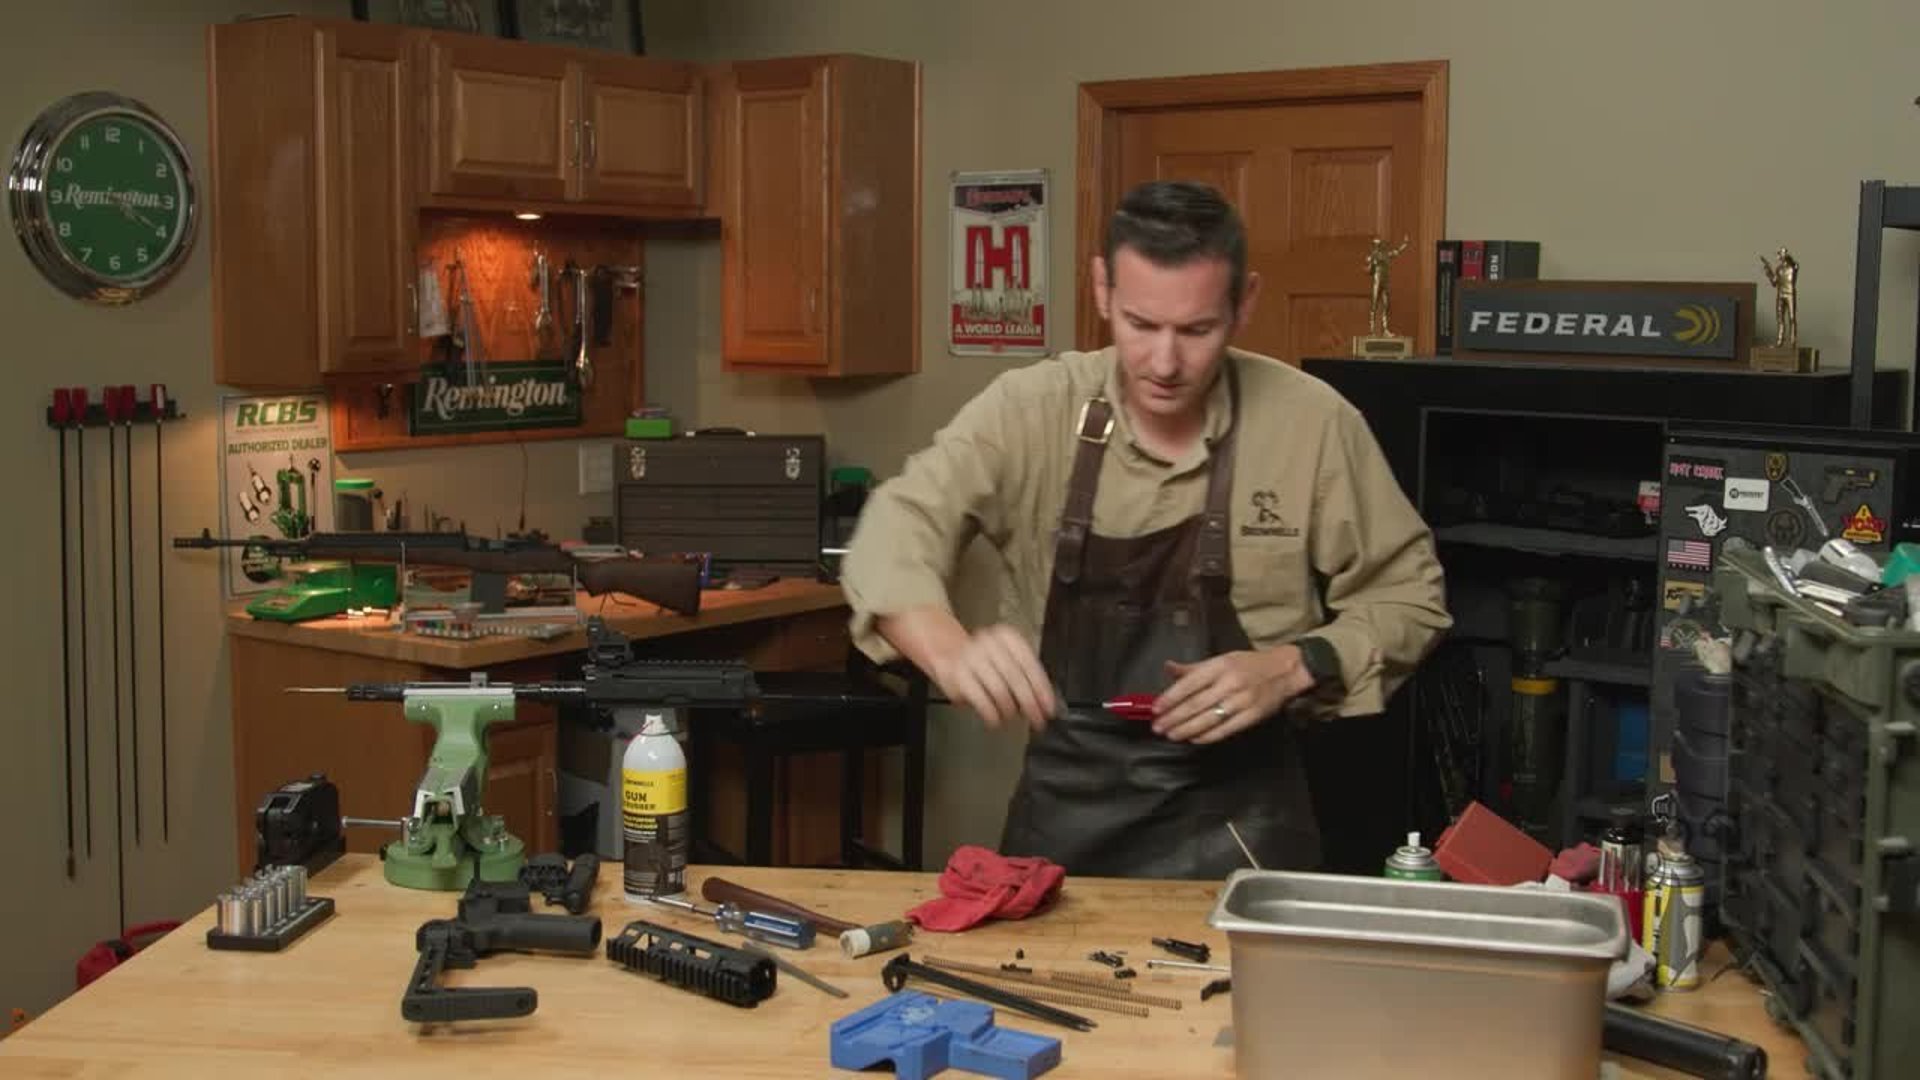
Caleb from Brownells demonstrates routine maintenance of the BRN-180 SCNR, or Side Charge Non-Reciprocating model. The video covers field stripping, cleaning, lubrication, and reassembly. A complete detail strip is reserved for a separate video.
The example is a short-barreled, suppressed 300 Blackout setup with substantial powder residue and fouling. Caleb explains that the basic maintenance process applies across the SCNR barrel lengths.
Unloading and Preparing the Workspace
Caleb begins by verifying that the firearm is unloaded and keeping ammunition away from the cleaning area. He removes the suppressor and sets it aside, noting that suppressor cleaning is covered in separate Brownells content.
With the upper and lower receivers separated, he focuses first on the BRN-180 upper. Its recoil system is contained in the upper receiver, so there is no conventional AR-15 buffer and buffer spring to service in the lower.
Field Stripping the Upper Receiver
The field strip includes the recoil spring assembly, bolt carrier group, charging handle, and charging handle sled. Caleb identifies these components as he removes them and points out the orientation arrow on the sled.
He then separates the bolt carrier group into the components needed for routine cleaning. The carrier’s moving dust cover remains assembled during this maintenance session.
Accessing the Gas System
Caleb removes accessories that interfere with handguard removal or access to the gas system. He explains that the amount of accessory removal needed depends on the individual setup.
With the handguard removed, he takes apart the piston assembly for cleaning. Carbon buildup is especially noticeable here, and he identifies the suppressed, unsuppressed, and adverse settings on the example shown.
Cleaning the Bolt and Small Components
While the piston components soak in solvent, Caleb cleans the charging handle, firing pin, cam pin, and bolt. Rags, brushes, and long cotton-tipped swabs help remove residue from exposed surfaces and recessed areas.
He also removes the extractor to clean beneath it. That area contains fouling that would otherwise remain hidden during a simple exterior wipe-down.
Cleaning the Sled, Carrier, and Recoil Components
The charging handle sled and bolt carrier receive attention around their channels and contact surfaces. Caleb uses a spray cleaner on heavier buildup, then applies a light protective oil film and wipes away the excess.
He wipes down the recoil spring guides and inspects the springs for damage, including cracks and kinks.
Cleaning the Receiver, Barrel, and Muzzle Device
The suppressed 300 Blackout setup has left powder residue inside the upper receiver. Caleb removes the loose material and wipes the receiver and charging handle channel.
He then demonstrates barrel cleaning with a coated rod, a caliber-appropriate brush, and patches. The muzzle device also receives attention, particularly because it serves as a suppressor mounting interface.
Lower Receiver Cleaning
Caleb cleans residue from the lower receiver without disassembling the fire control group. He follows the cleaning step with lubrication before returning his attention to the upper.
Bolt Carrier Group Lubrication and Reassembly
During reassembly, Caleb lubricates selected contact surfaces and explains the orientation of the bolt, spring, cam pin, and firing pin. He checks the assembled bolt’s spring movement before moving on to the gas system.
Cleaning and Reassembling the Piston System
After soaking, the piston and piston cup are brushed and swabbed to remove carbon. Caleb emphasizes this area because it is where the operating gas acts on the piston system.
He checks the cleaned piston’s fit and adjustment movement before reinstalling the assembly. The handguard follows once the gas system is back together.
Reinstalling the Charging Handle and Bolt Carrier
Caleb uses the sled’s forward-pointing arrow to explain its orientation, then reinstalls the non-reciprocating charging handle.
He identifies wear marks on contact surfaces and uses them to illustrate where he applies lubricant. The bolt carrier and recoil assembly are then returned to the upper receiver.
Recoil Spring Inspection and Replacement Considerations
Caleb discusses how ammunition, suppressor use, barrel length, and other operating conditions affect recoil spring service life. He measures the springs in this example and explains how shortening and sluggish operation can indicate a need for replacement.
His discussion presents inspection considerations rather than a single replacement interval for every BRN-180 configuration.
Final Assembly and Function Check
Before operating the charging handle, Caleb attaches the upper to the lower receiver. He specifically cautions against cycling the detached upper with only the rear retainer holding the recoil assembly in place.
He finishes with an unloaded function check, confirming safety operation and trigger reset. That completes the routine BRN-180 SCNR maintenance demonstrated in the video.