



SCNR Detailed Strip and Maintenance
BRN-180 SCNR Detail Strip and Reassembly
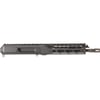
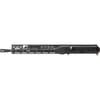
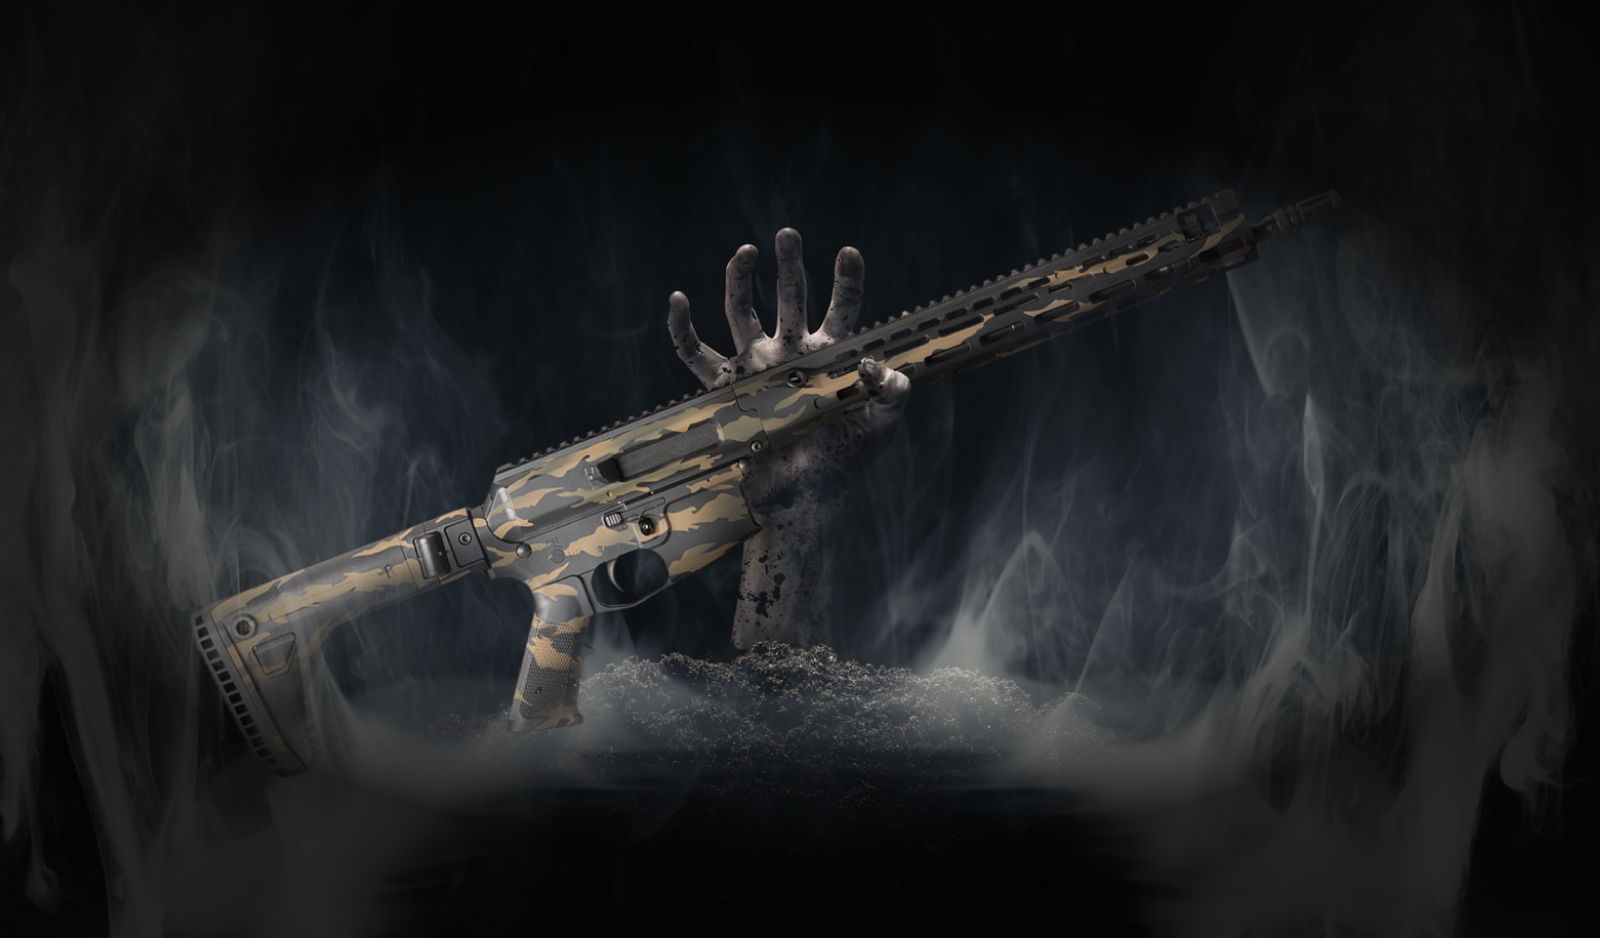
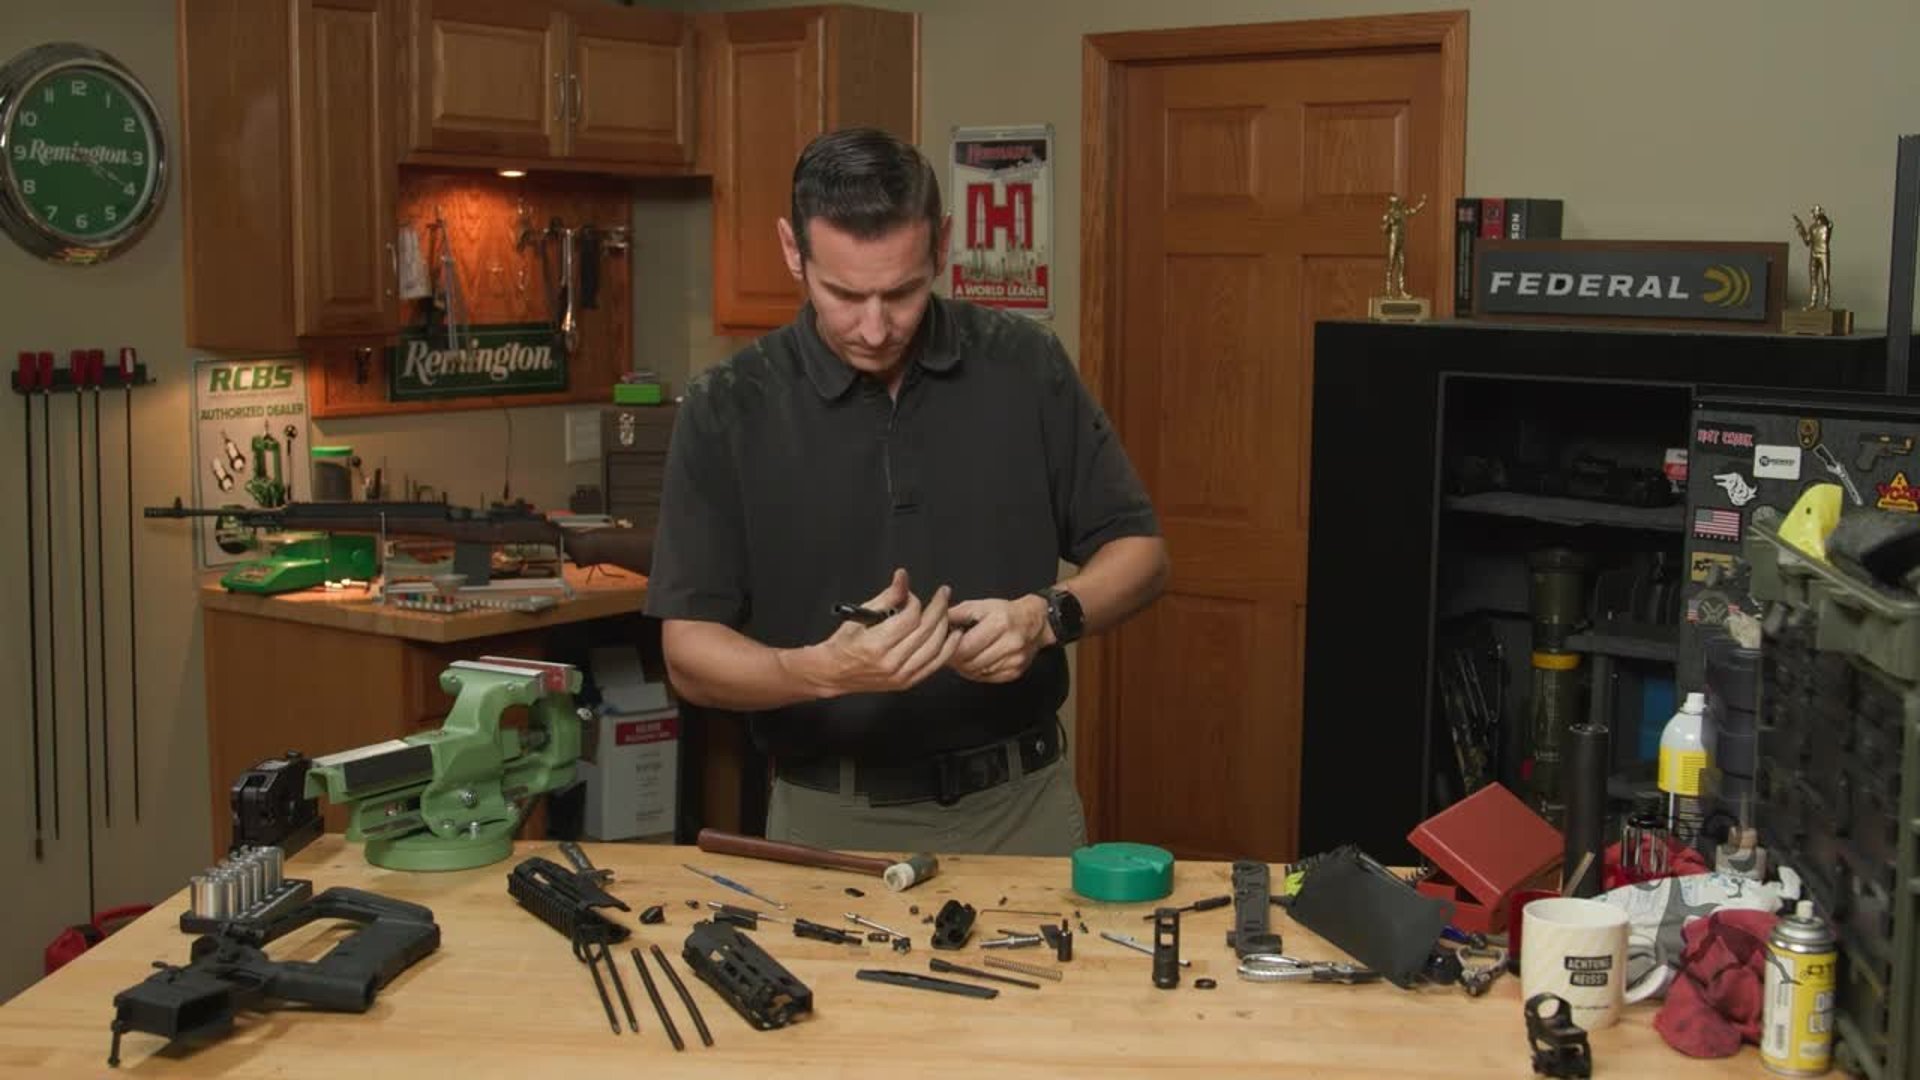
Caleb from Brownells takes the BRN-180 SCNR upper receiver beyond a basic field strip. This demonstration covers additional receiver components, the barrel and trunnion assembly, and the gas block before walking through reassembly.
The short-barreled upper shown serves as the example. Caleb explains that the process also applies to the other SCNR barrel lengths.
Why Detail Strip a BRN-180 SCNR?
Routine maintenance does not require removing every component. A detail strip serves a different purpose, particularly when preparing parts for Cerakote or another finish, replacing components, or performing more extensive gunsmithing work.
Caleb refers viewers to the separate basic maintenance video for the slower walkthrough of routine cleaning and field stripping.
Field Strip Overview
After verifying that the firearm is unloaded, Caleb separates the upper and lower receivers. The lower is set aside because this video focuses on the SCNR upper.
He removes the recoil assembly, bolt carrier group, charging handle, sled, handguard, and piston assembly. These steps establish the starting point for the additional disassembly.
Bolt Carrier Dust Cover Removal
The carrier-mounted dust cover has its own retaining rod and spring. Caleb removes these components and shows how the spring sits in the cover.
He notes that this step would usually be reserved for refinishing or replacement rather than ordinary cleaning.
Barrel and Trunnion Assembly Removal
Caleb removes the fasteners securing the trunnion to the receiver, then separates the barrel and trunnion assembly from the upper.
The barrel remains attached to the trunnion. He identifies that connection as the stopping point for this demonstration rather than treating barrel removal from the trunnion as part of the detail strip.
Cam Path and Receiver Dust Cover
With the barrel assembly removed, Caleb accesses the steel cam path and the flexible receiver dust cover.
The cam path is secured by screws. The receiver dust cover uses three small roll pins. Caleb emphasizes keeping track of these pins and preserving the cover during removal.
Brass Deflector and Rear Retaining Latch
Caleb removes the brass deflector and demonstrates that the example shown is steel.
He then removes the rear retaining latch, taking care to capture its ball detent and spring. These small components need particular attention during both disassembly and reassembly.
Muzzle Device and Gas Block
The muzzle device comes off before the gas block can slide forward off the barrel. Caleb keeps the muzzle device shims together and removes the gas block’s retaining roll pin.
For installation, he directs viewers to follow the instructions for their particular muzzle device.
Receiver Component Reassembly
Reassembly begins with the gas block and muzzle device, followed by the receiver components.
Caleb checks that the receiver dust cover sits flush and that its pin holes align before securing it. He also explains the cam path’s orientation, using its flat and beveled surfaces to distinguish the correct position.
Rear Latch and Barrel Assembly Installation
During rear latch reassembly, Caleb uses grease to help hold the small spring and detent in place. He checks the latch’s movement before returning the barrel and trunnion assembly to the receiver.
The video also includes a discussion of threadlocker during fastener installation.
Bolt Carrier Dust Cover and Operating Components
Caleb reinstalls the carrier dust cover and checks that it moves under spring tension. He then reassembles the bolt carrier group, piston system, and handguard.
The charging handle sled’s arrow provides an orientation reference during installation. The charging handle, carrier, and recoil assembly follow.
Final Assembly and Function Check
With the upper reattached to the lower receiver, Caleb performs a function check to complete the demonstration.
The video gives BRN-180 SCNR owners a view of components that remain installed during routine maintenance, along with the orientation and fit checks used during reassembly.