




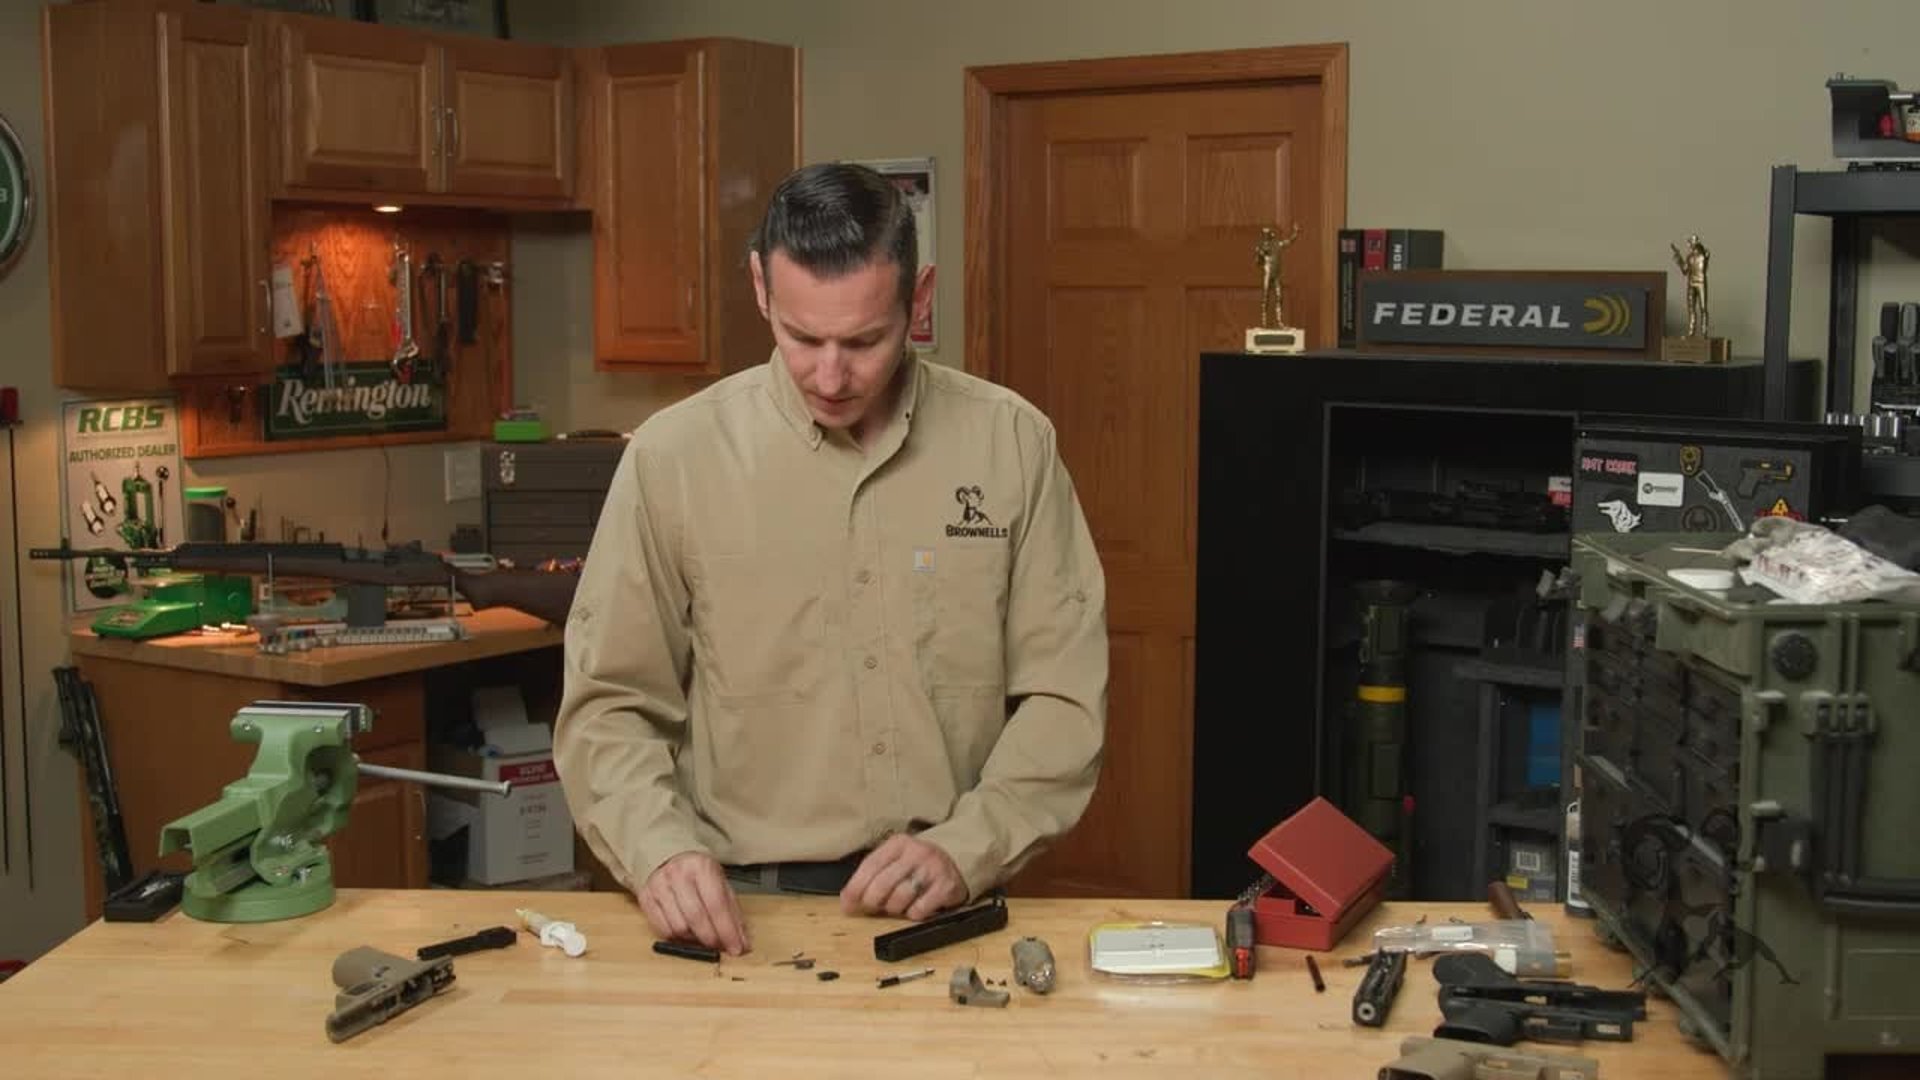
Grit Grips Glock Clone Build
Building a Gen 3 Glock® 19 Clone with a Grit Grips Frame
In this Brownells Tech Tip, Caleb takes a closer look at a Grit Grips Gen 3 Glock® 19 compatible frame and the components used to complete a Glock® 19 clone build.
Grit Grips came onto our radar after viewers recommended the company in the comments on an earlier Glock® clone build. After checking the frames out, we liked what we saw, and Brownells now carries them.
This build combines the Grit Grips frame with a Brownells lower parts kit, locking block, Brownells Premium optic-cut slide, Brownells barrel, AmeriGlo sights, Viridian red dot, SureFire X300U, and Magpul Glock® 19 magazine. We also look at an Advantage Arms .22 LR conversion slide.
Grit Grips Glock® Frame Options
At the time of filming, Brownells offers Grit Grips frames for the Gen 3 Glock® 19 platform and the Glock® 43X platform. That gives builders options ranging from a compact Glock® 19-style configuration to a slimline carry-size build.
The frames shown in the video are available in black and flat dark earth. Grit Grips also manufactures additional colors.
One of the notable features on the Glock® 19 version is the included magazine release. Although this is a Gen 3 compatible frame, Grit Grips uses a reversible Gen 4-style magazine catch. That provides an additional usability feature compared with a conventional Gen 3 Glock® frame.
Other than the magazine catch, the frame is designed around Gen 3 Glock® compatible parts.
Lower Parts Kit and Locking Block
For the lower assembly, Caleb uses a Brownells Glock® 19 lower parts kit. One important detail is that the kit shown in the video does not include a locking block.
That distinction matters because aftermarket Glock® compatible frame manufacturers may use different locking block arrangements. For this build, a Shadow Systems locking block is used. A compatible Glock® locking block can also be used according to the video.
Brownells also offers a version of the parts kit without the trigger components for builders who intend to use an aftermarket trigger.
Slide, Sights, Optic, Barrel, and Light
The 9mm upper assembly starts with a Brownells Premium Glock® 19 slide with an optic cut. The build also uses AmeriGlo MOS-height sights and a Viridian red dot.
A standard Brownells barrel is installed, although a threaded barrel is another available configuration.
For the weapon light, Caleb uses a SureFire X300U. The Grit Grips frame uses a rail configuration similar to the Glock® pattern rather than a full-length 1913-style rail.
A Magpul Glock® 19 magazine rounds out the 9mm configuration.
Advantage Arms .22 Conversion Option
Before completing the 9mm slide, Caleb also demonstrates an Advantage Arms .22 conversion kit.
The conversion slide comes ready to install on the completed frame and is available in configurations with or without an optic mount. It also includes .22 LR magazines.
A .22 LR conversion provides another configuration for the same compatible frame, including recreational shooting and training applications.
Frame Assembly
The frame portion of the video covers the major components that make up the lower assembly. Caleb identifies the slide lock and spring, trigger mechanism components, frame pins, locking block, and slide catch.
An important distinction is made between the slide lock and slide catch. The slide lock is associated with takedown, while the slide catch is the control used to hold the slide open.
Throughout the assembly, Caleb points out component orientation and fit so viewers can understand what each part does within the system.
Trigger Mechanism and Frame Components
The trigger mechanism consists of the trigger housing, connector, trigger spring, and trigger bar. Caleb explains how these parts fit together and notes that the connector normally sits slightly proud of the trigger housing rather than completely flush.
A small amount of lubricant is applied where the trigger bar interfaces with the connector. The completed trigger mechanism is then positioned in the frame.
The rear trigger housing pin secures the assembly. Caleb notes that the pin is friction-fit and demonstrates using a 5/32-inch punch to help position it.
The locking block is then seated into the front portion of the frame.
Installing the Slide Catch
Next comes the slide catch, which should not be confused with the slide lock installed earlier.
The frame pin is positioned before the slide catch is seated in its slot. The trigger pin is then installed so the slide catch can engage the appropriate groove in the pin.
With those components installed, the Grit Grips Glock® 19 compatible frame is assembled and ready to accept a compatible slide.
Building the Glock® 19 Slide
The Brownells Premium Glock® 19 slide comes with the internal components needed for the slide assembly, excluding the sights and barrel.
Caleb starts by discussing the channel liner inside the striker channel. The parts kit includes a channel liner installation tool for slides that do not already have one installed.
From there, the striker assembly is put together using the striker, spring, and spring cups.
Extractor and Striker Safety
The extractor system includes the extractor depressor plunger assembly, spring, and related components. Correct component orientation is important because these parts provide the required extractor tension.
The striker safety plunger and spring are also installed. This component serves as an internal safety that prevents the striker from moving forward unless the trigger mechanism properly disengages it.
The extractor, striker safety, striker assembly, and back plate are then installed to complete the major internal components of the slide.
Installing the Glock® Sights
The AmeriGlo front sight uses the standard Glock®-style screw attachment rather than a dovetail. Caleb uses a Glock® front sight tool and thread locker during installation.
The rear sight uses a dovetail. Before installation, Caleb checks the fit by hand. Because the rear sight is initially too tight, material is carefully removed from the bottom of the sight until an appropriate fit is achieved.
The sight is then driven into the dovetail and centered.
Installing the Red Dot
The Viridian red dot mounts directly to the RMR-cut Brownells slide.
Caleb points out an important detail during installation: use the optic mounting screws supplied with the slide rather than automatically using the screws supplied with the optic.
For thread locker, medium-strength blue is appropriate for this application in the video. Final torque should follow the specifications provided by the optic manufacturer.
Lubrication and Final Assembly
Before final assembly, lubricant is applied to the primary contact and locking surfaces.
The barrel is lubricated at its major contact points and installed in the slide. The recoil spring assembly is then positioned behind it.
Lubrication is also applied to the frame rails, locking block area, trigger bar contact area, and the slide surface that interfaces with the connector.
The completed slide can then be installed on the assembled Grit Grips frame.
SureFire X300U Installation
The final accessory is the SureFire X300U weapon light.
The Grit Grips frame uses a rail configuration similar to the Glock® pattern. The X300U is positioned on the frame and secured in place.
With the light installed, the physical assembly of the build is complete.
Function Checking the Completed Build
With no ammunition present in the workspace, Caleb performs a function check on the completed build.
The check includes trigger operation and reset, slide movement and lockup, trigger safety operation, magazine retention and release, and slide catch operation with an unloaded magazine.
The slide should lock open when the empty magazine is inserted and the slide is retracted. With the magazine removed, the slide catch should naturally remain in the downward position.
If the slide catch wants to spring upward with the magazine removed, Caleb notes that the slide catch spring may be positioned on the wrong side of the pin.
Grit Grips Texture and Ergonomics
One of the standout features of the Grit Grips frame is its grip texture and overall shape.
The frame has the appearance of a factory-style Glock® frame that has received a more extensive custom stippling treatment. Instead of radically changing the familiar profile, the design maintains a clean appearance while adding more aggressive texture and ergonomic features.
There is a subtle palm swell, additional texture toward the rear of the grip, and a shape that encourages a higher grip on the pistol. Caleb also highlights the textured thumb area and ledge on the side of the frame.
Those features are a major reason this frame stood out after viewers recommended Grit Grips following an earlier Glock® clone build.
The next step is getting the completed build to the range and seeing how it performs.
