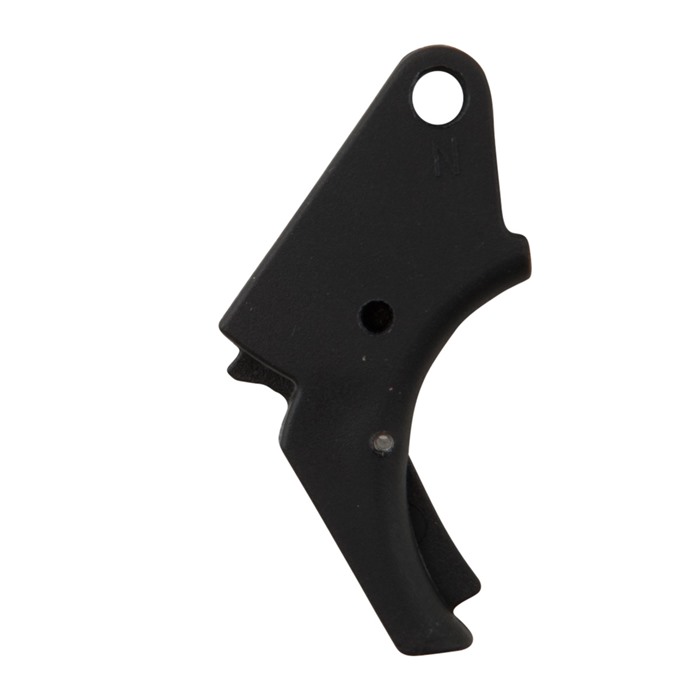
Cures SD VE trigger pull
Coupled with Apex' spring kit, this trigger turns one of the world's worst factory trigger pulls into something manageable. Trigger is now predictable, controllable thru the trigger stroke and the front sight stays aligned on target. Mine dropped in with no fitting required. Time to install was less than 20 minutes. If you own a SD VE S&W, you need this kit.
Easy
Dropped right into my SW9F. Much better than the stock trigger, noticeably shorter travel.
FOR 1911 SHOOTERS
REQUIRES PATIENCE WITH A FILE. APEX TRIGGER WOULD NOT PERMIT MY SD9 VE TO FIRE WITHOUT FITTING. REAR OF TRIGGER CONTACTED PISTOL FRAME BEFORE STRIKER WOULD RELEASE. THE GOOD PART OF THIS IS THAT WHERE MATERIAL MUST BE REMOVED FROM TRIGGER TO FIRE PISTOL CONTROLS OVER TRAVEL. TOOK ME ABOUT 25 TO 30 MINUTES WITH FINE CUT SAFE EDGE FILE. ZERO OVER TRAVEL LIKE A 1911 WITH SHORT RESET FOR STRIKER FIRED PISTOL. 5 STARS IF IT WAS METAL. NOW IF THERE WAS 2 1/2 TO 3 LB SPRING KIT I MIGHT GIVE UP GOVT MODELS. .
Fitting Required
I had a fair amount of fitting to do but, after it was all said and done, it worked out nicely. I installed this on an SW9VE Sigma. It required some filing on the back side where the trigger stops on the frame. It made contact with the frame to soon and the connector bar would not drop off the sear to let the striker forward to fire. Secondly, I had to file where the front of the trigger meets the frame. It would not come forward far enough to allow the connector bar to reset onto the sear. Now that it is done it feel much better that the original.
Significant fitting needed for SD9VE
Installed with much effort on an SD9VE. As a "direct replacement," the trigger fit fine, but would not pull the striker rearward enough to allow the pistol to fire. Significant material needed to be removed from the wide "V" at the rear of the trigger to provide enough travel to finally get it to work. Pros: polymer is easily filed to make the fitting go faster, trigger design feels much more substantial than the stock trigger, results in noticeably shorter travel. If you fit this part in small iterations, you can get a trigger with virtually zero over-travel. Cons: Needs quite a lot of fitting and it's best to remove the trigger each time to file it. (A file with a dead edge is HIGHLY recommended.) Also, the safety lever in the trigger did not pivot and retract quite enough, so it "clicked" on the frame with each trigger pull. Overpriced for the amount of effort required to get it to work. Installation is a "project," but if you like your pistol, this allows for some quality bonding time.