Tech Tip: Upgrading the ZPAP M70
Synopsis
In this detailed Brownells upgrade guide, Caleb walks viewers through a full transformation of the Zastava ZPAP M70 AK rifle. The build includes installing an ALG AKT trigger, US Palm grip, JMac Customs triangle stock with 1913 adapter, and an RS Regulate optic mount with a Trijicon MRO. Step-by-step, Caleb demonstrates how to work around the quirks of the ZPAP platform to create a more ergonomic, accurate, and durable rifle setup.
What You will Learn
Viewers will learn how to replace the factory grip on the ZPAP M70 with a more ergonomic US Palm grip. Caleb walks through the complete installation of the ALG fire control group, including how to reinstall the trigger, hammer, disconnector, and retaining plate. He also explains how to install and adjust the optional extra-power trigger spring to modify pull weight. Additionally, viewers will learn how to mount the JMac Customs 1913 adapter and triangle stock for improved stability and fit. The video also covers how to properly reassemble the rifle after upgrades and how to install and align the RS Regulate side-mount optic system with a Trijicon MRO.
Benefit
This video is a valuable resource for AK owners looking to modernize or upgrade their ZPAP M70 for better handling, improved trigger control, and enhanced optics compatibility. Whether you’re building a duty-ready rifle or just refining your setup, Caleb’s expert guidance and practical tips help make the process smooth, safe, and successful.
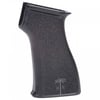
Installing the US Palm Grip
I started by removing the factory wood grip and replacing it with a US Palm grip. These grips are much more ergonomic and give a better feel in the hand. I test-fit it first, then used the existing screw and washer to mount it snugly. Once it was secure, it already felt like a big improvement over the basic wood setup.
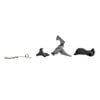
Reinstalling the Trigger and Hammer Assembly
Next, I went back to the fire control group. I dropped the hammer back in the receiver, the same way I removed it earlier. Getting those hammer legs into position can be tricky since they’re under a lot of spring tension. I used a set of pliers to guide them where they needed to go.
With the hammer legs in place, I positioned the trigger into the receiver and rested the hammer legs across the back of the trigger. After some finesse, I aligned the hammer with the pinhole and got everything seated.
Disconnector and Retaining Plate
I installed the disconnector and its spring into the trigger, similar to how you’d install one on an AR-15. While ALG doesn’t include a slave pin with this trigger, it’s still manageable to install the disconnector and run the pin through cleanly.
Then I reinstalled the retaining plate, hooking it under the front pin first and pressing it down over the rear pin. Once it was in place, I dropped the selector lever back into the receiver. I cycled the trigger and safety to ensure everything worked as expected.
Optional Trigger Spring Adjustment
If you want to increase the trigger pull weight, ALG includes an optional extra power trigger spring. It installs alongside the main trigger spring, slipping over one side of the trigger pin. I demonstrated where it goes, although I opted not to install it this time.
Installing the JMac 1913 Stock Adapter
Moving on to the stock, I removed the factory wood stock by backing out the screws on the tangless rear trunnion. This trunnion is flat with a central hole, which simplifies installation of the JMac Customs 1913 adapter.
I applied Brownells shock and vibration resistant thread coating to the screw threads for extra security. Then I mounted the adapter and torqued it down.
Mounting the Triangle Stock
With the 1913 adapter in place, I attached the JMac triangle stock. You can adjust the vertical position slightly, and I chose a higher position to work better with the optic. Once tightened, the stock felt solid and ready to go.
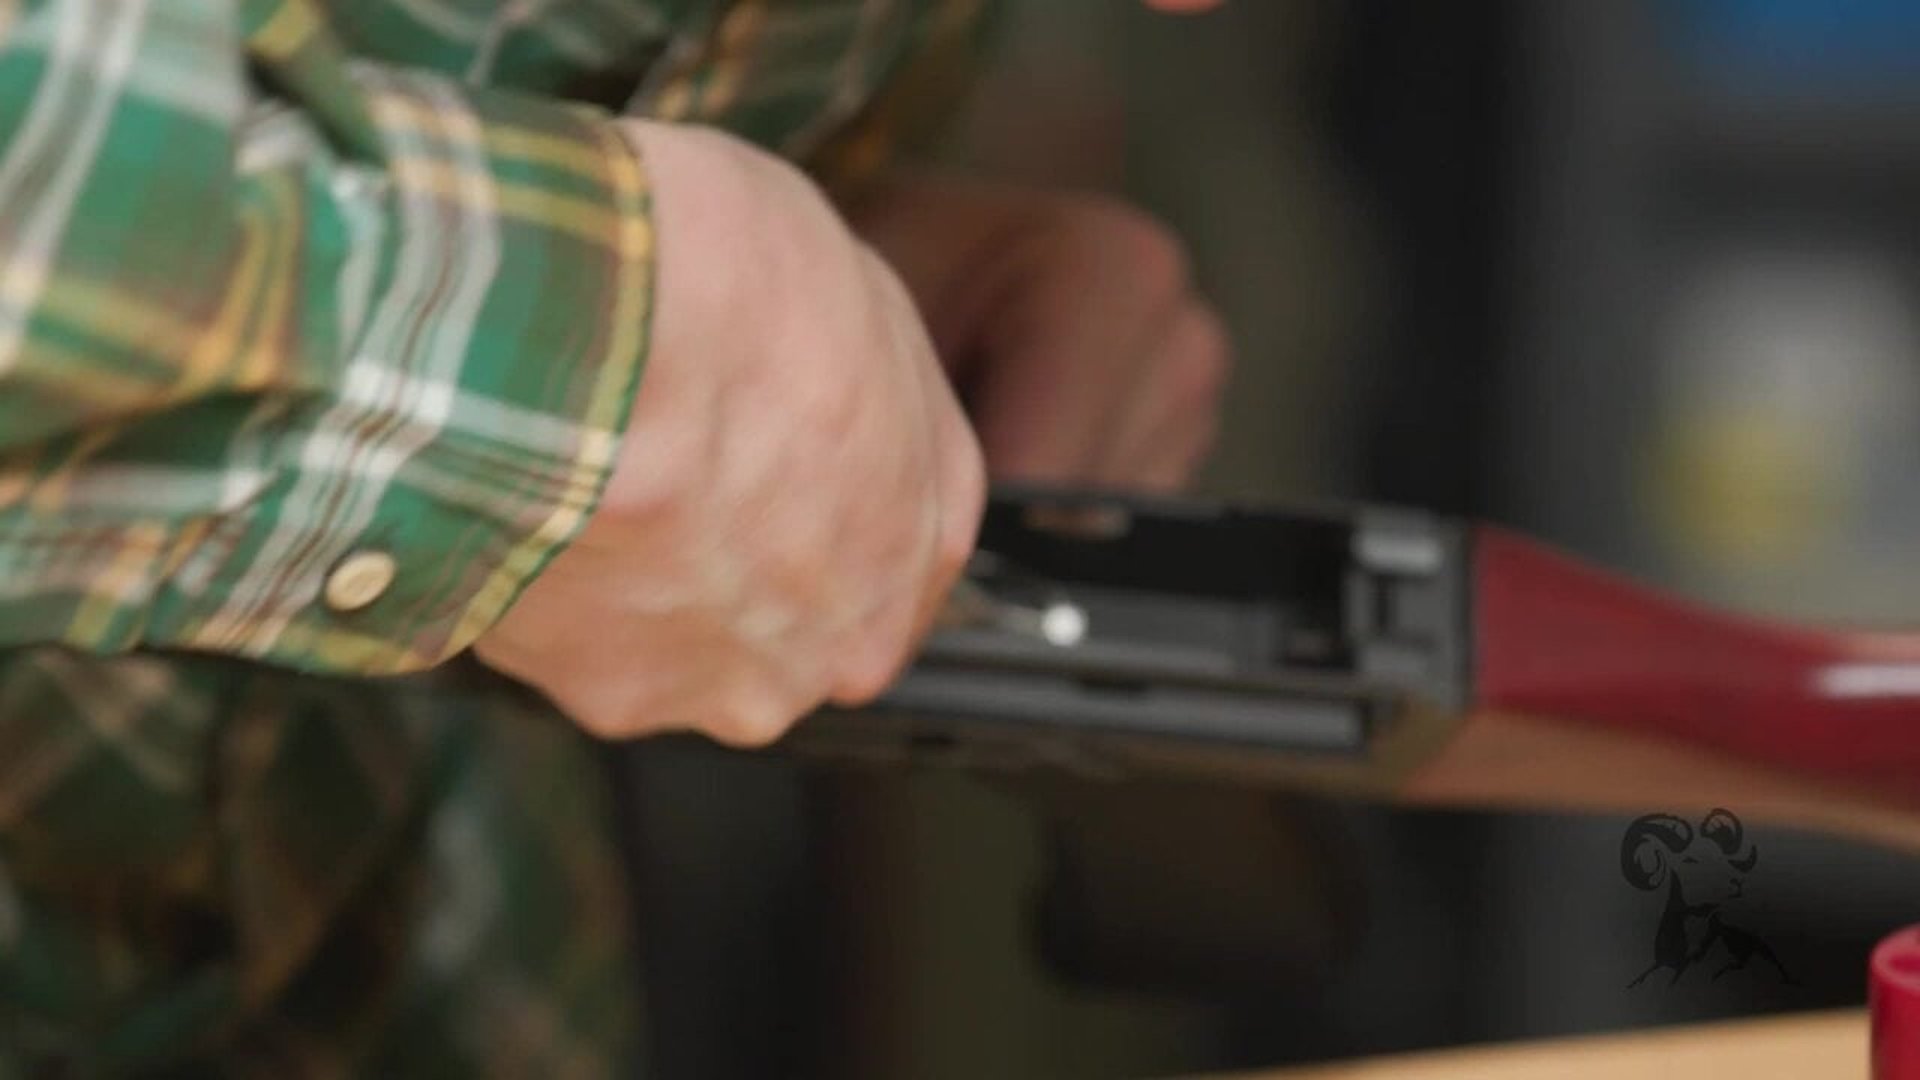
Reassembling the Rifle
After the upgrades, I reassembled the ZPAP. I installed the gas tube, dropped the bolt and carrier group back in, inserted the recoil spring, and secured the dust cover. A quick function check confirmed the new trigger and safety were working correctly.
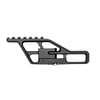
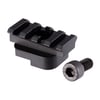
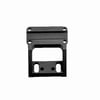
Mounting the RS Regulate Optic System
To finish the build, I installed the RS Regulate side mount optic system. These mounts are modular and precise. I used the standard 1913 rail mount and paired it with a Trijicon MRO.
First, I adjusted the mount's tension using the bottom bolt to ensure it slid onto the rail and locked in tightly. Then I showed how the mount has adjustment slots to position your optic directly over the bore, accommodating the slight variances in AK top rails.
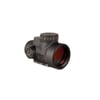
Installing the Trijicon MRO
Once the mount was in place, I secured the MRO using the included screws. I explained how to align the optic and recommended using either blue Loctite or Brownells thread coating to keep everything locked down. I left mine dry for demonstration but mentioned how to pin the optic in place for heavy-duty or duty-use setups.
Final Thoughts
This full ZPAP M70 build turned out great. From the improved trigger and grip feel to the sturdier stock and precise optic mount, these upgrades take the platform to another level. Whether you're modernizing your AK or building a serious-use rifle, this setup strikes a solid balance between performance and reliability.
Thanks for following along. If you have questions or want more info, hit the comments or reach out to the Brownells Tech Line. See you next time.
ZPAP M70 upgrades, ALG AKT trigger install, JMac Customs 1913 adapter, RS Regulate optic mount, AK triangle stock, Trijicon MRO AK, US Palm AK grip, Zastava M70 customization, AK optic alignment, how to install AK trigger, AK build guide, Brownells Tech Tip AK, AK47 optic mount, bore alignment optic, AK safety reassembly