.300 Blackout AR Pistol Build
Looking to build your own AR-15 chambered in 300 Blackout? In this guide, Caleb from Brownells walks you through a full rifle build from start to finish using quality components from Aero Precision, Sons of Liberty Gun Works, Forward Controls Design, and more. Whether you're building your first AR or fine-tuning your next custom pistol, this comprehensive walkthrough covers everything from lower receiver prep to optics and final touches.
What You Will Learn
Viewers will learn how to build an AR pistol chambered in .300 Blackout from start to finish, including receiver preparation, barrel and handguard installation, torque and gas system setup, and accessory mounting.
Benefit
The benefit of watching is gaining hands-on insight and confidence to complete a full build while avoiding common mistakes and choosing the right tools and components for a reliable custom firearm.
Intro and Overview
Caleb introduces the build, confirming that today’s project is a 300 Blackout AR-15 pistol. Although it may feel like this caliber was recently covered, it’s actually been over a year since the last 300 Blackout feature. This time, he takes viewers through a new build that will also be displayed in the Brownells retail store.
Parts Selection and Setup
The build begins with a receiver set from Aero Precision. The lower is the M4E1 and the upper is the enhanced version. Instead of listing all the parts upfront, Caleb introduces them organically throughout the build, keeping the flow natural and educational. He also notes this will be a pistol build, with an option to SBR later if desired.
Lower Receiver Assembly Begins
The build kicks off with lower receiver assembly. Caleb uses a Brownells lower receiver fixture to help align the receiver and extension. He emphasizes using high-quality tools like the Brownells magnet tip screwdriver set, which is made in the USA with hollow-ground bits for proper fit and durability.
Castle Nut Installation and Staking
Caleb installs the BCM Mark 2 recoil mitigation system, threading the castle nut and ensuring the spring detent is properly captured. He then demonstrates how to stake the castle nut correctly to ensure it won’t back out. He references an in-depth video on staking available on the Brownells site for those wanting more detail.
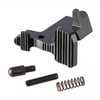
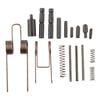
Mag Catch and Bolt Catch Install
With the basics in place, Caleb installs the magazine catch using components from CMMG and Forward Controls Design. He explains the importance of using manufacturer-supplied springs and detents for best results. Instead of traditional roll pins, the Aero Precision enhanced lower uses threaded screws, which he prefers for ease of installation.
Fire Control Group & Selector Install
Caleb installs the Sons of Liberty Gun Works Liberty 2-stage trigger. He carefully walks through lubrication points and pin installation, then follows with the selector lever. Since the rifle will be displayed in the store, he configures it for right-handed shooters. The ambidextrous selector uses roll pins for secure installation.
Grip and Brace Assembly
Next, the grip and brace are installed. The chosen grip is the "kung fu" grip from Die Free Co, known for its ergonomics on shorter firearms. He applies Action Lube Plus to the selector spring and tightens everything down snugly. A gray SB Tactical brace finishes the lower receiver.
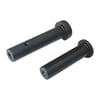
Buffer Tube and Spring Install
The buffer and spring go in next, with some Mag Slick dry lubricant applied to reduce friction. Caleb explains the buffer assembly terminology and notes regional preferences for terms like “buffer tube” versus “receiver extension.” The lower receiver is now complete.
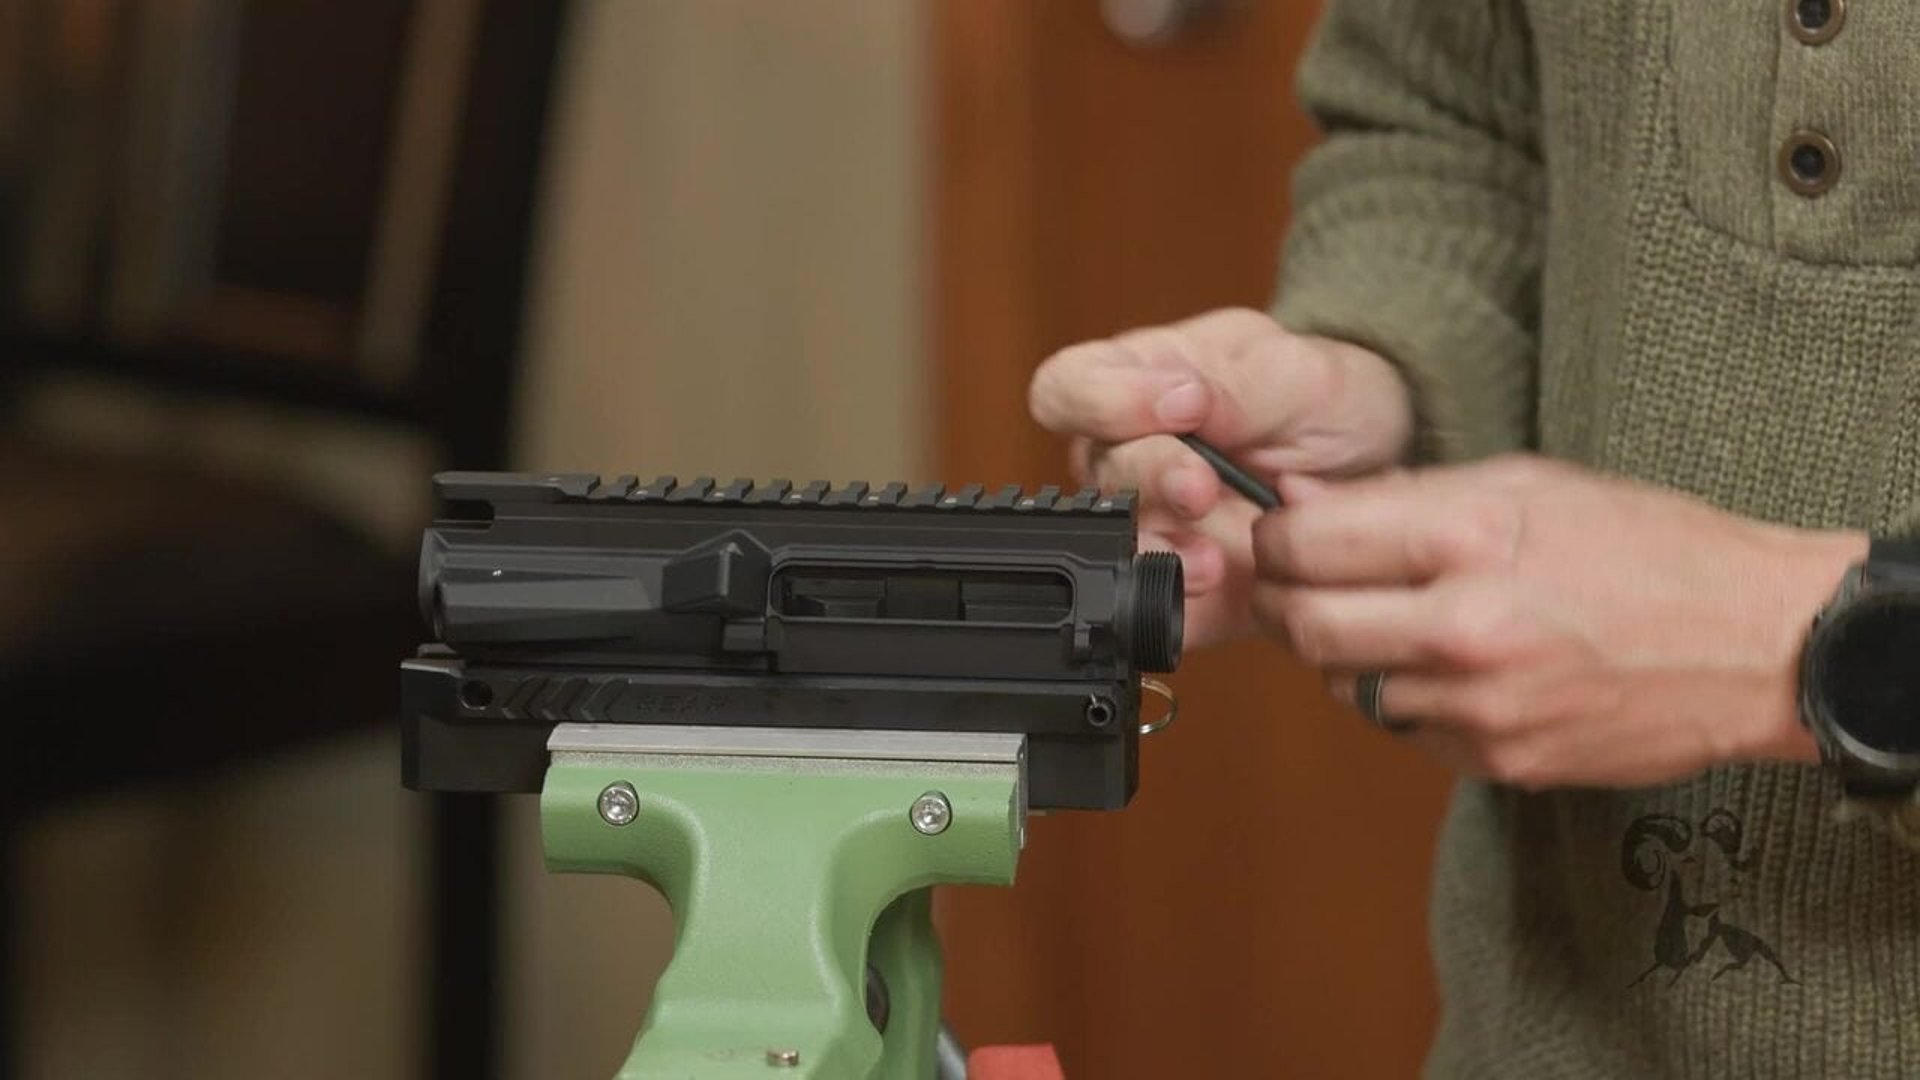
Upper Receiver Prep
The upper receiver goes into a vice block. Caleb explains that while some builders prefer reaction rods for precise alignment, traditional tools work fine for most home builders. He starts prepping for barrel installation, discussing how to verify correct barrel indexing.
Dust Cover and Forward Assist Install
A Forward Controls Design dust cover and LSFA forward assist are installed. These enhanced parts use threaded screws instead of roll pins for easier and more secure installation. He walks through the proper method to install the dust cover rod and spring without damaging parts.
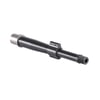
Barrel and Handguard Install
Caleb greases the barrel extension before seating it into the upper. He unveils the Midwest Industries Combat HD handguard and goes through the included parts. He also makes a note about proper torque procedures and tool use.
Torque Specs and Gas Block Pinning
The barrel nut is torqued to 40 foot-pounds, and the gas block is pinned in place. Caleb uses a bench block and carefully aligns everything before driving in the roll pin. He notes the importance of alignment and explains how these components were precision-drilled for this specific setup.
Muzzle Device & Shim Setup
The muzzle device is a JMAC Customs model compatible with Dead Air suppressors. Caleb explains how to properly shim the device for correct timing and torque, and mentions Rocksett for securing it during hard use. However, in this case, he leaves it dry in case he later swaps to a different mount.
BCG, Charging Handle & Function Test
The bolt carrier group is installed along with a Radian Raptor LT charging handle. Both parts are lubricated before final assembly. After the upper and lower are mated, a full function check is performed, ensuring the safety, trigger, and reset all work as expected.
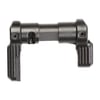
Accessory Mounting
Accessories include the Die Free barricade stop, which is positioned for optimal use with a suppressor. Caleb emphasizes user preference and explains why trial and error is worth the time during setup. He ensures proper placement to avoid resting on the suppressor during firing.
Backup Sights & Red Dot Install
Backup iron sights are the Magpul MBUS Pro set. Caleb notes that a newer hooded version is available. For optics, he installs a Sig Sauer Romeo 5 Gen 2 red dot. He explains ideal mounting locations for speed and accuracy, backing his placement with user testing and common red dot placement standards.
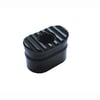
Magazine & Range-Ready Wrap-Up
The build wraps up with a TMAG-style magazine from Magpul and a Die Free Co DOS boot that adds two rounds and serves as a shooting rest. With the optic in place and the rifle fully assembled, Caleb confirms that the rifle is ready for range testing and final evaluation.
Outro & Range Report Tease
The rifle is complete and will be displayed in the Brownells retail store. A range report is coming soon, featuring suppressor testing and Hornady ammunition. Caleb closes by inviting comments and questions, encouraging viewers to call the Brownells tech line for any support.
Want More Builds Like This?
Subscribe to the Brownells YouTube channel or visit the Brownells site for detailed guides, tools, and premium components for your next AR-15 build.
Shop more parts used in the build below or click the links in the above to shop.