Tech Tip : Best Rifle Sling Setups
Why Slings Matter
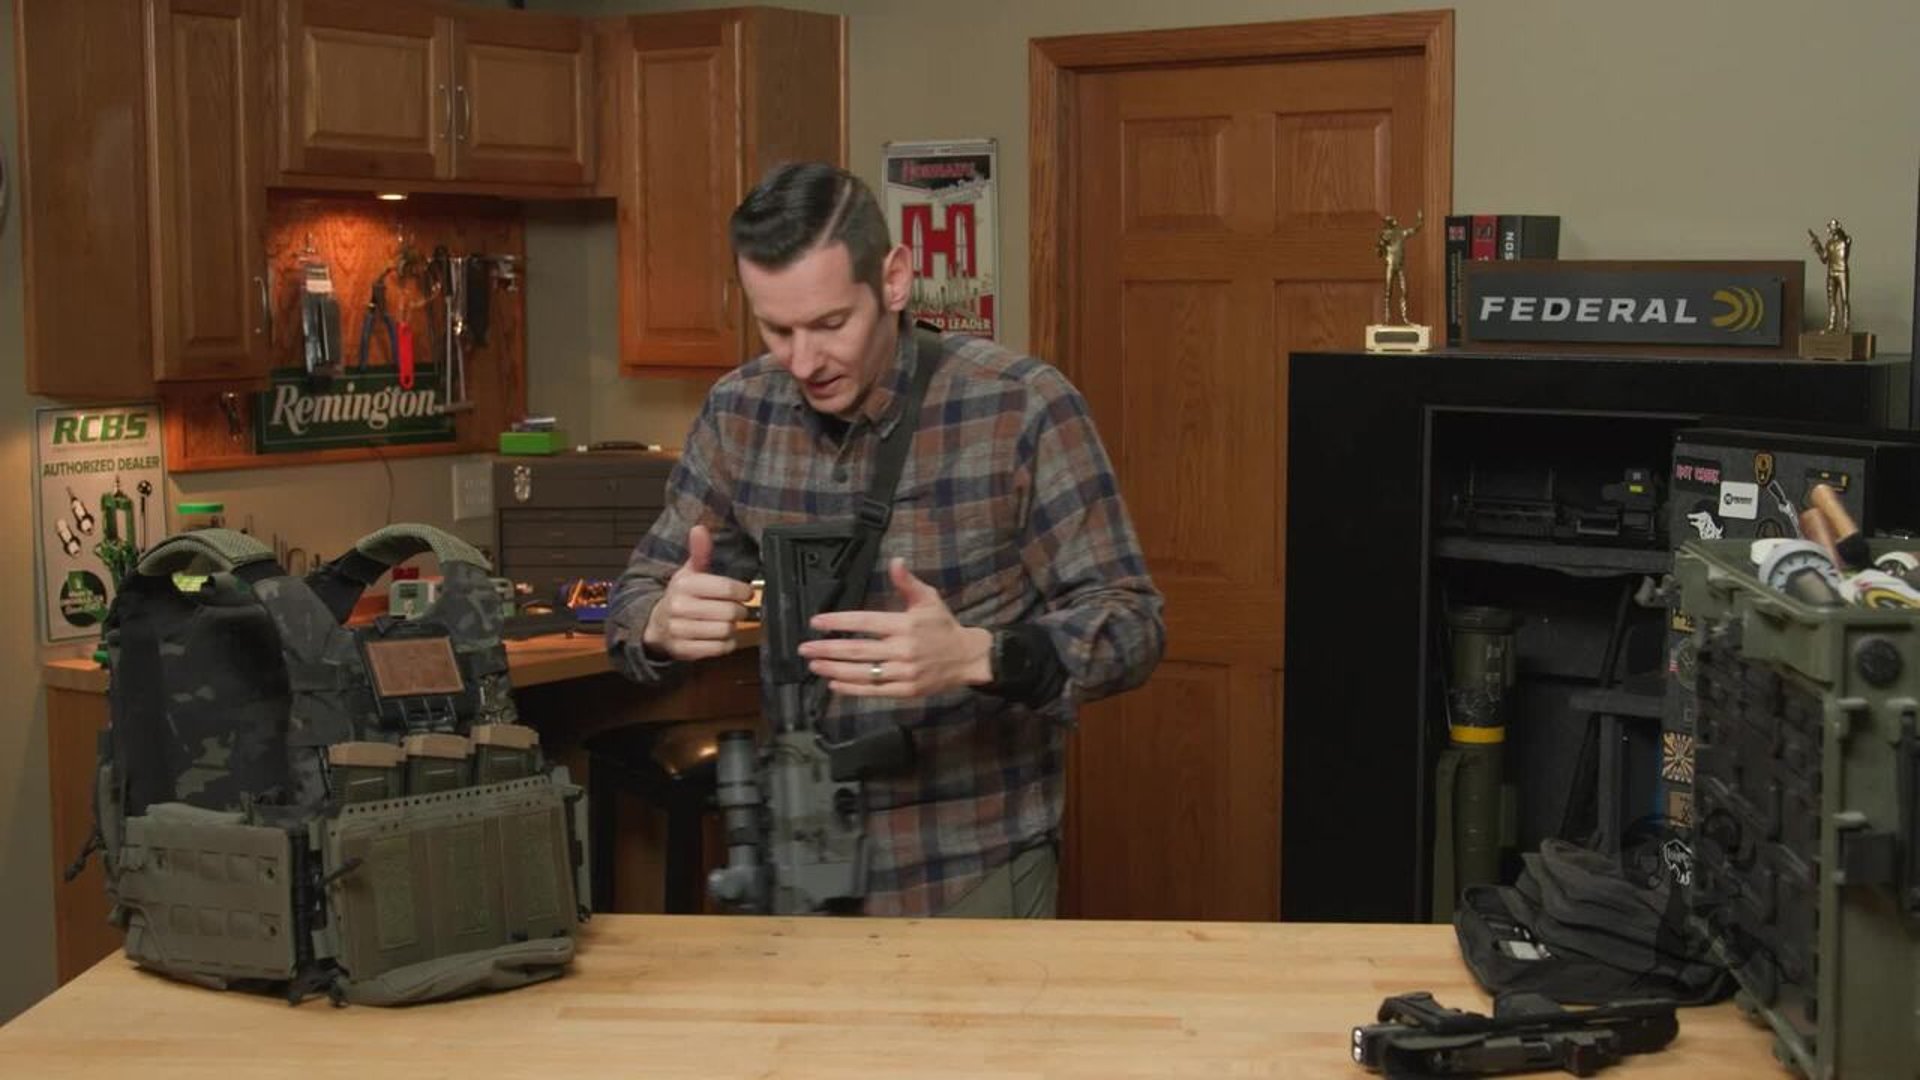
Slings are one of the most overlooked components in a rifle build. We spend time selecting optics, triggers, and accessories, but rarely give the sling the same attention. A properly set up rifle sling improves firearm retention, mobility, and overall control. It also directly impacts how efficiently you can present and run your firearm.
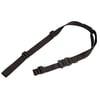
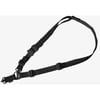
In this Tech Tip, we use the Magpul MS4 sling as an example to explain single point and two point sling setups, when to use each, and how to properly adjust your sling for real world use.
MS1 vs MS4 Explained
The Magpul MS4 sling is built around the MS1 two point sling. The MS1 is a standard two point sling that attaches at the front and rear of the firearm.
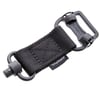
The MS4 adds a rear adapter section with dual QD attachments that allows you to convert from a traditional two point sling into a single point sling. If you already own an MS1, you can add the MS4 adapter separately and gain that conversion capability.
This modular design makes the MS4 a do all sling system for a wide range of firearm types and applications.
Single Point vs Two Point vs Three Point
A two point sling attaches at two locations on the firearm, typically near the front of the handguard and at the rear of the receiver or stock. This is the most versatile and widely used configuration.
A single point sling attaches at one location, usually near the end plate or castle nut area. It allows fast shoulder transitions but offers less muzzle control and retention.
Three point slings use an additional length of webbing that runs along the firearm. They add complexity and bulk, and are generally less efficient than modern two point designs.
Proper Two Point Sling Setup
For a typical carbine length rifle, attach the front of the sling roughly four to five inches forward of the receiver on the handguard. On longer barrel setups such as DMR style rifles, you may benefit from moving the front attachment point farther forward toward the muzzle for improved balance.
For rear attachment, a common and effective method is to mount on the opposite side of the rifle from the front attachment point. This allows the sling to glide naturally over your shoulder when presenting the rifle, without interfering with your collarbone or shoulder pocket.
Proper placement ensures a clean presentation and prevents hardware from digging into your body during use.
Alternate Mounting Positions
Some shooters prefer to mount the rear attachment closer to the receiver end plate area. This can provide slightly more flexibility for shoulder transitions.
However, mounting farther back on the stock often improves retention when slinging the rifle to your back. The firearm rides higher and closer to your belt line, reducing unwanted movement.
There is no universal best position. Your setup should reflect your firearm, your intended use, and your gear.
Converting to Single Point
One advantage of the Magpul MS4 sling is the ability to convert quickly to a single point configuration.
By disconnecting the front attachment and connecting both QD points at the rear, you create a single point sling. This setup allows faster and smoother shoulder transitions.
The tradeoff is reduced muzzle control. The firearm will swing more freely, especially during movement or when going hands free.
When to Use a Single Point Sling
Single point slings shine with shorter firearms such as PDW configurations or compact setups. They also work well for breaching shotguns or situations where rapid shoulder transitions are required.
For longer carbines, especially during movement, a two point sling typically provides better retention and control. Running or moving hands free with a single point sling can result in excessive muzzle movement.
Choose the sling configuration that matches the firearm length and your operational needs.
How to Adjust the Magpul MS4 Sling
When setting up your sling, start by tightening the quick adjust section fully. Attach the sling to the firearm and determine your desired overall length.
Use the rear triglide to set the primary length based on your body type and the gear you wear. Avoid placing hardware directly over your collarbone or plate carrier straps to reduce snag hazards.
Once you find the correct length, route excess webbing through the front triglide to clean up any slack.
Your tightest setting should serve as your retention setting. You should still be able to throw the rifle onto your back comfortably when fully tightened. If you cannot, slightly increase overall length until you can.
Final Fit and Practical Tips
Always fit your sling while wearing the gear you intend to use, whether that is a plate carrier, chest rig, or pack. Sling adjustment is highly individual and depends on body type and equipment.
Your operating setting should allow you to comfortably present the rifle. The full tight setting should secure the firearm against your body. The full loose setting should provide maximum freedom of movement when required.
There is no single correct sling setup. The best configuration is the one that supports your firearm, your mission, and your comfort.
If you have questions about sling hardware, QD attachments, or rifle setup components, contact the Brownells Tech Line. We are here to help you get your gear set up correctly.