How To Zero A Handgun Optic
HOW TO ZERO A PISTOL RED DOT THE RIGHT WAY
Zeroing a pistol red dot is about consistency and eliminating variables. A quick zero might get you on paper, but a properly refined zero ensures repeatable accuracy when it matters.
This step-by-step process focuses on building a reliable zero using controlled conditions and measured adjustments.
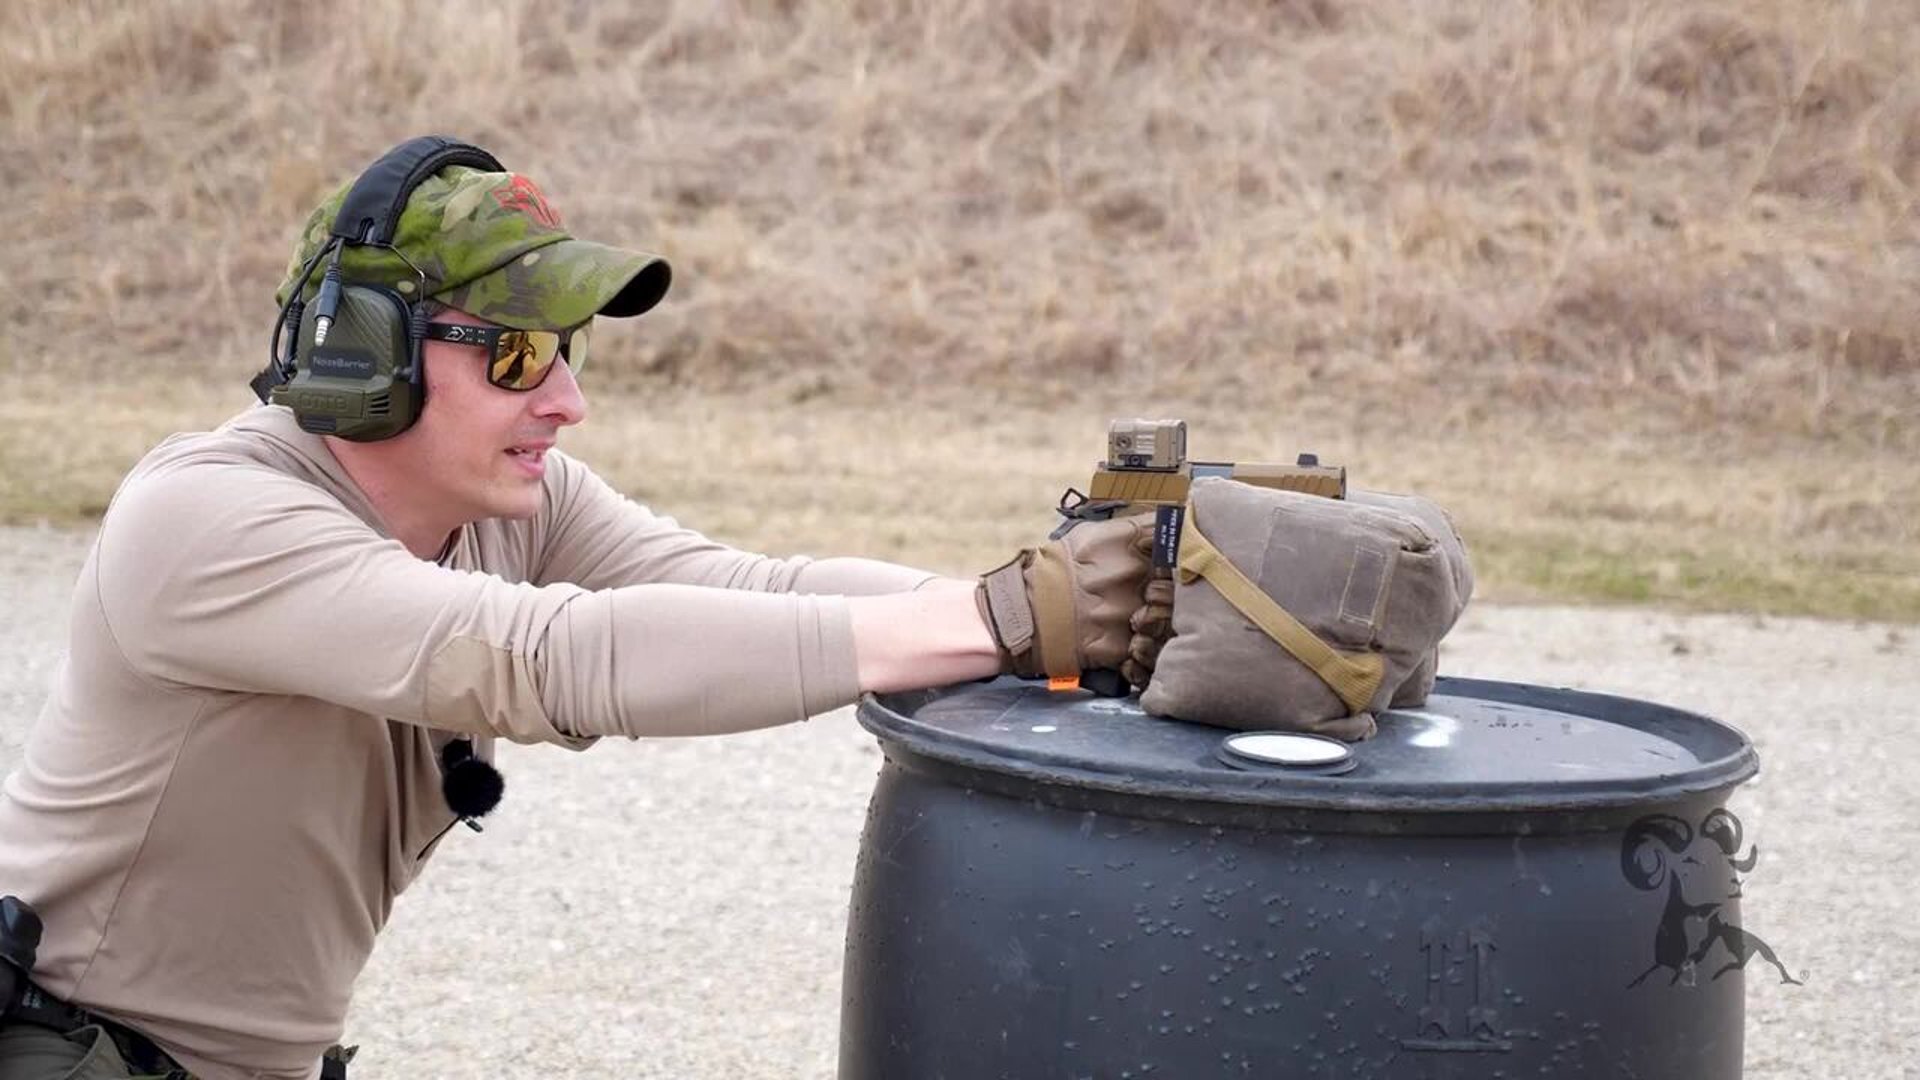
START WITH A STABLE SHOOTING PLATFORM
The first step is removing as much human error as possible. Use a stable rest such as a shooting bag or a supported surface. This allows you to focus on the mechanical accuracy of the handgun rather than your grip or stance.
Shooting off a rest gives you a true baseline for your zero.
WHY 25 YARDS IS THE STANDARD
A 25 yard zero is ideal for most handgun applications, especially when using a red dot. At this distance, your point of aim and point of impact align in a way that translates well to both closer and slightly extended ranges.
For competition and practical shooting, most engagements fall within this distance, making it a reliable benchmark.
FIRE A CONTROLLED GROUP
Start by firing a three-shot group. The goal is not speed but consistency. Focus on a clean trigger press and stable sight picture.
Even in less-than-ideal conditions, such as strong wind, this initial group will give you the information needed to begin adjustments.
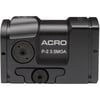
UNDERSTAND YOUR OPTIC ADJUSTMENTS
Before making corrections, confirm your optic’s adjustment values. Most red dot sights adjust in clicks that correspond to a specific movement at a given distance.
For example, at 25 yards, one inch of adjustment may equal a certain number of clicks depending on the optic. Knowing this allows you to make precise corrections instead of guessing.
MAKE INITIAL CORRECTIONS
Adjust your elevation and windage based on your group’s position relative to your point of aim. If your shots are high, bring the optic down. If they are left, adjust right.
Make deliberate adjustments and avoid overcorrecting.
CONFIRM WITH FOLLOW-UP GROUPS
After making adjustments, fire another group to confirm your changes. Evaluate the results and continue refining.
If conditions are affecting your shooting, such as strong wind, consider moving closer or waiting for better conditions to get a more accurate read.
REFINE YOUR ZERO
As your groups tighten and move toward center, begin making smaller adjustments. This is where precision matters most.
Focus on consistency and avoid chasing single shots. Look at the overall group pattern.
FINAL CONFIRMATION
Once your shots are centered, confirm your zero with a final group. If needed, make very small adjustments, but avoid over-tuning.
Your goal is a reliable zero that performs under real-world conditions, not just perfect conditions.
FINAL THOUGHTS
A proper pistol zero takes time and patience. Environmental factors, shooter input, and equipment all play a role.
By using a stable setup, understanding your adjustments, and refining your groups step by step, you can achieve a consistent and dependable zero.
That consistency is what translates to better performance on the range or in competition.