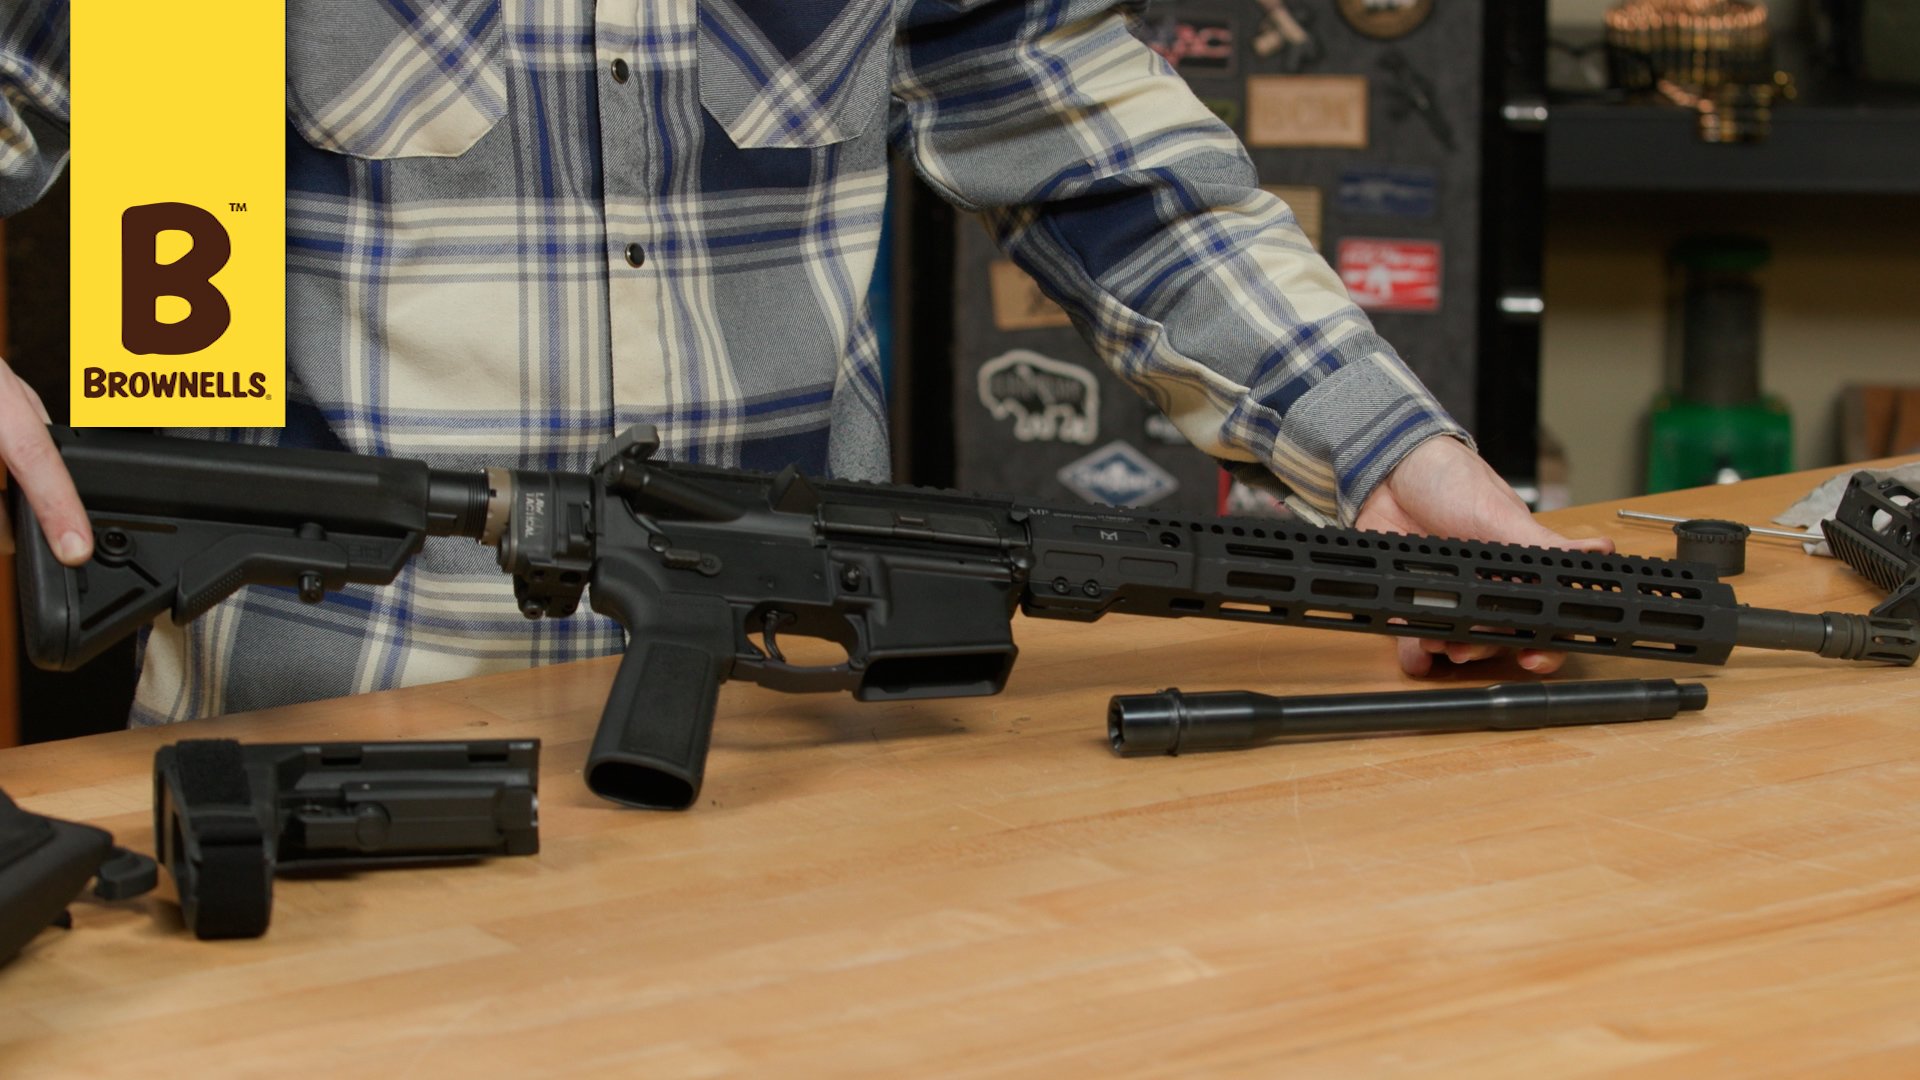
Brownells Gun Tech™ Caleb Savant shows us step-by-step how to convert an AR-15 pistol into a rifle by replacing the handguard, barrel, and gas block. You can put a pistol handguard on a rifle, but let's be honest, it tends to look pretty dorky. If your new rifle barrel requires a different-length gas tube from the pistol, you'll need to replace the gas tube as well. Many AR-15 pistols actually use a carbine gas tube, so you may be OK.
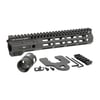
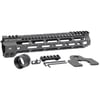
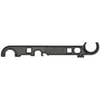
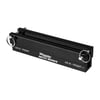
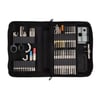
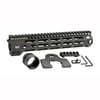
TOOLS & PARTS: You'll need an AR-15 armorer's wrench, an adjustable torque driver, a bench vise, and a vise block or fixture for securely supporting the upper receiver in the vise, such as "The Device" from The Device Mfg. He's going to install a Midwest Industries Night Fighter handguard, a Superlative Arms clamp-on gas block, and a basic 16" carbine barrel. The minimum barrel length for a firearm to be classified as a rifle is 16". Depending on the handguard you're installing, you may also need a new barrel nut.
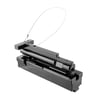
GETTING STARTED: Pop the pivot and takedown pins and separate the upper from the lower receiver. Remove the bolt-carrier group and charging handle. Lock the receiver in the vise with your vise block. (1) Remove the pistol handguard. The steps will vary depending on the model of handguard. (2) Remove the muzzle device. You may want to reuse it on the rifle. If the crush washer isn't crushed too flat, you can reuse it, too. (3) Off with the gas block. Again, the procedure will vary from one block to another. (4) Likewise, remove the barrel nut and the barrel. Grab a rag and clean any old grease or gunk off the receiver's barrel nut threads.
BUILD BACK BETTER: (1) Put a little light grease, such as Brownells Action Lube Plus®, on the barrel extension, then slide the barrel into the receiver. Also apply a little grease to the receiver threads and the front shoulder of the barrel extension. (2) Install the barrel nut that's correct for your new handguard. Most modern free-floating handguards come with their own special barrel nut. until Hand-tighten the nut. Get out the barrel nut wrench and your torque driver and finish tightening the nut to about 40 ft.-lbs.
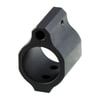
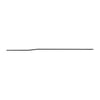
Next (3) Install the new gas block and gas tube, and (4) install the muzzle device. Here's the moment of truth to see if that old crush washer has enough "crush" left in it to let you properly index the muzzle device. If it doesn't, hit the spare parts drawer and grab a new crush washer. (5) Slide the handguard into place. You'll probably have to completely remove any clamping screws before installing. Put the screws back in and tighten 'em down.
MOMENT OF TRUTH: Unshackle the upper from the vise, insert the charging handle and bolt-carrier group. For safety, check the headspace - explained in our "How To Build an AR-15" series. Reunite the upper with the lower receiver assembly. And you have now converted that old AR-15 pistol into a rifle!
Get more detail on the tasks involved here in in "How To Build an AR-15" https://www.brownells.com/the-trigger-times/how-to/how-to-build-an-ar-15/
Are you installing a Midwest Industries handguard? Check out "How To Install a Midwest Industries Handguard" https://www.brownells.com/the-trigger-times/how-to/rifle-builds--installs/quick-tip-how-to-install-a-midwest-industries-ar-15-handguard/
{"name":"LOW PROFILE GAS BLOCK","id":"10007045","price":32.3,"brand":"ODIN WORKS INC.","category":"Gun Parts/Rifle Parts/Rifle Gas System Parts","variant":"","quantity":0.0,"upc":null,"dimension32":"Universal","dimension33":"100036199","dimension34":"Low Profile Gas Block","dimension35":"GNPT","dimension36":"","dimension37":"No","dimension38":"Gun Part Restrictions: Yes, Prop 65 restriction: Cancer & Reproductive Harm","dimension39":"In stock","dimension40":"No","dimension41":4.7,"dimension42":3,"dimension43":1,"dimension44":"GPRT","dimension45":"Yes","dimension46":"MadeInUsa","dimension47":null,"coupon":null,"list":null}
{"name":"GAS TUBES FOR AR-15","id":"10009500","price":19.0,"brand":"SONS OF LIBERTY GUN WORKS","category":"Gun Parts/Rifle Parts/Rifle Gas System Parts","variant":null,"quantity":0.0,"upc":null,"dimension32":"Universal","dimension33":null,"dimension34":null,"dimension35":null,"dimension36":null,"dimension37":null,"dimension38":null,"dimension39":null,"dimension40":"No","dimension41":4.8,"dimension42":12,"dimension43":14,"dimension44":null,"dimension45":null,"dimension46":null,"dimension47":null,"coupon":null,"list":null}