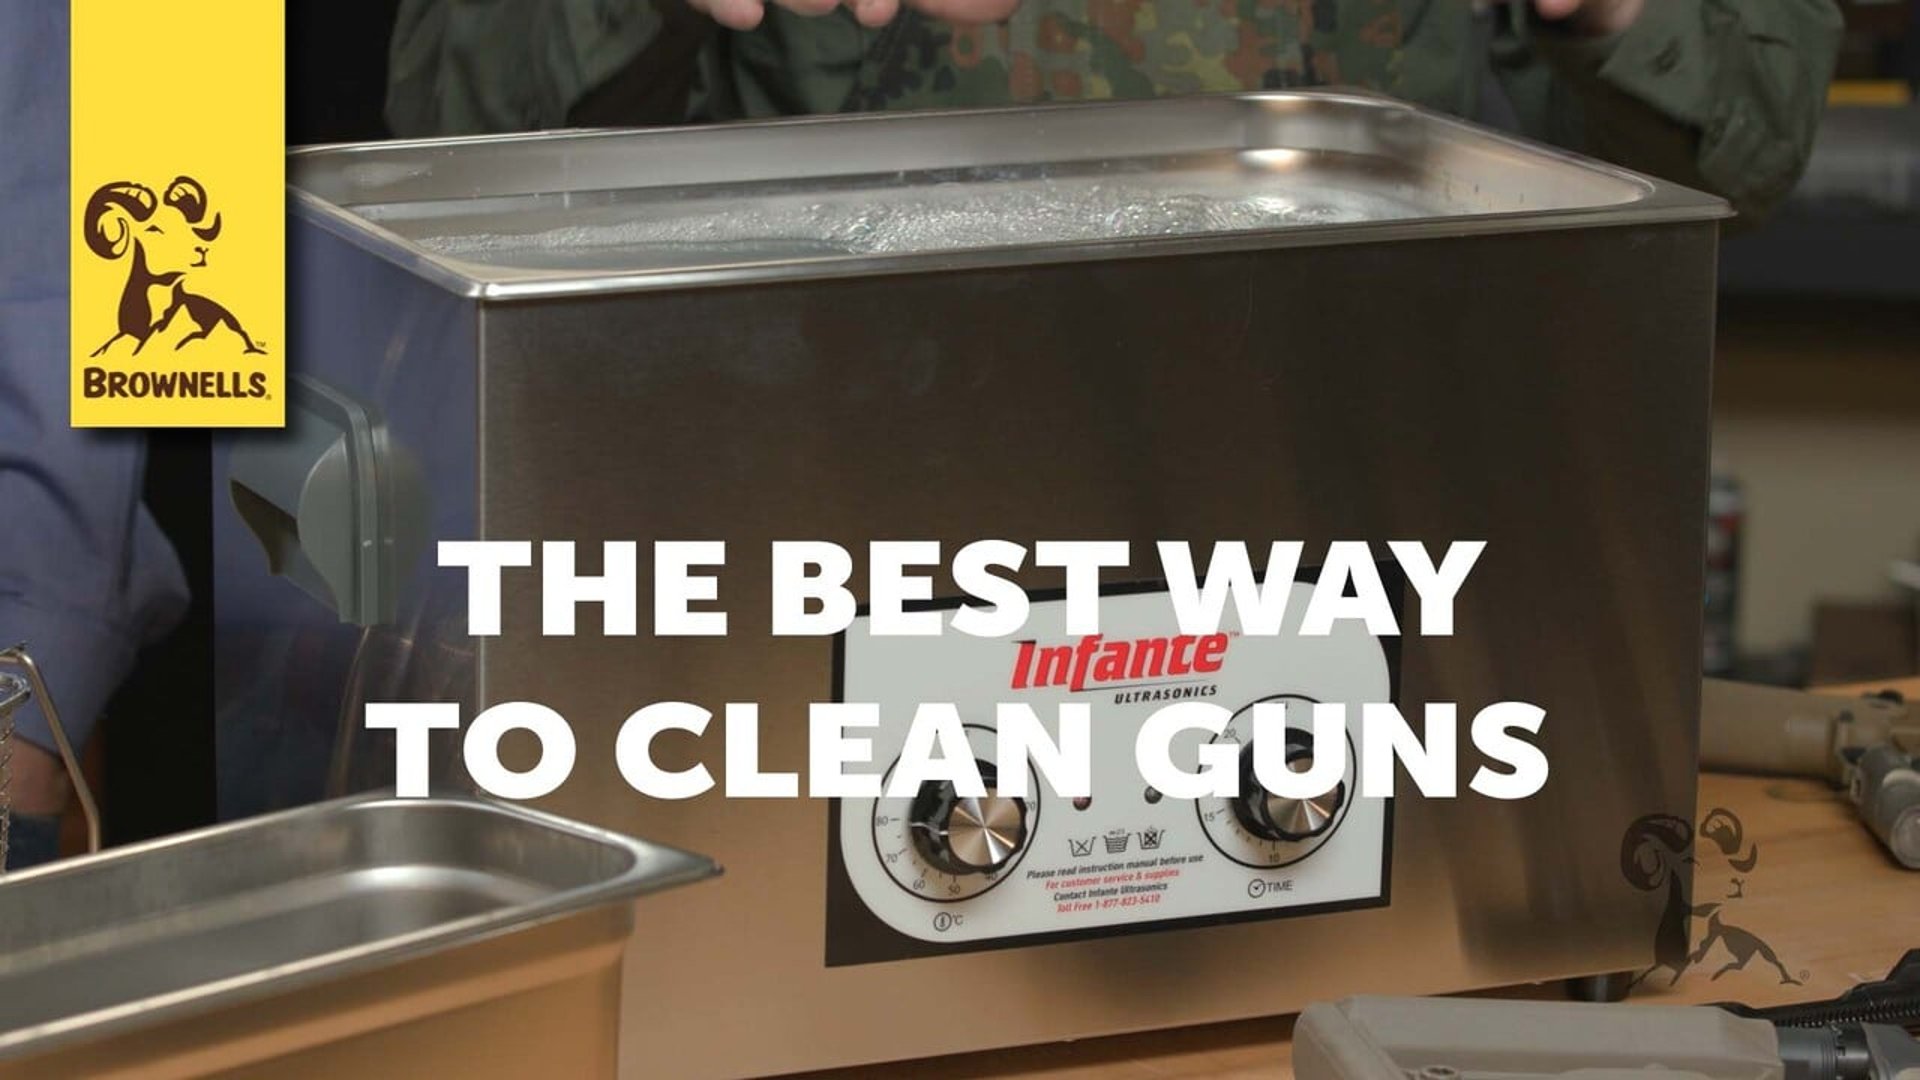
Tech Tip: The Best Way to Clean Guns
Synopsis
Caleb and Steve from Brownells demonstrate how to use the Infante ultrasonic cleaning system for deep, efficient gun cleaning. They explain how ultrasonic cleaners work, debunk common myths about damage to finishes, and share tips on proper solutions, part prep, and safe materials. Viewers see real-time results on dirty components like a bolt carrier group and suppressor, followed by post-cleaning steps and tank maintenance. The video highlights how simple, effective, and even social ultrasonic cleaning can be.
What You Will Learn
Viewers will learn how ultrasonic gun cleaners work, which cleaning solutions to use, and how to safely clean various firearm parts without damaging finishes. They’ll also see proper setup, part preparation, and post-cleaning care, gaining practical tips for effective and efficient gun maintenance.
Benefit
The benefit to watching is gaining clear, practical knowledge on safely and effectively using an ultrasonic cleaner to deep-clean firearm parts, saving time and improving maintenance results.
Introduction
Caleb and Steve from Brownells introduce the topic of ultrasonic gun cleaning. They are using the Infante ultrasonic cleaning system and want to show what works, what does not, and address common myths. The goal is to give viewers a reliable, straightforward walkthrough of the process from start to finish.
What is an Ultrasonic Cleaner and How it Works
Steve explains that ultrasonic cleaners use high-frequency sound waves to create microscopic bubbles that remove debris from gun parts. The cleaning happens at a microscopic level, allowing for deep cleaning in areas a brush cannot reach. Caleb notes that while it may seem like magic, the process is simple and highly effective.
Cleaning Solution Tips and What to Avoid
They highlight the importance of using the correct cleaning solution. While water alone will not get the job done, a dedicated gun cleaning solution like the one from Infante is essential. Steve warns against using aggressive solvents, like those found in some commercial ultrasonic jewelry cleaners, which can strip finishes and damage certain coatings.
Coatings, Finishes, and Compatibility
A common myth is that ultrasonic cleaners will damage coated or painted parts. Steve and Caleb explain that most modern finishes, including Cerakote and PVD coatings, are safe in ultrasonic tanks when used with the right cleaning solution. They advise avoiding aggressive chemical agents, which can react poorly with some materials.
Cleaning Tools and Basket Setup
Using the wire basket included with the ultrasonic unit, they demonstrate how to load firearm parts properly. Items can touch inside the basket because the cleaning happens through vibration and cavitation rather than chemical etching or abrasion. They joke about the condition of the bolt carrier group being cleaned, emphasizing the ultrasonic cleaner’s ability to handle extreme fouling.
Disassembly and Prep for Ultrasonic Cleaning
Caleb and Steve prep several components, including a suppressor, charging handle, bolt carrier group, and pistol slide. They advise users to disassemble firearms to the extent that parts are accessible for cleaning but note that full detail stripping is not always necessary. They drop the parts into the basket and prepare the tank for cleaning.
Safe Materials: Cerakote, Night Sights, Nickel, and More
They address concerns about specific materials like night sights, nickel-plated parts, and Cerakote finishes. Steve confirms that ultrasonic cleaning is safe for all of these when the correct solution is used. Caleb demonstrates this by running parts with night sights and verifying that they are still functional afterward.
Immersion and Ultrasonic Cleaning Process
With the heater turned on and the solution warmed, they lower the basket into the tank. The sound of ultrasonic cavitation kicks in immediately, likened to a swarm of angry bees. They explain that the time needed depends on the amount of fouling, with dirtier parts needing a longer cycle.
Mid-Clean Observations and Results
After just a short cleaning cycle, Caleb and Steve inspect the parts. Carbon buildup has loosened significantly, and the charging handle and bolt carrier group already look much cleaner. Some parts still have floating residue, which can be easily wiped off or brushed away. They emphasize how ultrasonic action removes grime from hard-to-reach internal surfaces.
Water Displacing Oil and Final Steps
Once cleaned, parts are transferred into a tank of water-displacing oil. This removes moisture and leaves a protective film to prevent rust. Steve explains how the oil sinks water to the bottom of the tank. The oil remains clear because the cleaned parts do not introduce much contamination.
Tank Maintenance and Drain Tips
The cleaning tank is equipped with a drain valve that allows for easy emptying and maintenance. They suggest doing a partial drain after several uses and filtering or replacing oil as needed. Most of the wear on these tanks comes from the water, not the active cleaning agents, which remain effective for many cycles.
Final Thoughts, Storage, and Group Use Ideas
Caleb and Steve wrap up by highlighting how efficient ultrasonic cleaning is. They mention that optics and night sights do not need to be removed, and many small parts can be cleaned without full disassembly. For competitive shooters or groups, they suggest investing in a shared cleaner for post-match maintenance. Caleb humorously suggests inviting friends over with the promise of ultrasonic cleaning and beverages, reinforcing how easy and social the process can be.