Tech Tip: Stock Repair for Recoil Pads
In this Brownells Tech Tip, Caleb demonstrates a professional method for repairing stripped screw holes in a Remington 870 shotgun stock. Instead of relying on quick fixes like toothpicks or steel wool, he walks viewers through a durable and reliable repair using wooden dowels, glue, and precise drilling. This step-by-step guide ensures your recoil pad stays secure for the long haul.
What You Will Learn
Viewers will learn how to identify stripped screw holes, create a drilling template, install dowel plugs, and accurately redrill pilot holes for a permanent fix.
Benefit
The benefit of watching is gaining the skills to make a clean, professional-grade repair that restores structural integrity and avoids repeat issues—valuable knowledge for both DIYers and working gunsmiths.
Introduction
Hey everyone, Caleb from Brownells here. In today’s Tech Tip, I’m showing you how to properly repair stripped screw holes in the stock of a Remington 870. This is a pretty common issue—not just with the 870, but with a lot of firearms that have screw-on butt pads or recoil pads.
Whether you're dealing with a wood stock, laminate, or even some polymer setups, this method will restore the strength you need to keep your recoil pad secured and solid for the long haul.
Identifying the Problem
In this case, the stock has stripped-out holes where the recoil pad screws used to bite. There's nothing left for the screws to grab onto, which means the pad won’t stay secured.
There are a couple of quick fixes that people often try—like stuffing toothpicks, matchsticks, or Q-tips in the hole, or wrapping steel wool around the screw—but those are just temporary. I’m here to show you the correct way to fix it permanently.
Tools and Supplies You'll Need
Here’s what I used for this repair:
- 1/4-inch wooden dowel (cut to size)
-
1/4-inch and 0.125-inch drill bits
-
Titebond III wood glue (or similar waterproof wood glue)
-
Pencil, paper, scissors (for the drilling template)
-
Vice with padded jaws
-
Mallet and small punch
-
Drill and measuring tools
-
Sandpaper
The goal is to fill the damaged screw holes with dowel plugs, glue them in, let them dry, and then redrill the pilot holes for your screws.
Step 1: Remove the Stock and Recoil Pad
I start by confirming the firearm is unloaded. Then I remove the stock from the receiver and set the shotgun aside so I can work on just the stock. This isn’t required—you can do the repair with the stock still on the gun—but it makes things easier.
Once the stock is off, I remove the recoil pad screws and slide the pad off.
Step 2: Make a Drilling Template
To make sure I redrill the holes in the right place, I lay the butt of the stock on a sheet of paper and trace the outline. Then I cut out the shape and mark where the original screw holes are located.
This paper template will help me accurately line up the new holes after the repair. I set it aside for now and get ready to drill out the damaged screw holes.
Step 3: Drill Out the Stripped Holes
I clamp the stock securely in a vice (with padded jaws to protect the finish), and using a 1/4-inch drill bit, I carefully drill out each stripped hole to the proper depth—just a bit deeper than the screws I’ll be using.
To help with depth control, I wrap a piece of tape around the bit at the desired depth and drill just up to that point.
Step 4: Cut and Fit the Dowels
I cut two pieces of 1/4-inch dowel, each about 1 inch long. You don’t have to be exact here, but make sure they’ll fit fully into the holes you drilled.
A quick sanding on the ends helps smooth them out and adds a slight bevel so they’re easier to press into the stock.
Step 5: Glue the Dowels Into Place
I apply wood glue to both the dowels and the inside of the drilled holes. Then I press the dowels into the stock and use a mallet to gently tap them in until they’re seated flush—or just slightly proud, which I’ll sand down later.
Excess glue will squeeze out, so I wipe it clean before letting the glue dry fully. I recommend letting it sit for a few hours, or overnight if you have time.
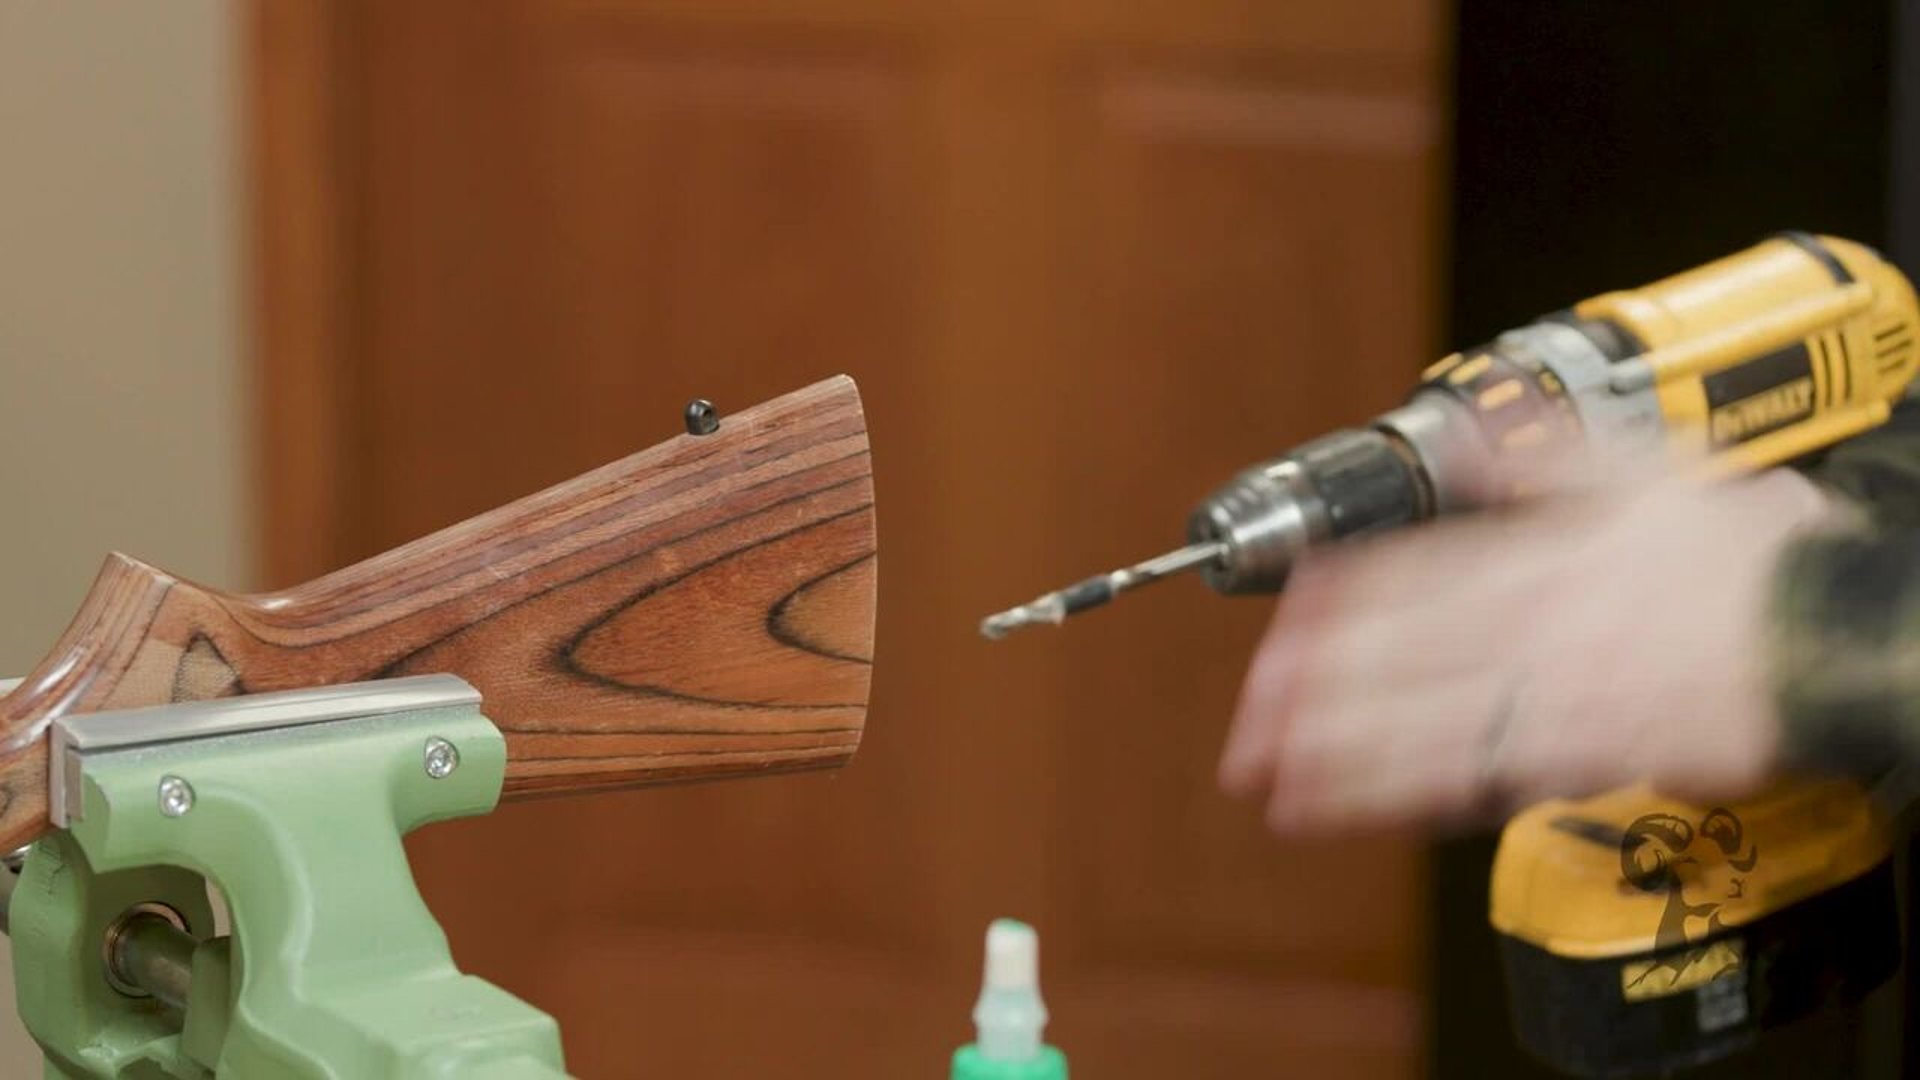
Step 6: Redrill the Screw Holes
Once the glue is dry, I tape my paper template back onto the butt of the stock and use a center punch to mark the centers of the new holes. Then I use a 0.125-inch drill bit to drill the new pilot holes—about an inch deep.
Take your time here and drill as straight as possible, following the natural alignment of the stock.
Step 7: Reattach the Recoil Pad
Now I reattach the recoil pad using the original screws. If your pad base is polymer, like this one, make sure not to over-tighten or torque the screws unevenly—you could crack the base.
There’s often a little wiggle room when you tighten the screws, so I push the pad into alignment as I go. Once it’s snug and centered, the repair is complete.
Final Thoughts
And that’s it—you’ve got a rock-solid repair that should last the life of the shotgun. This method works for almost any firearm with a screw-in buttpad or recoil pad. If you want a clean, durable fix, this is the way to do it.
Thanks for watching, and we’ll see you in the next Tech Tip.
Remington 870 stock repair, shotgun screw hole fix, how to fix stripped stock holes, recoil pad repair, Brownells Tech Tip, wood stock repair, DIY shotgun fix, 870 recoil pad install, firearm maintenance tips, proper stock repair method, gunstock dowel repair, buttpad screw hole stripped, shotgun stock stripped fix, gunsmithing basics