Tech Tip: Law Tactical Gen-S Folder
Law Tactical Gen S Sidefolder Swap and Install on an AR-15
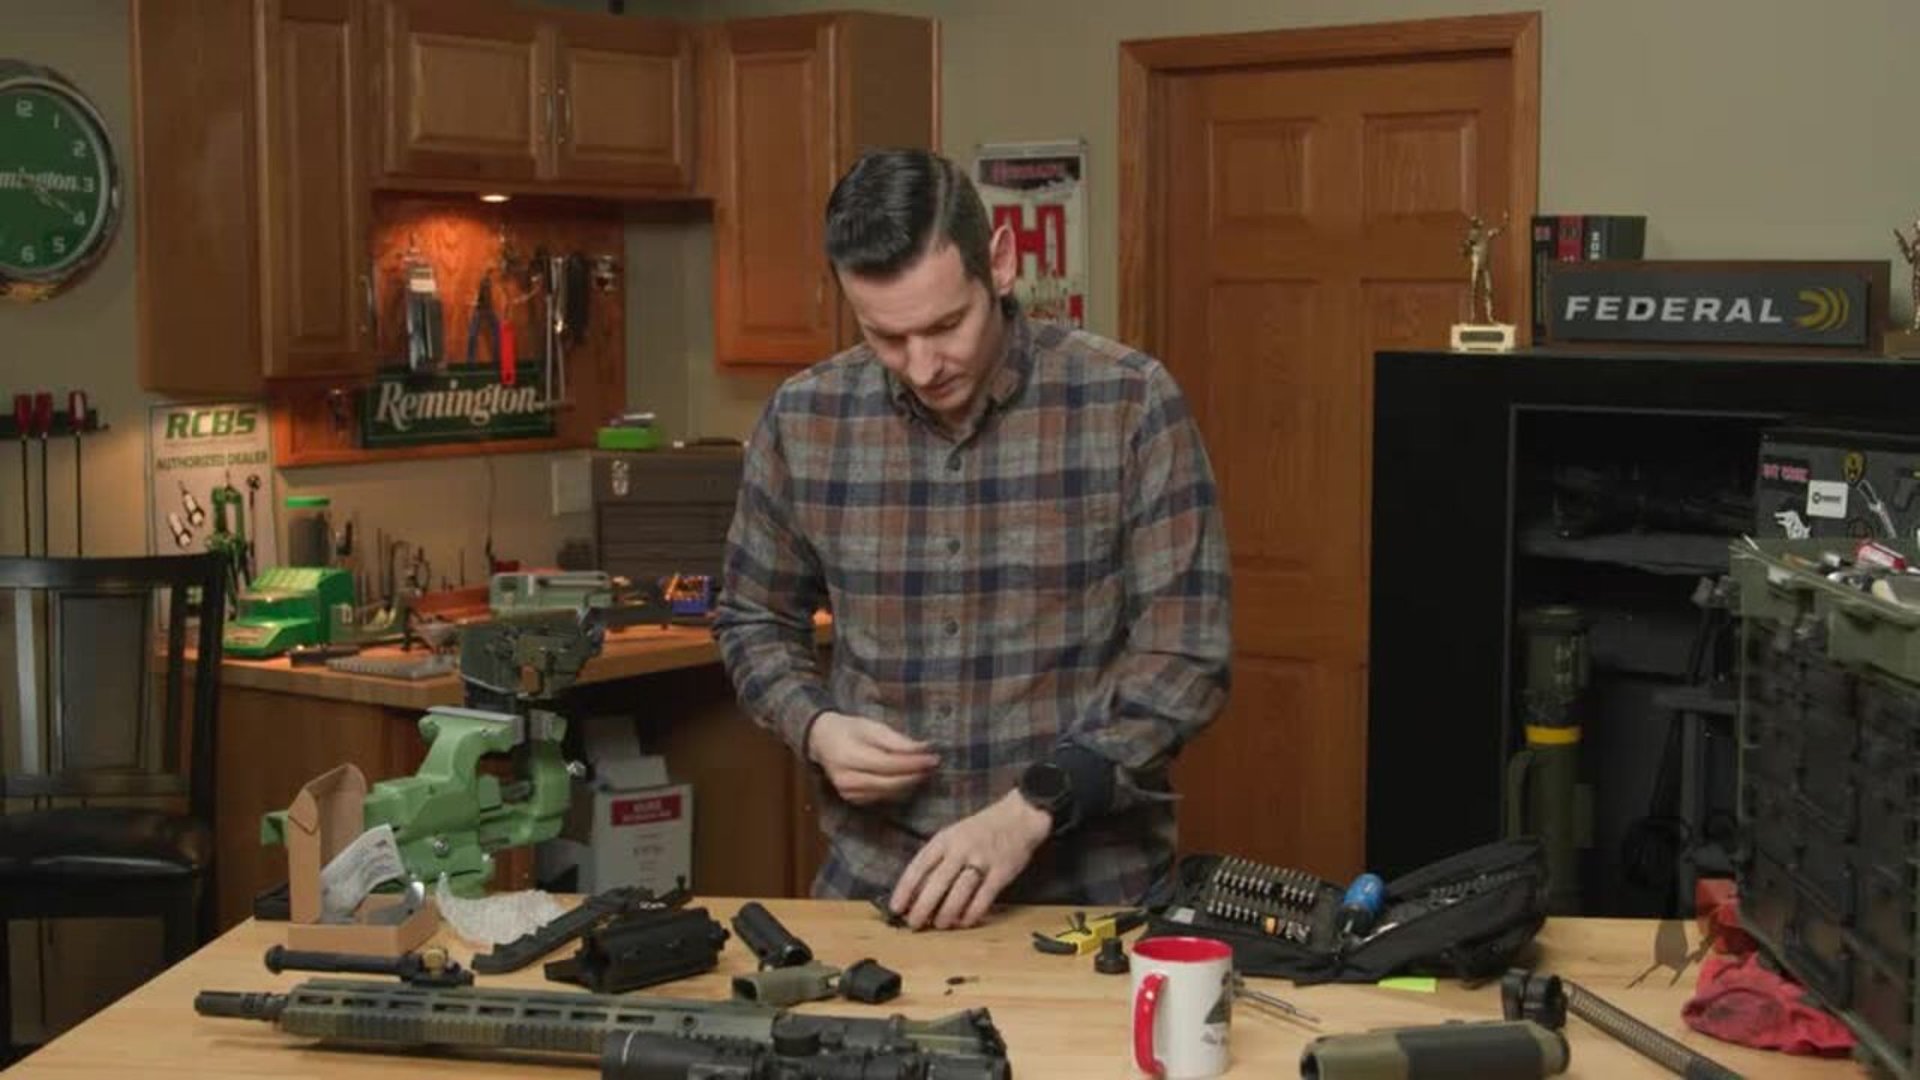
Caleb from Brownells walks through the LAW Tactical Gen S Sidefolder and shows a full removal of an older Gen 3M folder followed by a complete Gen S installation. This video is part review, part hands-on install, with an emphasis on clean alignment, correct order of operations, and avoiding common mistakes that damage parts.
The LAW Tactical folding adapter mounts at the rear of an AR-15 lower receiver and allows the stock to fold to the side for compact storage. The goal is a smaller footprint rifle without permanently changing the core operating system.
WHAT CHANGED ON THE GEN S
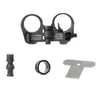
Caleb explains that the Gen S is the updated version replacing the Gen 3M. The Gen S housing is lower profile, with noticeable material removed to reduce bulk. The latch area is especially trimmed down, changing from a larger housing to a compact door and screw setup.
Material also changes. The new unit uses stainless steel, while the older unit uses a different steel alloy. The result is improved corrosion resistance, increased strength, and reduced weight. Caleb notes the Gen S is about 12.5 percent lighter.
He also calls out updates to the flange design. The new flange has more contact area, which increases surface area where the unit interfaces with the receiver. More contact area generally supports a stronger fit and better long-term durability.
WHAT THIS VIDEO COVERS
This is a full swap. Caleb removes the Gen 3M folder and installs the Gen S. The process includes disassembling the rifle, removing the receiver extension, removing the folding adapter, installing the new flange, reassembling the locking mechanism, reinstalling the receiver extension, and finishing with a torque and stake on the castle nut.
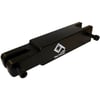
Caleb also demonstrates the LAW lower alignment tool, which is designed to keep the receiver extension aligned precisely to the lower receiver. He pairs it with a Geissele reaction block to provide leverage and prevent flex during castle nut removal and installation.
AR-15 DISASSEMBLY AND PREP
The rifle is cleared and verified unloaded. Caleb folds the stock, removes the bolt plug, ensures the bolt is seated forward, and separates the upper and lower receivers. He then removes the buffer and spring. In this rifle, a BCM Mark II buffer is used, which is A5 length.
Next, the stock is removed so the buffer tube and castle nut can be accessed.
WHY THE GRIP COMES OFF FOR THIS METHOD
Because Caleb is using the LAW lower alignment tool rather than a standard lower vise block, he removes the grip. This method gives him maximum alignment and reduces the chance of twisting or stressing parts while breaking a staked castle nut loose.
INSTALLING THE LOWER ALIGNMENT TOOL AND REACTION BLOCK
The LAW lower alignment tool indexes off the lower receiver. Once installed, the Geissele reaction block mates to it, creating a rigid setup that supports both the receiver and the rear extension area. This helps keep force off the magwell and places it where it belongs during high-torque work.
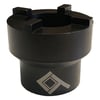
With the lower secured, Caleb uses an armorer wrench to break the stake and loosen the castle nut.
REMOVING THE RECEIVER EXTENSION AND CAPTURING SMALL PARTS
With the castle nut loose, the receiver extension is unthreaded carefully while capturing the buffer retainer and spring. Caleb emphasizes paying attention to detents and springs so nothing launches across the bench.
UNINSTALLING THE GEN 3M FOLDER
To remove the older folding adapter, the first step is backing off the flange tension screw. This screw applies tension to the flange, and leaving it tight makes removal difficult and increases the chance of marring parts.
Caleb uses the LAW armorer tool to lock into the flange securely, then unthreads the unit while being mindful of the rear takedown spring area.
GEN S VS GEN 3M COMPARISON AT THE BENCH
With both units off the rifle, Caleb shows side-by-side differences. The Gen S is slimmer overall, with a much thinner profile in key areas. The latch region is noticeably redesigned, with material removed around the lock while keeping the lock itself robust.
This is where most of the size reduction comes from, and it is the main reason the Gen S looks and feels more compact when mounted on the rifle.
GEN S INSTALLATION START TO FINISH
Caleb begins installation by disassembling the Gen S door and lock assembly. The door is under spring tension, so he keeps control of the parts during removal.
He then installs the new flange, preferring the LAW armorer tool over the supplied sheet-metal wrench. He notes the flange has a torque spec of five to seven foot-pounds. The goal is snug, not over-tightened.