Tech Tip: How To Paint Your Gun with Gun-Kote
In this video, Caleb from Brownells shows how to apply Gun-Kote with an airbrush, covering tools, prep, spraying, and curing for a tough, professional finish on firearm parts.
What You Will Learn
In this video, viewers will learn how to apply Gun Kote—a durable, heat-cured epoxy finish—to firearm components using an airbrush. Caleb walks through the full process, from surface prep and gear setup to spray technique and oven curing.
Benefit
Whether you're a DIYer or an enthusiast looking for a professional-level finish at home, this tutorial provides practical tips to achieve clean, long-lasting results while avoiding common mistakes.
Introduction
Hey everyone, Caleb from Brownells here. In this Tech Tip, I’m diving into something we’ve touched on before in our finishing series—Gun Kote. We’ve done a lot with Aluma-Hyde II, but this time I wanted to walk through the full process of applying Gun Kote using an airbrush. I had a project lined up, so I figured why not bring you along for the ride?
What is Gun Kote?
If you’re not familiar, Gun Kote is a heat-cured epoxy finish—also known as a thermal-set resin. Once applied, it gets baked to cure. It’s highly resistant to heat, abrasion, and impact, and it offers durability similar to Cerakote. In my experience, both hold up really well in use. What makes Gun Kote stand out is how forgiving it is to apply, especially compared to Cerakote.
That’s why I tend to lean toward Gun Kote whenever I can.
Tools and Equipment I Use
Let’s talk gear. For this project, I used:
- Paasche D500SR compressor
-
Talon gravity-feed airbrush
-
Respirator with 3M 6001 filters and particulate filters
-
Black iron wire for hanging parts
-
Basic tools like cutters, degreaser, and gloves
This Talon airbrush is great—it’s a dual-action model, meaning you press for air and pull back to control paint flow. It's perfect for both fine detail and full coverage. The only downside is the smaller paint cup, but if you're okay refilling occasionally, it's not a big deal.
If you prefer to spray longer without stopping, go for a siphon-feed model—those typically hold more paint.
Spray Booth and Ventilation
For ventilation, I used a basic spray booth with an exhaust fan. Lighting doesn’t need to be fancy—just good enough for you to see what you're doing. I also highly recommend wearing eye pro and a respirator. Gun Kote atomizes into very fine particles, and it's not something you want in your lungs.
Parts I’m Painting
For this video, I’m spraying an Aero Precision M5 receiver set. These parts were previously coated, so I blasted them clean using 120-grit aluminum oxide, which is the recommended media for prepping aluminum or anodized surfaces. If you're working with anodized parts, you don’t need to strip it all off—just scuff the surface enough to give the Gun Kote something to bite into.
Hanging and Holding Parts
When it comes to holding your parts, black iron wire is your best friend. It’s strong, bendable, and holds its shape. I run wire through areas that won’t be visible or that will be covered by components like the grip or buffer tube.
- On the lower, I wired through the takedown pin hole or grip area.
-
For the upper, I looped the wire through the gas tube hole.
This setup allows me to hang the parts for spraying and later for curing in the oven.
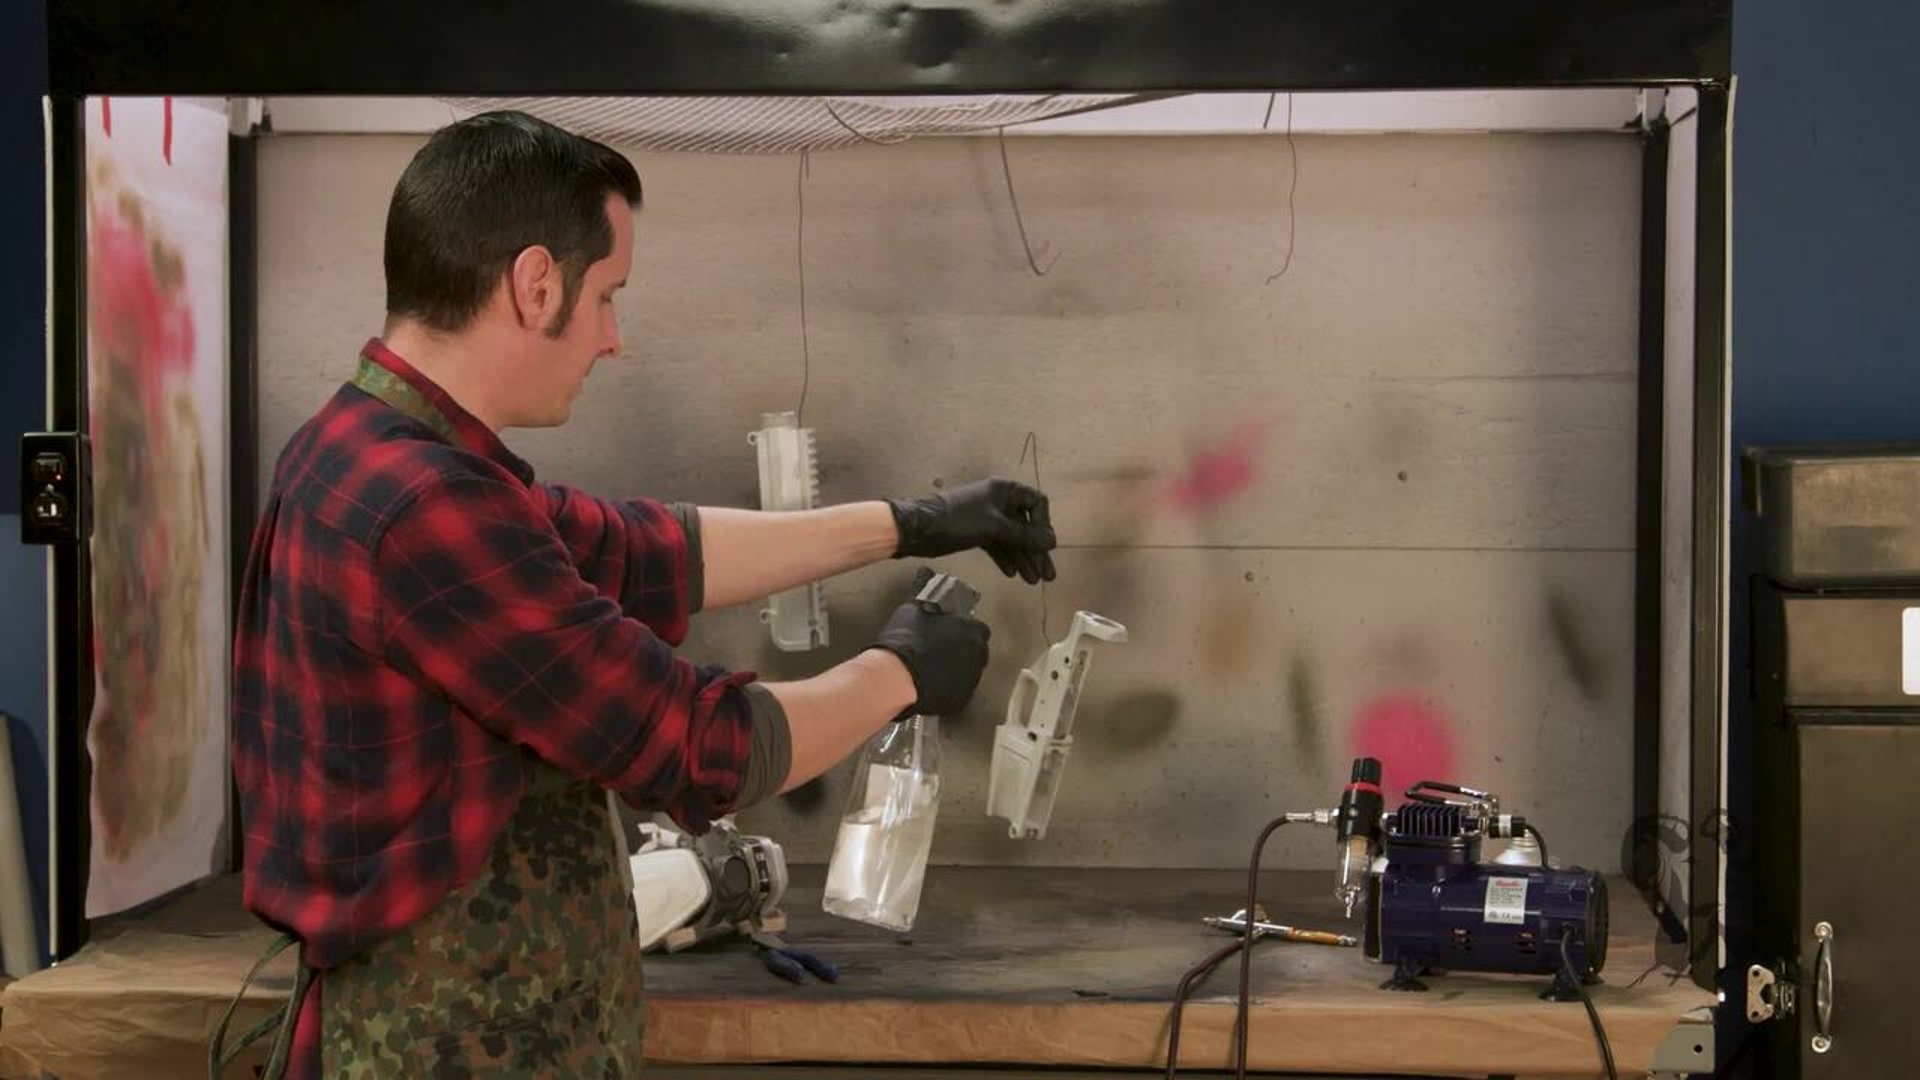
Degreasing and Surface Prep
Before painting, I thoroughly clean the parts with acetone. I prefer acetone over brake cleaner because it evaporates quickly and doesn’t leave residue. I spray from top to bottom, let it air dry, or speed things up with a heat gun.
Spray Technique Tips
Now we get into application. My technique is pretty simple:
- Start with hard-to-reach areas first—trigger guards, inside contours, corners.
- Once those are covered, move on to flat surfaces.
- Avoid going over the same spot too many times—it’s better to do one light, even coat.
Gun Kote sprays super thin, so you don’t need much. You can do multiple coats if needed, but I like to bake the base coat first. That way, if you mess up a camo pattern or want to remove the top layer, you can wipe it off with acetone and not affect the baked base coat.
Curing in the Oven
After spraying, Gun Kote needs to be baked at 325°F for one hour. You can use a dedicated curing oven or a converted toaster oven if your parts fit. Once cured, the finish is good to go. No further sealing or coating needed.
Gun Kote vs. Aluma-Hyde
I get asked this a lot: Do I prefer Gun Kote or Aluma-Hyde? Here’s the breakdown:
- Aluma-Hyde II: Convenient, comes in a rattle can, great for quick jobs
-
Gun Kote: More durable, smoother, thinner, and better for detailed work
If I have the time and the setup, I’ll go with Gun Kote every time. But if I need a quick finish or don’t want to deal with baking, Aluma-Hyde still gets the job done.
Final Thoughts
Gun Kote is one of my favorite finishes to work with. It’s tough, looks great, and is way easier to spray than some of the other options out there. With the right prep, a solid spray setup, and attention to detail, you can get professional-quality results right at home.
If you want more info on camo patterns or stenciling techniques, check out our Aluma-Hyde series—the process for layering and masking is almost identical.
Thanks for following along, and let me know if you want to see more advanced paint techniques in future videos.
Gun Kote application, how to apply Gun Kote, firearm painting tutorial, Brownells Gun Kote, KG Industries coating, spray on gun finish, airbrush gun finish, AR15 finishing, Aero Precision M5, aluminum oxide blasting, gun coating guide, DIY gun refinishing, heat cured gun paint, Cerakote alternative, best gun finishes