Tech Tip : The Best Shotgun Hunting Optic
What Makes This Shotgun Optic Different
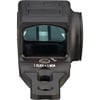
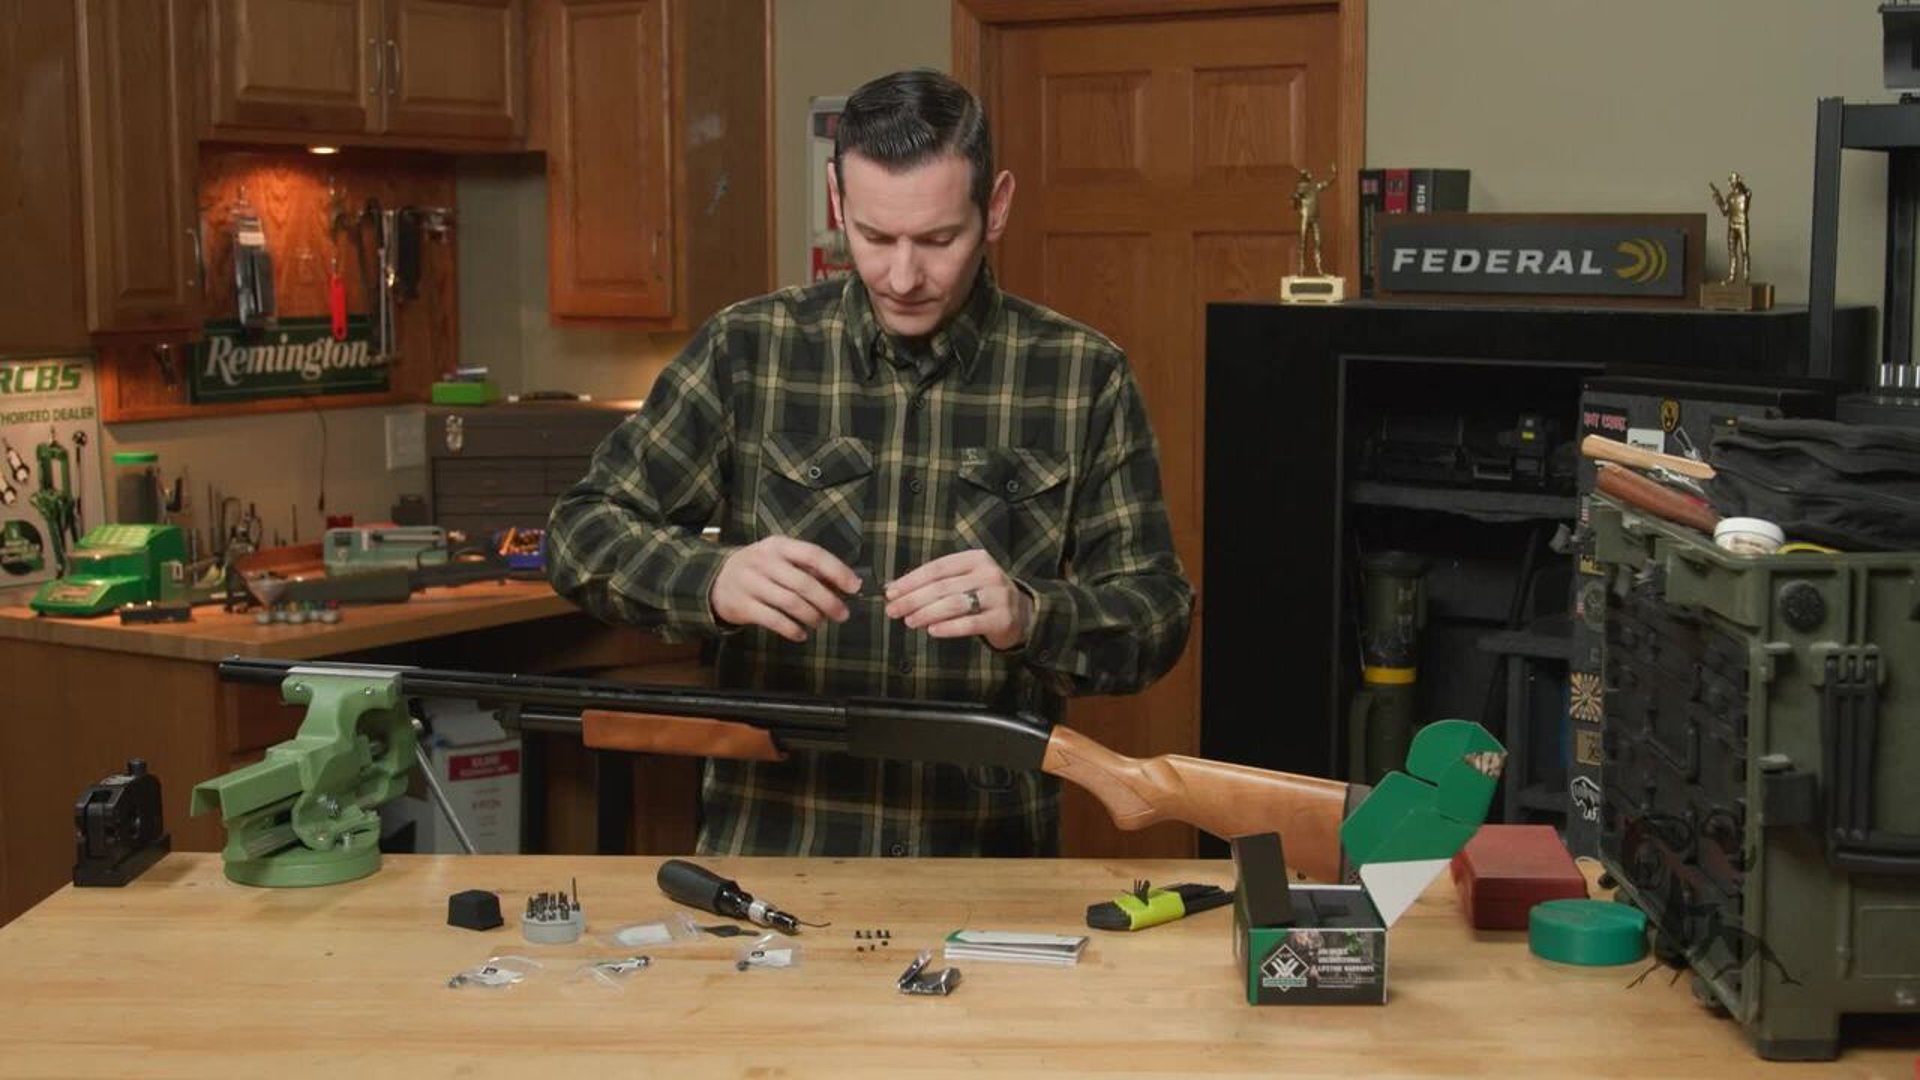
In this Brownells Tech Tip, Caleb covers a shotgun optic designed specifically for hunters who want a red dot without compromising shotgun fit. The optic in question is the Vortex Viper Shotgun Enclosed Micro Red Dot, or as Caleb puts it, the Vortex Viper shotgun optic.
While this optic has uses beyond hunting, its design makes a lot of sense for turkey, deer, squirrel, rabbit, and other applications where you are aiming the shotgun rather than simply pointing it. It is not really intended for fast wing shooting, upland birds, or clay games where traditional bead alignment and natural pointing matter more.
Why Typical Shotgun Optic Setups Fall Short
One of the biggest problems with mounting an optic on a shotgun is height. Many shooters solve receiver hole spacing issues by installing a rail first and then mounting an optic to the rail. That works, but it often raises the optic too far above the receiver.
On a shotgun, comb height is already set up so your eye naturally aligns with the barrel. Once you raise the optic too high, you lose that natural cheek weld. That creates an awkward shooting position and can also hurt recoil control. The benefit of the Vortex Viper shotgun optic is that it mounts low enough to keep the gun comfortable and usable.
Built to Fit More Shotguns
Another challenge with shotgun optics is that drilled and tapped receiver hole spacing can vary widely by manufacturer. That makes mounting a direct fit optic frustrating unless the optic is built with flexibility in mind.
This Vortex optic addresses that problem with a mounting layout that includes a standard hole, an elongated hole, and a front channel. That setup gives the optic a broad range of fitment across different shotgun receivers. Caleb points out that you only need two solid mounting points for a stable installation, one front and one rear, so not every screw position has to line up.
The optic also includes a useful range of mounting screws, including 6-48, 8-40, 8-36, and metric 4. For many American shotguns, 6-48 and 8-40 will be the most common.
Features That Make Sense for Hunting
The Vortex Viper shotgun optic includes several features that work well in the field. It has an enclosed design for protection, a robust aluminum cover, large top mounted buttons, and motion activation with automatic shutoff. If the optic powers down while you are sitting still in a blind or waiting on game, it turns back on with movement so you are not hunting for buttons during the shot opportunity.
It also uses an externally accessible CR2032 battery. That means you can change the battery without removing the optic from the gun. Caleb recommends replacing the battery before each season for peace of mind, even though the stated battery life is extremely long.
Reticle flexibility is another major selling point. The optic offers six reticle options, ranging from a simple dot to larger reticle configurations that can be useful for different hunting tasks and even for estimating pattern spread at known distances.
How to Mount the Vortex Viper Shotgun Optic
The mounting process starts by checking the receiver plug screws and making sure they do not interfere with the optic base. If a screw head sits proud of the receiver, it can prevent full contact between the optic and the receiver top. In Caleb’s example, the screws were recessed enough that this was not a problem.
From there, line the optic up so the fixed rear hole goes over the correct receiver hole first. That helps determine which screw positions will be used. Once the fit is confirmed, remove the needed plug screws and keep them stored with the spare hardware so they do not get lost.
To identify screw size, compare the included screws to your shotgun’s plug screws by diameter and thread pitch. Caleb notes that if you do not own a thread pitch gauge, you can still compare the screws visually and test carefully by hand. Do not force anything. If the screw does not start smoothly, stop and try another size.
The included screws already have thread locker applied. Vortex specifies 12 inch pounds of torque, and Caleb strongly recommends using a torque wrench rather than guessing.
Proper Installation Order Matters
When installing the optic, start all screws loosely before tightening any of them. Once all screws are started, tighten the fixed rear screw first since it does not allow front to back movement. Then move to the front screw, then the third screw if used, and alternate from there. After the first pass, repeat the torque sequence once more.
That method helps seat the optic evenly and keeps the base aligned during installation.
After the optic is mounted, remove the battery door, pull the battery insulator, reinstall the battery, and snug the cap down. Because the battery compartment is O ring sealed, it only needs to be snug, not over tightened.
How to Zero a Shotgun Red Dot for Slugs
If you are shooting slugs, zeroing this shotgun optic works much like zeroing a rifle optic. Caleb recommends firing a three shot group, making the appropriate adjustment, and then firing another group to confirm.
That process matters because if the gun is not grouping consistently, adjusting from one shot at a time can waste even more ammunition. Three shot groups give you usable data and a more dependable zero.
How to Zero a Shotgun Red Dot for Birdshot or Buckshot
Zeroing with shot loads is a little different. Instead of a three shot group, Caleb recommends using a large piece of cardboard with a clearly visible aiming point in the center. A Birchwood Casey Shoot N C target works well, but a hand drawn circle can also do the job.
At 25 yards, fire one carefully aimed shot from a stable position. Then mark the main concentration of the pattern with a marker. Ignore a few random stray pellets and focus on the center of the useful pattern.
Once the pattern is marked, measure horizontal distance from the aiming point to the center of the pattern, then measure the vertical distance. Do not measure diagonally. Treat windage and elevation as separate corrections.
Using Click Values to Make Corrections
The manual includes an adjustment chart showing movement per click at different distances. At 25 yards, each click moves impact one quarter inch.
That makes the math straightforward. If your pattern center is 15 inches off in windage, that is 60 clicks. If it is 12 inches off in elevation, that is 48 clicks. Turn the adjustment in the direction you want the impact to move, not the direction where the impact currently is.
After making the correction, fire another shot to confirm. If you did your measuring carefully, you can often get very close in just two shots.
Final Thoughts on This Hunting Shotgun Optic
The Vortex Viper shotgun optic stands out because it solves the real problems that come with mounting optics on shotguns. It sits low, fits a wide range of drilled and tapped receivers, offers useful hunting features, and keeps the shotgun comfortable to shoot.
For hunters setting up a turkey gun, deer shotgun, or small game shotgun, this direct mount red dot is a very practical option. It is simple to install, easy to zero, and designed around the realities of shotgun use rather than forcing a pistol or rifle optic solution onto the platform.
If you need help choosing a shotgun optic, mounting hardware, or the right tools for the job, contact the Brownells Tech Line and get your setup dialed in right the first time.