How To Mount a Scope On an AR15 (Sig Optics, Fix it Sticks)
HOW TO MOUNT A SCOPE ON AN AR-15
Mounting a scope on an AR-15 is one of the first upgrades many rifle owners make, but doing it correctly is critical if you want reliable accuracy and a solid shooting experience. In this Brownells Tech Tip, Caleb walks through the full process of mounting and leveling a scope on an AR-15 using a cantilever mount and LPVO optic.
This guide is built specifically for newer AR-15 owners and covers the fundamentals of scope mounting, eye relief, leveling, torque specifications, and bore sighting.
WHY AR-15S USE CANTILEVER SCOPE MOUNTS
Unlike traditional bolt-action rifles, the AR-15 platform places the stock much higher in relation to the receiver. Because of this, standard low-profile scope rings usually position the optic too low for a comfortable cheek weld.
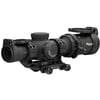
That is why most AR-15 optics use cantilever scope mounts. These mounts raise the optic to the correct height while also pushing the scope forward to improve eye relief.
Another important detail is mount placement. Your scope mount should attach only to the upper receiver. Never bridge the gap between the receiver and handguard. Doing so can negatively affect accuracy if the handguard flexes or shifts under pressure.
SETTING PROPER EYE RELIEF
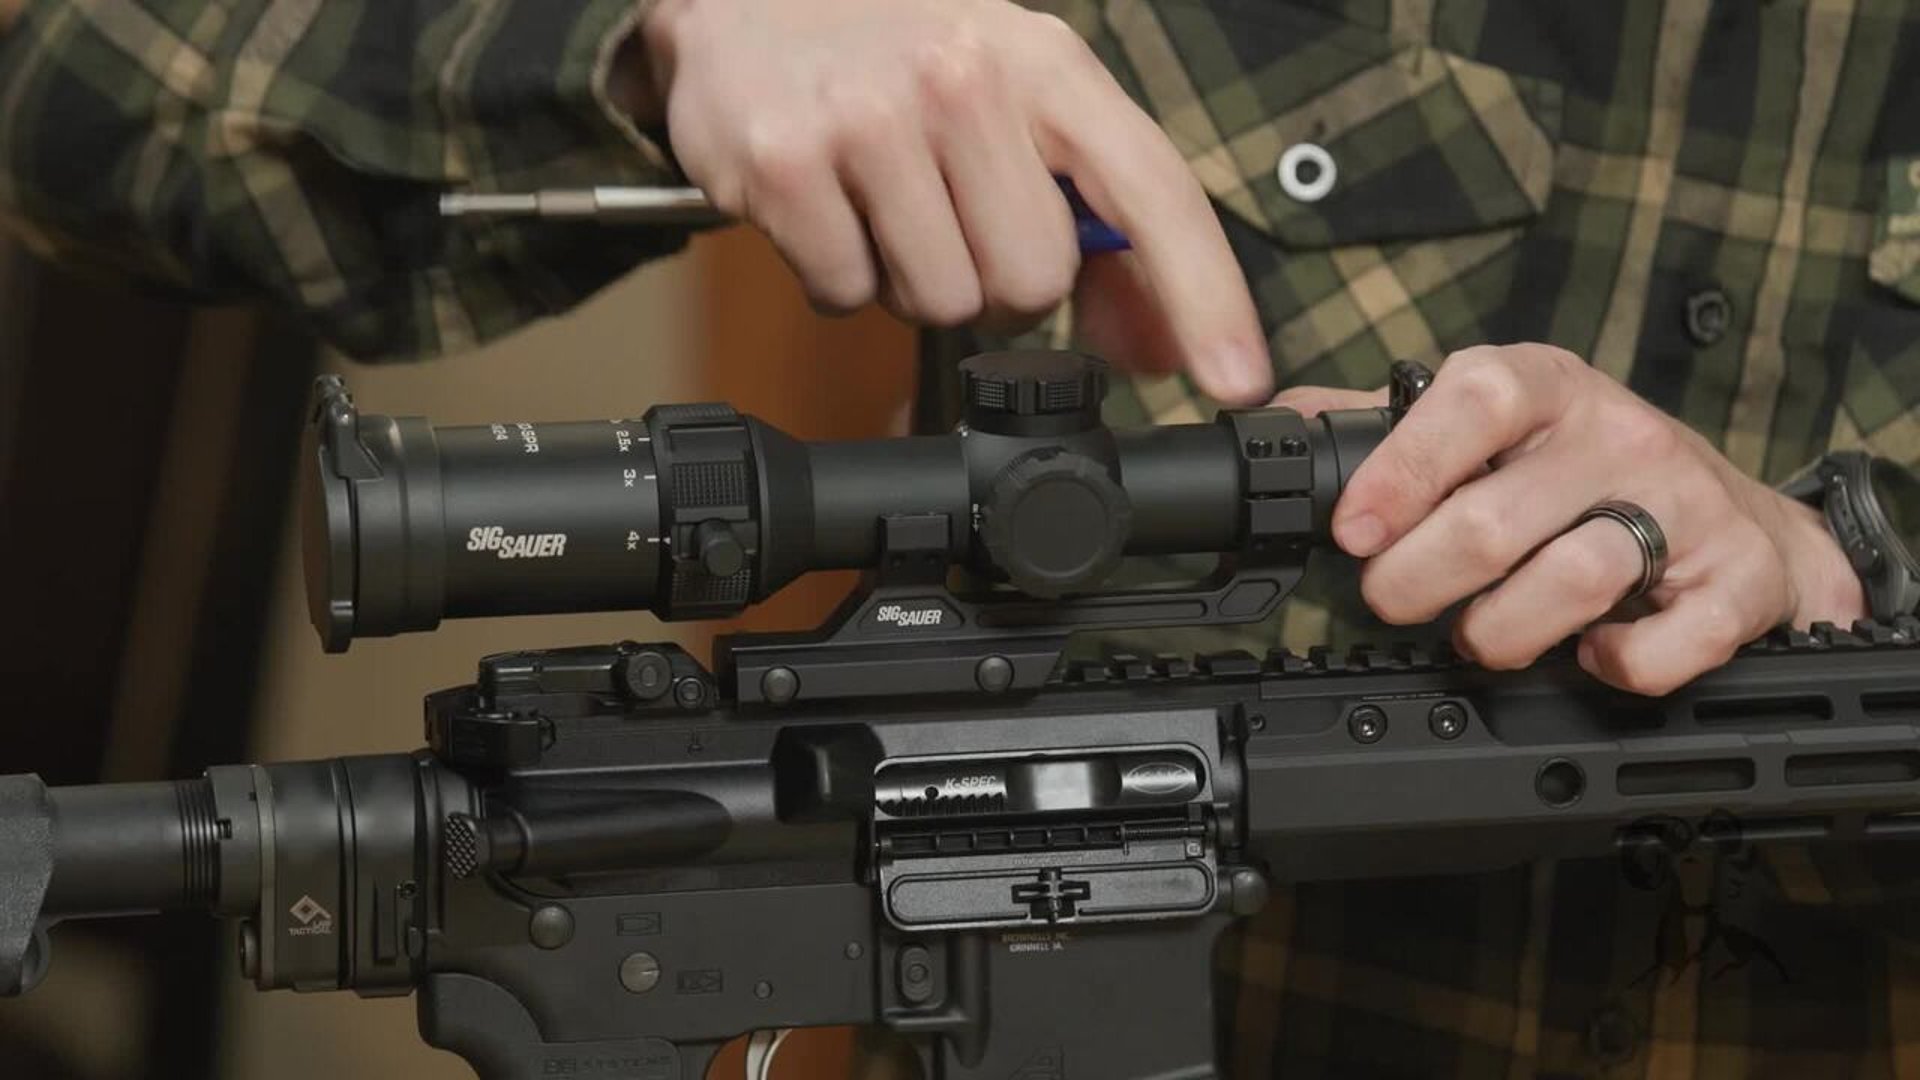
Before tightening anything down, adjust the rifle stock to your normal shooting position. Then place the optic in the mount and move it forward or backward until you achieve a full sight picture.
Check eye relief at both the lowest and highest magnification settings. Many LPVO optics have different eye relief characteristics depending on magnification, so it is important to verify both positions before final installation.
The optic should also clear all iron sights and should never touch anything other than the scope rings.
CHOOSING THE CORRECT RINGS AND MOUNT
Scope tube diameter matters. Common sizes include:
- 1 inch
- 30mm
- 34mm
Always match your mount and ring size to the scope tube diameter. An improperly sized mount can damage the optic or fail to hold securely.
When positioning the scope in the rings, make sure the rings contact only the straight tube section of the optic. Avoid placing rings against the turret housing or tapered bell sections.
INSTALLING THE SCOPE MOUNT
Once eye relief is established, secure the cantilever mount to the upper receiver according to the manufacturer’s torque specifications.
In this setup, Caleb uses Fix It Sticks torque tools and tightens the mount bolts to 65 inch-pounds. Always verify torque values from your specific mount manufacturer.
Proper torque helps prevent movement while avoiding damage to the mount or receiver.
LEVELING THE SCOPE CORRECTLY
Scope leveling is one of the most misunderstood parts of mounting an optic on an AR-15. A crooked reticle can cause horizontal deviation at longer distances, especially when using holdovers or dialing elevation.
One common mistake is leveling from the top turret cap. Turret caps are not guaranteed to be perfectly square with the reticle and can introduce error.
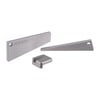
Instead, Caleb demonstrates using an Arisaka scope leveling tool that references the flat underside of the scope body against the flat top surface of the mount. This method provides a more reliable alignment between the optic and rifle bore.
To use the leveling tool:
- Place the flat section beneath the optic
- Slide the angled wedge into place
- Apply light pressure until the scope aligns flat against the mount
- Snug the rings evenly while maintaining pressure
- This process keeps the reticle level with the rifle receiver and bore axis.
TIGHTENING THE SCOPE RINGS
When tightening scope rings, use a crisscross pattern similar to tightening lug nuts on a vehicle wheel.
Even pressure across the rings helps prevent twisting the optic during installation.
In this example, the ring screws are torqued to 25 inch-pounds. Ring gaps should remain even on both sides for consistent clamping pressure and a clean appearance.
After torquing, remove the leveling tool and visually confirm the reticle alignment.
HOW TO BORE SIGHT AN AR-15
A quick bore sight can save time and ammunition at the range.
Instead of using a laser bore sighter, Caleb removes the bolt carrier group and visually looks through the barrel at a target positioned at 25 yards.
Once the barrel is centered on the target, adjust the optic so the reticle matches the same point of aim.
This simple method gets the rifle close enough for final zeroing at the range.
FINAL THOUGHTS
Properly mounting a scope on an AR-15 is not difficult, but attention to detail matters. Correct eye relief, proper mount placement, accurate leveling, and correct torque values all contribute to a reliable and repeatable optic setup.
Following these steps will help ensure your AR-15 optic performs correctly whether you are shooting close-range drills, hunting, or stretching the rifle out at distance.