Quick Tip: TriggerTech Remington 700 Triggers
INTRODUCTION
Caleb covers the TriggerTech trigger options for the Remington 700 and the many 700-pattern clone actions on the market. If you’ve looked into upgrading a 700 trigger, you already know there are a lot of choices. TriggerTech stays popular because the install is straightforward and the adjustment range makes it easy to set up a rifle for hunting, general shooting, or a more competition-focused pull weight.
PRIMARY, SPECIAL, AND DIAMOND: THE THREE MAIN GRADES
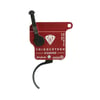
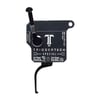
TriggerTech offers three main grades in this lineup: Primary, Special, and Diamond. Externally, they look the same, so Caleb uses the Primary for the demonstration and explains what changes as you move up.
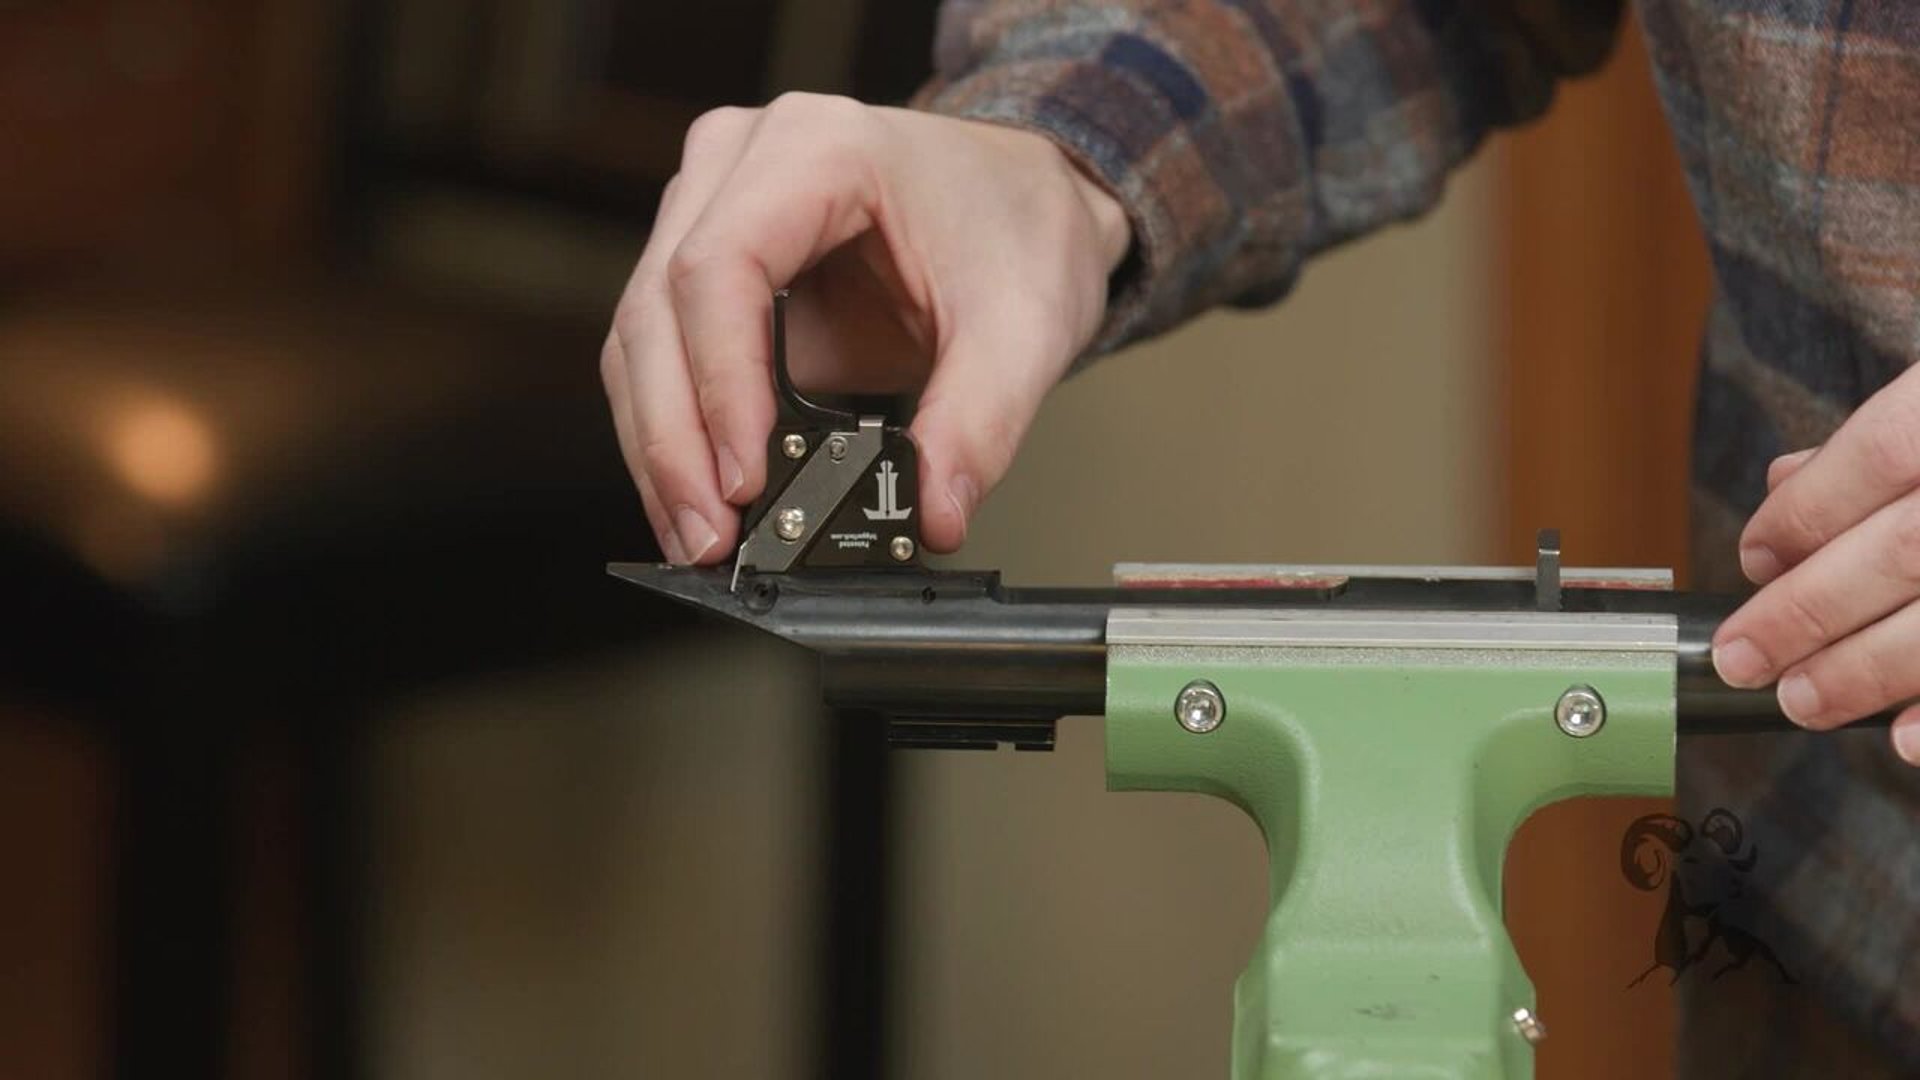
The main differences come down to pull weight range and, depending on configuration, the trigger shoe option you choose. You can get these triggers with a flat shoe, like the one in this video, or a traditional curved shoe.
Primary adjustment range: 1.5 lb to 4 lb
Special adjustment range: 1 lb to 3.5 lb
Diamond adjustment range: 4 ounces to 32 ounces
As pull weight gets lighter, cost goes up. That is normal in the Remington 700 trigger market, and it is one of the simplest ways to understand why the Diamond sits at the top of the line.
UNBOXING AND WHAT YOU GET
Inside the box you get the trigger assembly, documentation, and a patch. The instructions are detailed and worth keeping, especially if you plan to adjust pull weight or if you’re installing on different actions over time.
Caleb also makes an important point about warranty and adjustment: do not try to “convert” a Primary into a Diamond by chasing lighter pull weights. These triggers are not just the same unit with different settings. The internals are different by design.
REMINGTON 700 TRIGGER REMOVAL: IMPORTANT SAFETY POSITION TIP
For the install demo, the action is already out of the stock and the bolt is removed. The Remington 700 trigger is held in with two pins, one forward and one rear.
Before driving the rear pin out, Caleb puts the safety on SAFE. The reason is simple: the safety lever can cover the pin, and driving the pin the wrong way or with the safety in the wrong position can damage the safety components. Put it on safe first, then drive pins cleanly with the right punch.
Caleb uses a bench vise with padded jaws to hold the action steady and a 1/8 punch with a hammer to drive the pins.
CAPTURE THE BOLT LOCK LATCH AND SPRING
On this Remington 700 setup, the rear pin also retains the bolt lock latch and spring. When the rear pin comes out, those parts can pop loose. Caleb drives the pin out under control and keeps track of the latch and spring so they can be reinstalled correctly.
After the rear pin is removed, the front pin is driven out and the old trigger comes off the action.
INSTALLING THE TRIGGERTECH TRIGGER AND PIN LENGTHS
Caleb installs the new TriggerTech trigger with the assembly oriented correctly, then notes that one pin is shorter than the other.
Short pin goes in the front.
Long pin goes in the rear because it also passes through the bolt lock piece on this style of receiver.
If you’re installing on a Remington 700 clone that uses a side bolt release on the receiver, you typically won’t use the bolt lock piece and spring at the trigger. In that case, you install the trigger and pins without dealing with those extra parts.
Caleb starts the front pin first, then positions the bolt lock piece and spring. He shows how the lip on the bolt lock piece interfaces with the trigger housing and how the spring is oriented so it hooks into the receiver and applies tension correctly.
For the rear pin, he points out a small but useful detail: one end is beveled and one end is flat. Beveled end goes in first because it helps align parts as the pin starts through the holes. If you feel resistance, stop and confirm alignment before hammering hard. Forcing it can damage the edges of the holes and create problems you cannot easily fix.
FUNCTION CHECKS AFTER INSTALL
Once both pins are seated, Caleb checks bolt latch movement. If it feels sluggish, a small amount of oil can help, but the main goal is to confirm the latch moves freely and returns under spring tension.
Then he performs a basic function check:
On FIRE, the trigger should release the sear as expected.
On SAFE, it should not fire.
Caleb also recommends a practical bump test once the action is back in the stock. With the rifle cocked, bump the butt of the stock on the ground on FIRE and on SAFE to confirm the trigger is stable and the safety is doing its job.
TRIGGER PULL WEIGHT ADJUSTMENT AND HUNTING SETUP
Pull weight adjustment is done with the screw on the bottom of the trigger. The markings show the direction.
Clockwise increases pull weight.
Counterclockwise decreases pull weight.
Caleb explains why the Primary is his go-to for a hunting rifle. He likes hunting triggers around 3 lb and generally avoids going lighter than that for field use. He also notes the trigger uses tactile clicks and ships from the factory somewhere within its adjustment range, often landing around the middle.
To set it correctly, he suggests making adjustments in measured clicks, then verifying the actual pull with a trigger pull gauge. A trigger pull gauge is inexpensive, easy to use, and worth owning if you adjust triggers more than once.
TWO-STAGE NOTES
Caleb also mentions that TriggerTech offers two-stage options. If you’re working with a two-stage model, the adjustment points differ, with separate controls for first stage and second stage weight. He doesn’t adjust a two-stage in this video, but he points out where those screws are located so you know what you’re looking at.
FINAL TAKEAWAY
TriggerTech gives Remington 700 owners a clean, adjustable trigger with an install process that closely follows the factory trigger layout. The key points are controlling the bolt lock latch and spring on factory-style actions, using the correct pin in the correct position, and doing a real function check before the rifle goes back into service. If you need help choosing the right TriggerTech grade or setting pull weight for your use case, Brownells tech line support can help you get it right.