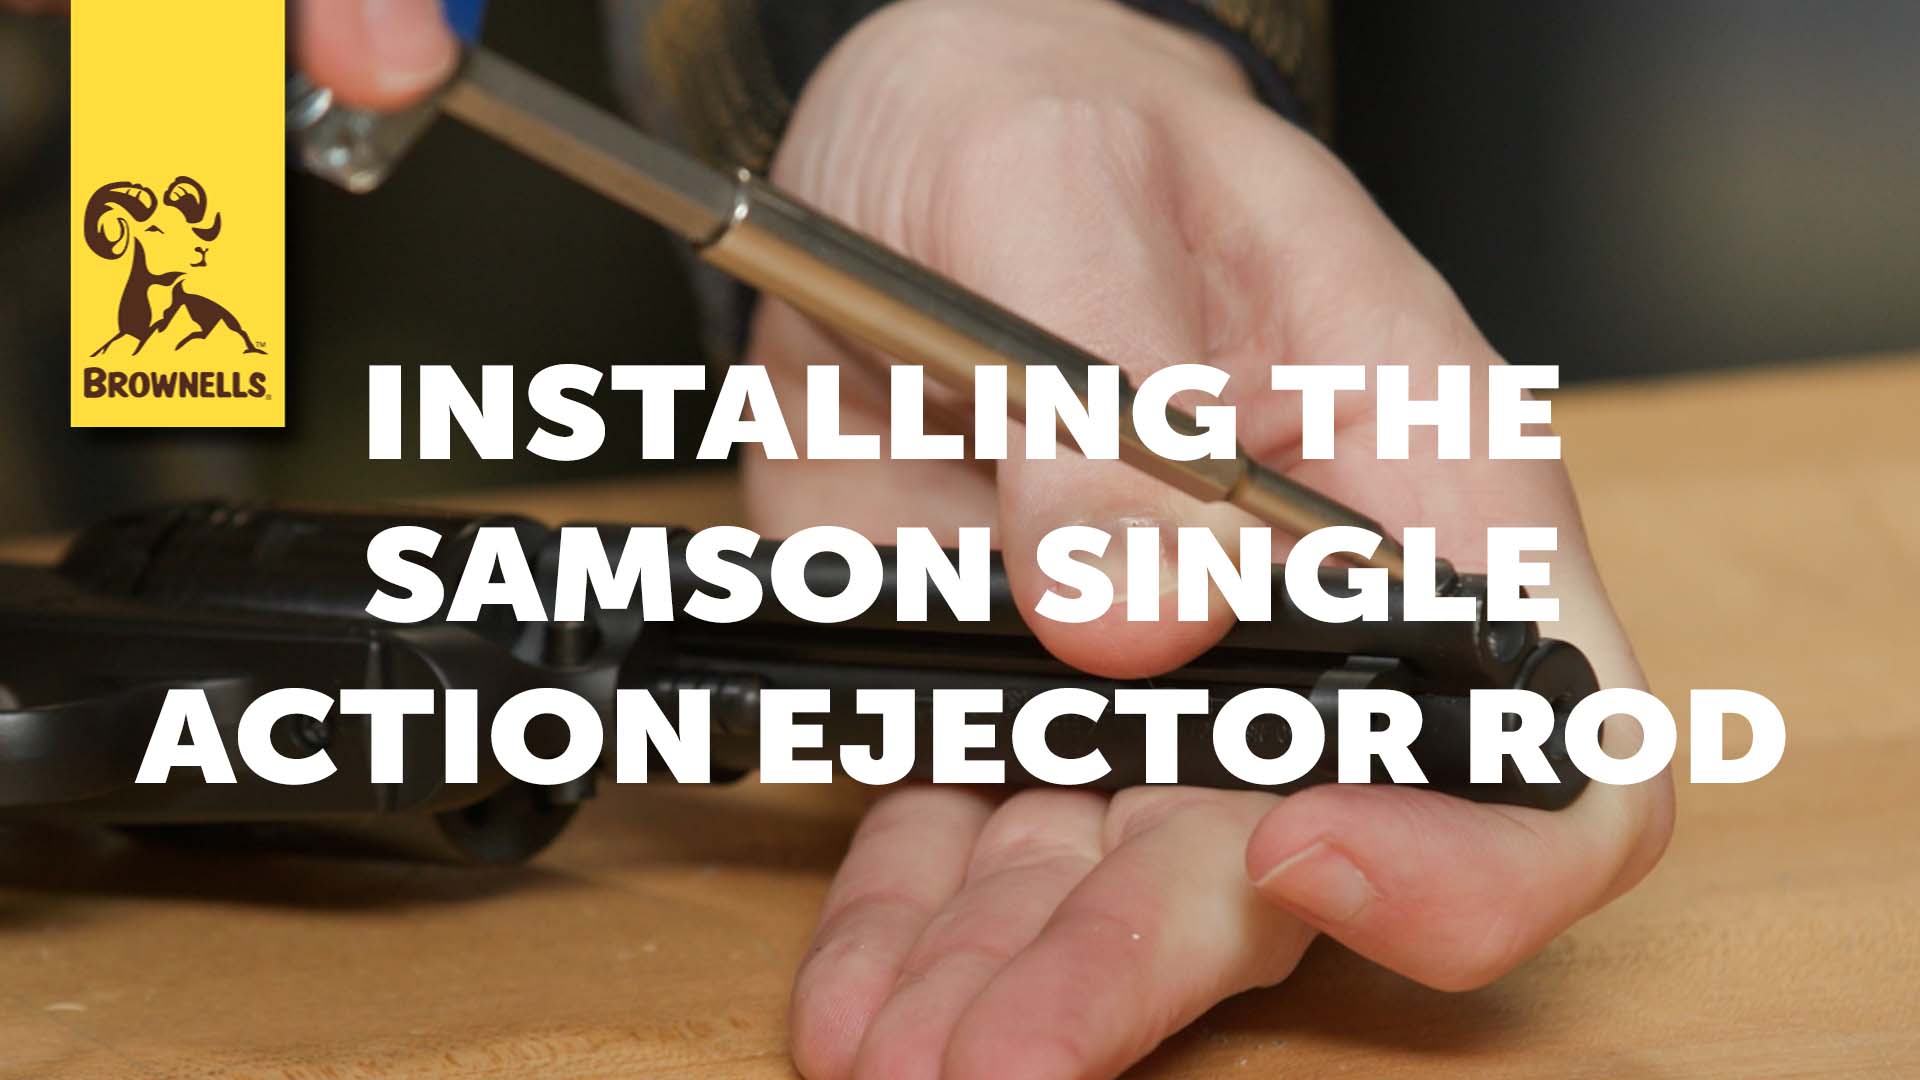
Quick Tip: The Samson Single Action Ejector Rod
In this Quick Tip video, Caleb provides a detailed guide on installing the Samson Manufacturing enhanced ejector rod for Ruger Wranglers and Ruger Single Sixes. He covers the necessary tools, installation steps, and maintenance tips for improving your firearm's functionality. The Samson ejector rod features a larger, ergonomically designed lever for easier use, making it a great upgrade for those seeking smoother operation. Viewers will also learn how to test the installation and maintain the ejector rod for long-term performance. Whether you're a gun enthusiast or a regular user, this upgrade offers improved usability and efficiency.
What You Will Learn
Viewers will learn how to easily upgrade their Ruger Wranglers and Single Sixes with the Samson enhanced ejector rod, improving ergonomics and functionality.
Benefit
The benefit of watching is gaining practical knowledge on installation, as well as maintenance tips to ensure smooth operation for everyday use or more intense sessions. This simple upgrade improves both the look and performance of your firearm.
Introduction
In this Quick Tip, I’ll be taking a look at the enhanced ejector rod from Samson Manufacturing, designed specifically for Ruger Wranglers and Ruger Single Sixes. I’ll cover the installation process, tools required, benefits of the upgrade, and some maintenance tips.
Overview of the Enhanced Ejector Rod
Samson, a brand not typically associated with single-action accessories, has developed an enhanced ejector rod for Ruger Wranglers and Ruger Single Sixes. This ejector rod features a bullseye style latch among other variants, which provides a noticeable improvement in functionality and ease of use.
Tools and Preparation
Before starting the installation process, it is essential to ensure the firearm is unloaded. The tools required for this installation are relatively simple:
- A slotted screwdriver
- Fixit sticks (or other gunsmith driver set)
- A small rag for cleaning
Installation Process
- Unpacking the Product:
- Begin by carefully opening the packaging of the Samson enhanced ejector rod. Remove the latch and any protective coverings.
- Removing the Old Ejector Rod:
- Use a slotted screwdriver to unscrew the front of the ejector rod housing. Be cautious as there might be thread locker (such as Loctite) applied to the screw.
- Hold the ejector rod housing firmly against the barrel to prevent the spring from flying out. Once the screw is removed, slide out the old ejector rod, housing, and spring.
- Comparing the Old and New Levers:
- The new Samson ejector rod features a larger lever compared to the factory-installed rod. This size difference enhances the ease of use, making it a worthwhile upgrade for those who prefer better ergonomics.
- Installing the New Ejector Rod:
- Clean the screw to remove any dried thread locker. Optionally, reapply a small amount of fresh Loctite for a secure fit.
- Insert the new ejector rod and spring into the housing. Ensure the flared end of the spring faces towards the gun, and the smaller end slides onto the ejector rod.
- Compress the spring and align the ejector rod with the frame. Insert the screw and tighten it securely.
Testing and Maintenance
After installing the new ejector rod, test its functionality by opening the loading gate and running the rod down. The enhanced ejector rod should operate smoothly, providing a noticeable improvement in ease of use due to the larger lever.
Regular maintenance involves checking the screw's tightness and ensuring the ejector rod operates smoothly. Cleaning any debris and reapplying thread locker as needed will help maintain optimal performance and a small amount of oil goes a long way on the rod itself.
Conclusion
Upgrading to the Samson enhanced ejector rod for Ruger Wranglers and Ruger Single Sixes is a straightforward process that significantly improves the firearm's usability. The larger lever design offers better ergonomics, making it a valuable addition for enthusiasts who prioritize functionality and ease of use.


