Quick Tip: SB Tactical HBPDW Brace Install
In this quick tip video from Brownells, viewers are guided through the simple installation process of the SB Tactical HBPDW brace onto an AR-15 lower receiver. Caleb explains the minimal tools required, walks through each step clearly, and shares tips for ensuring a smooth and secure fit without damaging components.
What You Will Learn
By watching this video, viewers will learn exactly how to install the SB Tactical HBPDW brace with confidence and efficiency. They’ll pick up useful tips to avoid common mistakes and ensure proper alignment and functionality.
Benefit
The biggest benefit of watching is gaining practical, hands-on knowledge directly from a professional, saving time and avoiding frustration when installing the brace themselves.
Introduction
Hey everyone, Caleb from Brownells here! Today, we're diving into a practical and straightforward guide: how to install the SB Tactical Honeybadger PDW Brace on your AR-15 lower receiver. Whether you’re building a new setup or upgrading an existing one, this brace can add some serious functionality and compactness to your firearm. Let’s break down each step of the installation process.
Overview of the Honeybadger PDW Brace
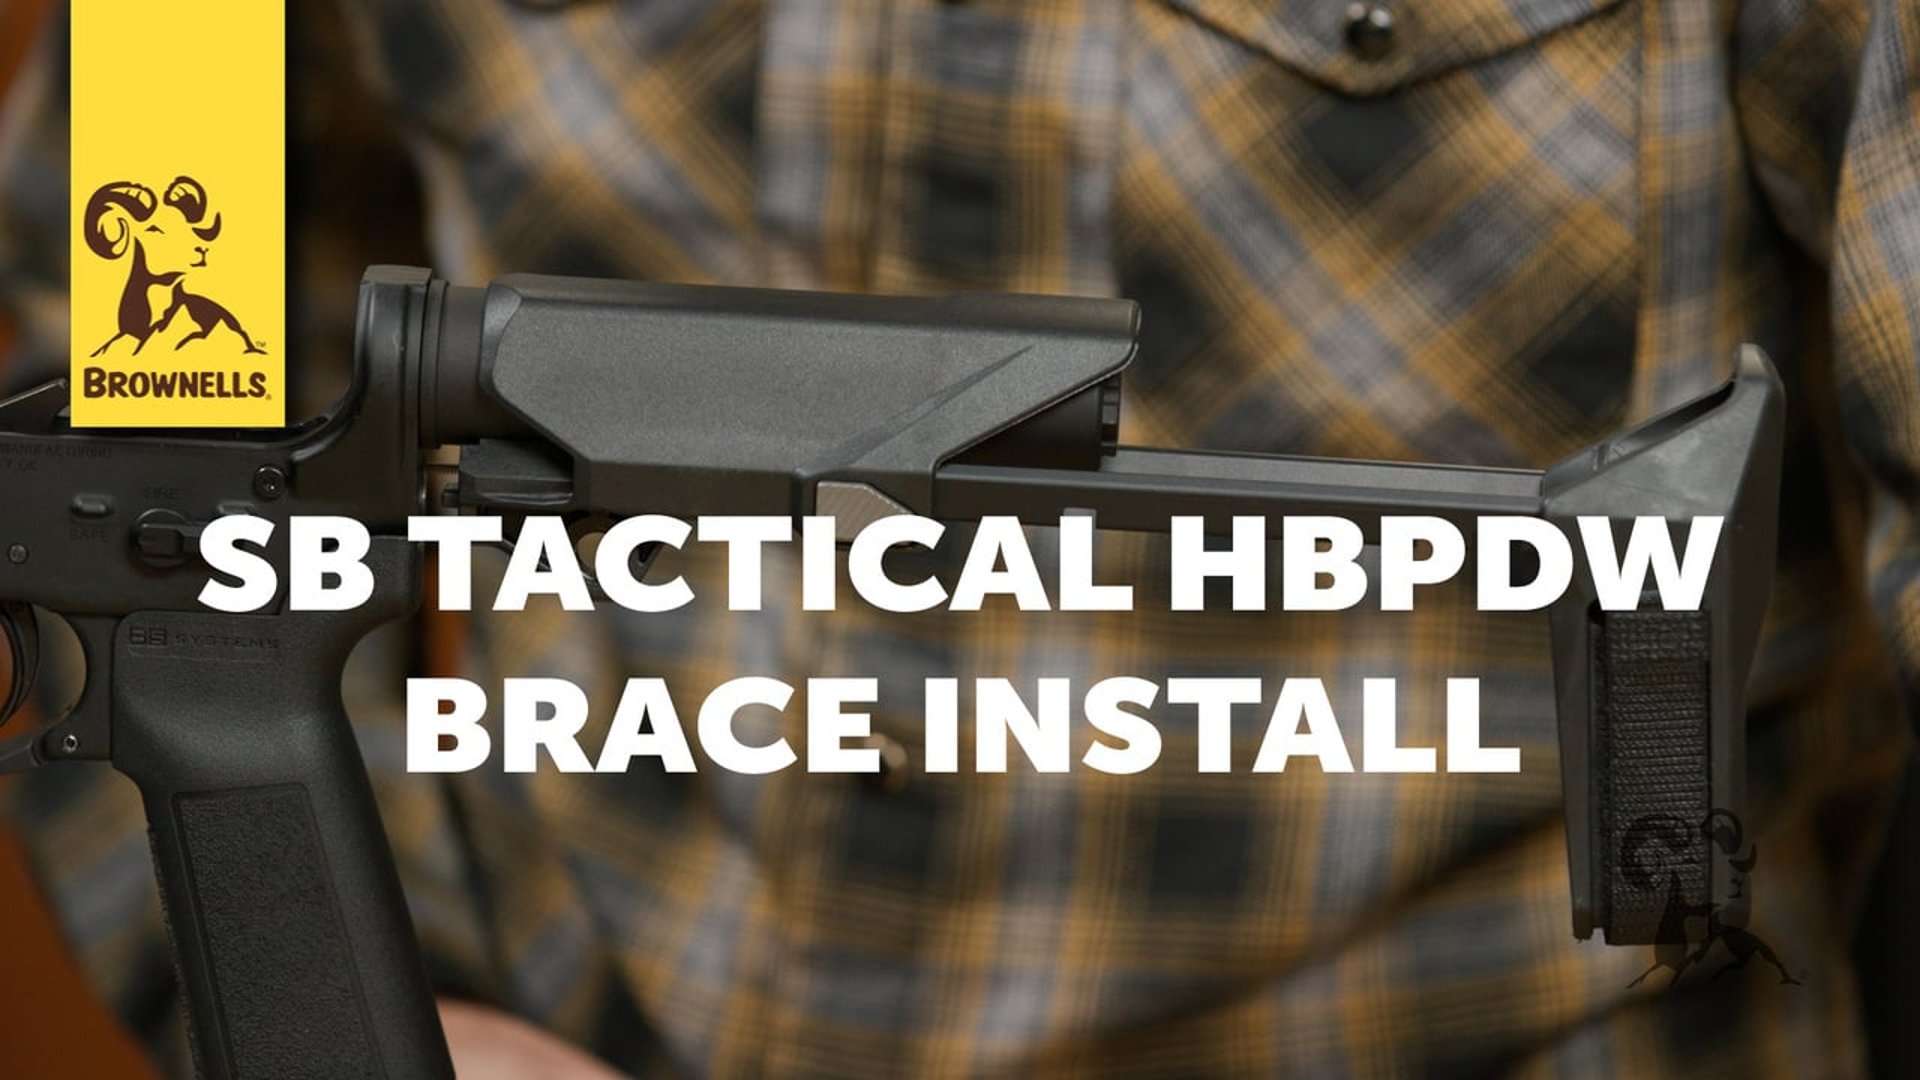
The SB Tactical Honeybadger PDW Brace is designed for AR pistols and offers an adjustable length of pull, making it a versatile and compact option. It comes with a proprietary buffer tube, short buffer, and recoil spring. Before you start, make sure you have all the components, along with the necessary tools, ready to go.
Securing the Lower Receiver in a Vise
First things first: you’ll want to secure your AR-15 lower receiver in a vise block. This setup makes it easier to work on your lower without it moving around, especially when you’re threading the buffer tube or tightening the castle nut. I’ve got my lower secured and ready for the next steps.
Threading the Buffer Tube and Detent
Now, take your buffer tube and begin threading it into the back of the receiver. Be mindful of the buffer detent and spring—you’ll need to install these correctly to keep your buffer system functional. As you thread the buffer tube in, ensure that the detent pin is engaged, holding it in place securely.
Using Loctite and Installation Tips
It’s always a good idea to apply a bit of Loctite to the threads of the castle nut. This will help keep everything secure, especially if you plan on putting your firearm through heavy use. Once the Loctite is applied, continue threading the buffer tube until it’s flush with the lower.
Tightening the Buffer Tube with a Wrench
To keep everything locked down, use a buffer tube wrench to tighten the castle nut. Make sure the buffer tube is properly aligned with the lower receiver before applying torque. This step ensures that the tube won’t come loose over time, keeping your brace stable and reliable.
Sliding the Brace Over the Tube
Next, it’s time to install the actual Honeybadger brace. Slide it over the buffer tube, making sure it locks into place. The brace should slide smoothly, and you can adjust the length of pull to your preference. This adjustability is one of the standout features of the Honeybadger brace.
Installing the Castle Nut
Once the brace is in place, thread the castle nut onto the buffer tube and tighten it down. The castle nut should be snug and secure, and using the wrench again will help ensure it doesn’t move or shift during operation.
Adding Torque to the Castle Nut
For added security, apply some torque to the castle nut. This step is critical for maintaining the integrity of the buffer system, especially if you’re using the firearm in high-stress or tactical scenarios. Double-check everything to make sure it’s solid and won’t come loose.
Installing the Short Buffer and Spring
The Honeybadger PDW Brace comes with a short buffer and recoil spring specifically designed for its compact system. Slide the buffer spring into the tube, followed by the short buffer. Make sure everything moves freely and is correctly seated before closing up the system.
Final Setup and Compact Configuration
Once everything is assembled, test the brace’s adjustability and make sure it functions smoothly. The compact design makes it an excellent choice for pistol builds or setups where space and maneuverability are a priority. The final configuration should feel secure, with all parts functioning as intended.
Closing Remarks and Tech Line Support
And that’s it! You’ve successfully installed the SB Tactical Honeybadger PDW Brace on your AR-15 lower. If you run into any issues or have questions, feel free to reach out to our Brownells Tech Line. We’re always here to help and ensure you get the most out of your builds. Thanks for watching, and see you next time!


