Quick Tip: Installing the Timney Trigger in the Howa Rifle
Synopsis
In this Brownells Quick Tip video, Caleb walks viewers through the step-by-step installation of a Timney 609 trigger into a Howa 1500 action as part of the Affordable Precision Rifle series. From safely unloading the rifle to properly removing the factory trigger and installing the new one, this guide offers a clear and detailed tutorial for those looking to upgrade their trigger setup for better performance.
What You Will Learn
Viewers will learn how to safely disassemble and prepare a Howa 1500 rifle for a trigger installation. The video covers the tools and techniques needed to remove the factory trigger, as well as how to correctly install and align the Timney 609 trigger. Caleb also demonstrates how to adjust the trigger pull weight for a customized feel.
Benefit
Whether you're new to rifle upgrades or refining a precision build, this video simplifies the trigger installation process with expert tips, safety precautions, and practical advice. Viewers will gain confidence in making a functional, performance-enhancing modification to their Howa 1500 rifle—all with tools and support available through Brownells.
Introduction
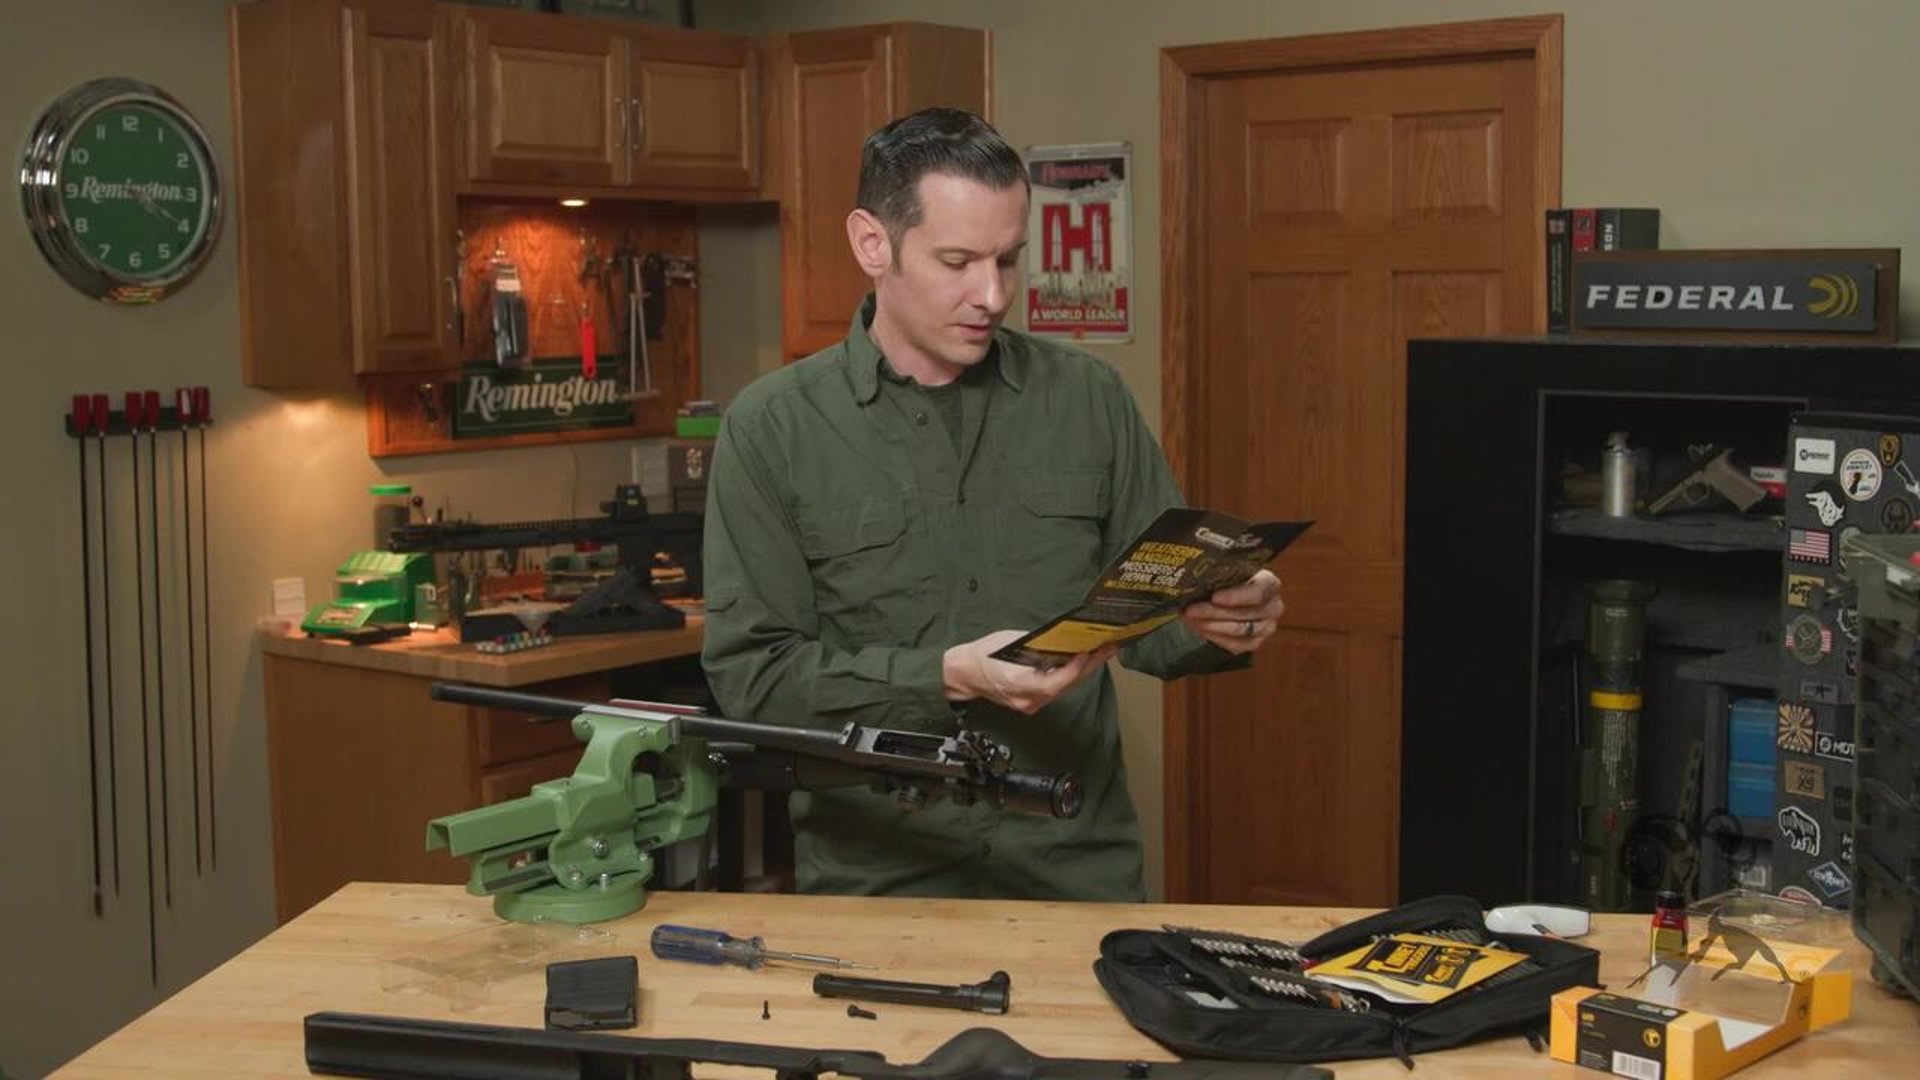
Hey, Caleb with Brownells here. In this Quick Tip, I’m going to show you how to install a Timney 609 trigger into a Howa 1500 action. This upgrade is part of our affordable precision rifle series, and today we’re going to take it one step further by swapping out the factory trigger.
Unloading and Preparing the Rifle
Before we start anything, I always make sure the firearm is unloaded. I remove the magazine, pull the bolt back, and visually inspect the chamber. Safety is the priority before any kind of work.
Once the rifle is cleared, I pull the action out of the stock. I use a Brownells Magnatip driver with a 3/16” Allen bit to remove the front and rear screws. As you take out the second screw, the action will start to separate from the stock, so be sure to support it.
Setting Up in the Vise and Removing the Bolt
To make things easier to see, I set the barrel in the Brownells vise with padded jaws. I remove the bolt by depressing the bolt catch on the side of the action and pulling it straight out.
Next, I remove the factory trigger by unscrewing a front screw using a metric #3 hex bit. Keep the screw handy. The old trigger lifts right off at that point.
Installing the New Timney Trigger
The Timney 609 trigger comes with a new screw and an included wrench, though I use my own 2.5mm driver. The new screw has a tapered head, unlike the flat factory one. I apply a small amount of Brownells vibration and shock-resistant coating to the threads. A little is all you need—too much can gum up the trigger mechanism.
Before tightening, I check the trigger housing alignment. The trigger bottom has two recessed areas that may look confusing, but it only mounts one way. There’s a notch on the receiver that lines up with the trigger’s tab, so you can’t really mess it up.
Once aligned, I snug the screw down and stow the included wrench.
Adjusting the Trigger Pull Weight
This Timney model is adjustable from 1.5 to 4 pounds. The adjustment screw is up front, while the rear screw has thread locker to prevent tampering. To adjust, I use a 5/64” hex and loosen the lock nut with a small set of parallel pliers.
Turning the screw clockwise increases pull weight, and counterclockwise decreases it. I recommend using a trigger pull gauge for precision. I fine-tune mine to feel just right and then re-tighten the lock nut.
Safety Features and Function Check
One difference you’ll notice is the safety design. The factory Howa trigger uses a three-position safety: fire, safe, and bolt lock. The Timney has a more common two-position setup—safe and fire—but still allows bolt manipulation while on safe.
After setting the pull weight, I reassemble the rifle. I set the action back in the stock, start both screws, and then torque them down using a Brownells torque wrench set between 60 and 65 inch-pounds, alternating between the two for balance.
Single Stage vs Two Stage Triggers
The Timney is a single-stage trigger, which means there’s no slack or take-up before the break. The factory Howa trigger is a two-stage, where you feel some movement before hitting the wall. Neither is better—it’s all about personal preference.
Final Safety Check
Every time I install a new trigger, I do a quick safety check. I cock the rifle, take the safety off, and bump the buttstock lightly on the floor to make sure the rifle doesn’t discharge unintentionally. Then I repeat the test with the safety on. Everything checks out.
Wrapping Up
That’s how to install a Timney 609 trigger into a Howa 1500 action. If you have questions or need help, feel free to drop a comment or call the Brownells Tech Line. We’re happy to assist with your build or troubleshooting.
Thanks for watching, and I’ll see you next time.
Timney 609 trigger install, Howa 1500 trigger upgrade, trigger installation guide, Brownells Quick Tip, adjustable rifle trigger, single stage vs two stage trigger, Timney trigger Howa, precision rifle DIY, Howa action setup, Brownells torque wrench, trigger pull adjustment, rifle safety check, bolt action rifle upgrade, best hunting rifle trigger, Howa 1500 mods