36yd Zero for the AR-15
In this video, Caleb and Jude from Brownells head out to Big Springs Shooting Complex to break down the 36-yard zero for your rifle. They compare it to other common zero distances, show you how to set it up step-by-step, and explain why the 36-yard zero offers a flatter trajectory ideal for practical shooting, competition, and general-purpose AR-15 setups.
What You Will Learn
Viewers will learn the differences between 25, 36, 50, and 100-yard zeros, and why the 36-yard zero keeps shots closer to point of aim out to 250 yards. They’ll also see how to bore sight, adjust, and confirm their zero efficiently.
Benefit
The benefit to watching is gaining confidence in setting up a versatile zero that reduces holdover guesswork and maximizes your rifle’s effectiveness at varying distances.
Introduction
Hey, it's Caleb and Jude from Brownells. We’re out at Big Springs Shooting Complex to walk you through the 36-yard zero—what it is, why it works, and how to set it up on your rifle.
Visual Comparison of Zero Distances
Before I was a believer in the 36-yard zero, I usually went with a 25-yard zero. That’s a common one for iron sights or optics like a red dot, especially from a military background. But today we brought out a visual aid that shows how your rounds behave from 25, 36, 50, and 100-yard zeros.
The 25-yard zero hits high at 50, peaks around 200, and then starts dropping fast at 300 and beyond. The 36-yard zero, though, gives you a much flatter trajectory from 0 out to 250 yards. It’s ideal for competition and practical shooting, especially when using something like M855 or Hornady 75 grain loads.
Use Cases and Ballistics Differences
Each zero has a purpose. The 25-yard is a battlefield zero, quick and dirty. The 50-yard zero used to be the king for red dots, giving a nice middle ground from 25 to 200. The 100-yard zero is fine for bench shooting or if you’re just plinking, but past 150 yards, it starts dropping hard.
The 36-yard zero hits the sweet spot. It keeps your point of impact very close to your point of aim from muzzle to 250 yards. That means less holdover guessing at unknown distances.
Modeling Trajectory with Applied Ballistics
If you want to see exactly what your rounds will do with your rifle and optic, the Applied Ballistics app is great. It lets you plug in your barrel length, reticle, and ammo type. Even if you only know your approximate muzzle velocity, you can still get a usable dope chart to map out your point of impact.
Bore Sighting the Rifle
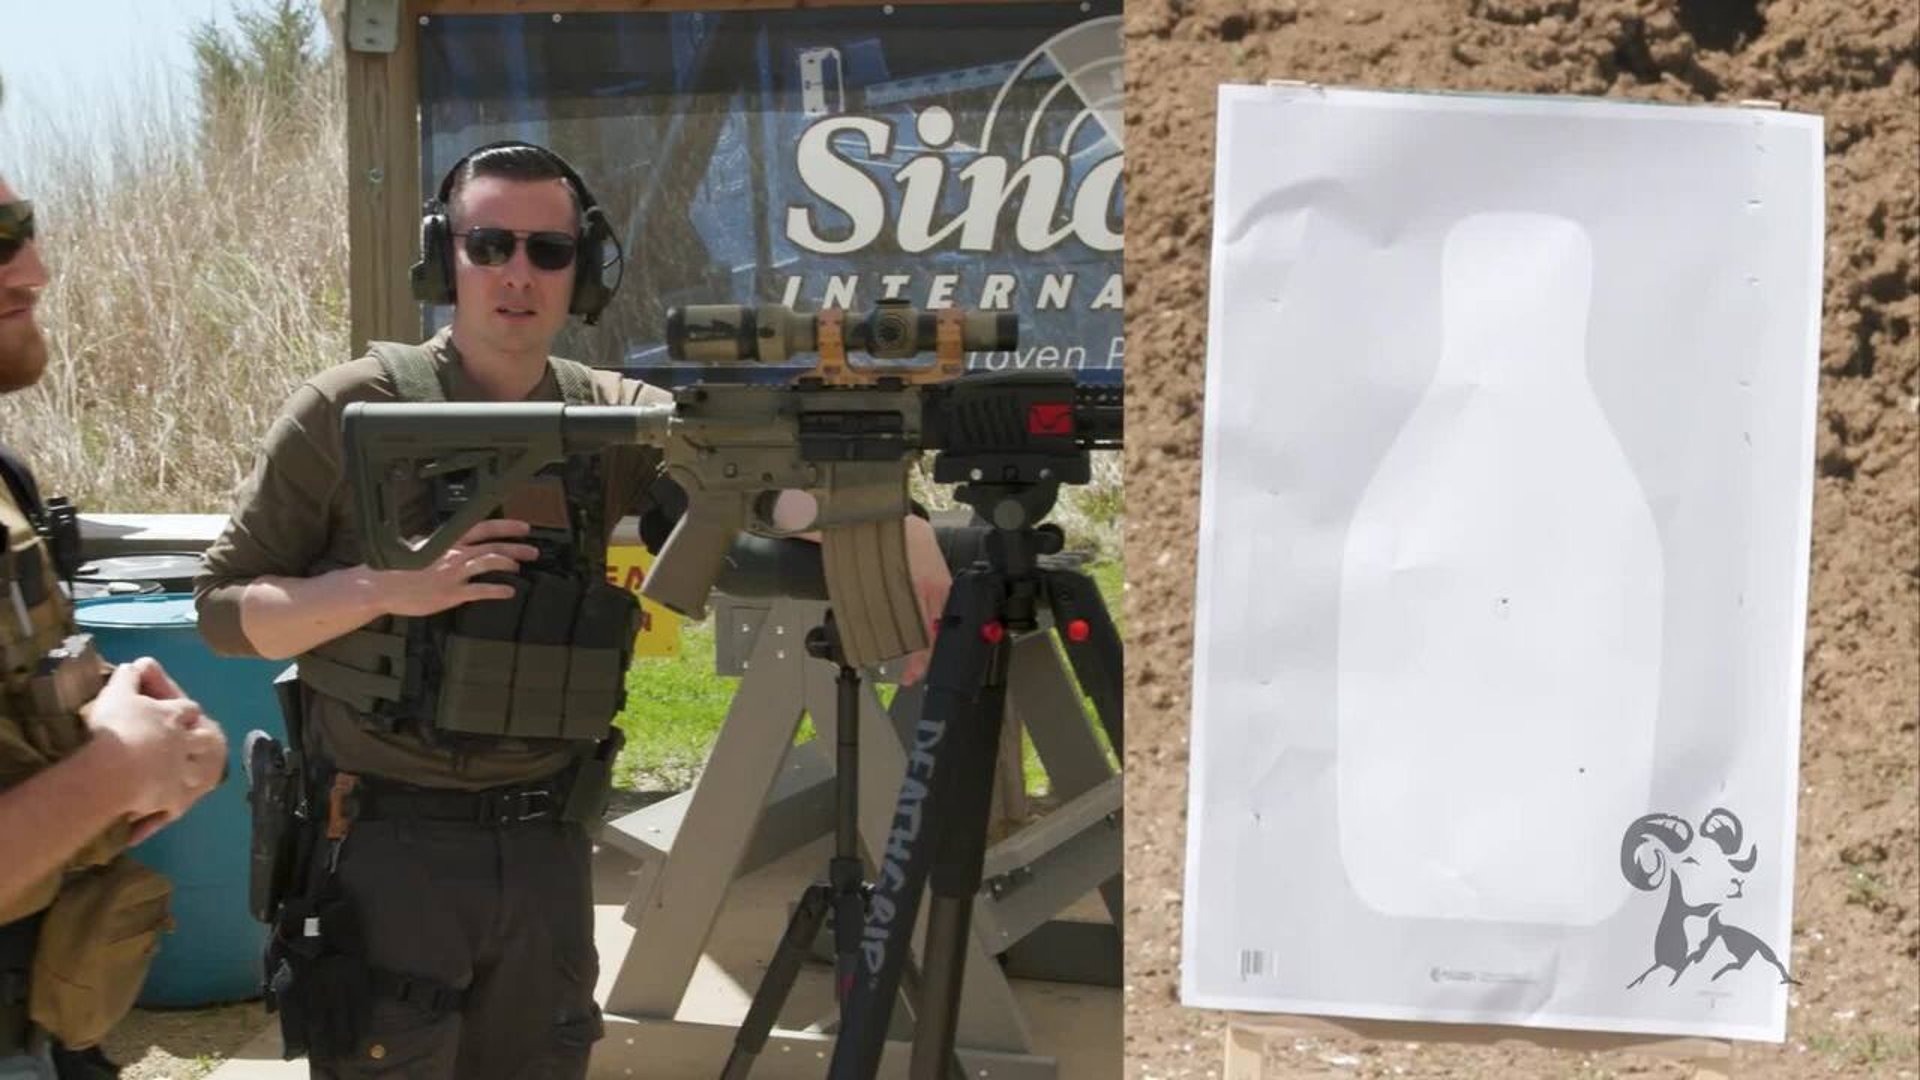
To get started, we bore-sighted Jude’s rifle at 36 yards. We used a simple tripod setup and lined up the scope to the bore as best we could. This step isn’t perfect, but it saves a lot of ammo. You don’t have to use anything fancy for a target—we used a silhouette with a dot in the middle.
After lining it up, Jude took his first shot. It hit high and right, but we were on paper and that was the goal.
First Shots and Adjustment Process
Jude fired a group to confirm consistency. One flyer aside, he had two rounds nearly stacked. We used that group to measure how far off center we were. From there, we calculated the adjustment using MOA.
At 36 yards, 1 MOA equals 0.3769 inches. Knowing that helps make precise elevation and windage corrections based on your optic's click value.
Refining the Zero on a Bench
We moved to a different bay to avoid the wind and used a bench for more stability. After dialing in the adjustments, Jude fired a four-shot group. It needed a little more tweaking, so we measured again and fine-tuned his elevation and windage a couple more times.
From this point on, we worked in quick two-shot groups to avoid wasting time and walking back and forth. We made small changes, testing in between, until Jude had two rounds touching in the center of the orange bullseye.
Final Thoughts on the 36-Yard Zero
After a few cycles of shoot and adjust, Jude was dead-on. That’s the benefit of the 36-yard zero. It gives you a reliable impact zone all the way out to 250 yards without much variation. Once you’re dialed in, your holds make a lot more sense and you can be confident in your shots at unknown distances.
If you’re into competition, practical rifle shooting, or just want a better do-it-all zero for your AR-15, this one’s hard to beat.
Got a preferred zero distance that’s not 36 yards? Let us know why in the comments. And if you need help with anything, give the Brownells Tech Line a call—we’re happy to help out.
Thanks for joining us. See you next time.
AR-15 36-yard zero, how to zero AR-15, best AR-15 zero distance, Brownells Quick Tip, AR15 optic setup, 25 vs 36 yard zero, rifle zero tutorial, MOA adjustments 36 yards, bore sighting AR-15, zeroing red dot AR15, applied ballistics for zeroing, competition rifle setup, best zero for AR-15, how to zero at 36 yards, Z36 zero guide