From The Bench: Affordable Precision Rifle Build
Hey everyone, Caleb from Brownells here. In this video, I’m putting together a precision rifle build on a budget—something solid, reliable, and accurate, all without breaking the bank. The goal was to keep the total build around $1,000, assuming nothing is on sale.
Could we have gone cheaper? Sure—but I didn’t want to use anything I wouldn’t actually trust or shoot myself. Everything in this build is affordable and effective, not just “cheap.”
Let me walk you through each component, how I put it all together, and what tools you'll need to replicate it yourself.
The Foundation: Howa 1500 Barreled Action
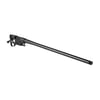
The heart of this build is a Howa 1500 barreled action, which is a Brownells exclusive. It comes pre-threaded and ready to drop into a chassis or stock, which saves a lot of time and money. These barrels are nitrided, cold hammer-forged, and available in multiple finishes, lengths, and calibers. I went with 6.5 Creedmoor, and the barrel is already threaded for a suppressor or brake.
Bonus? It also comes with a pretty decent two-stage trigger. It’s adjustable if you know what you’re doing, and honestly, it's good enough out of the box that I didn’t feel the need to swap it.
Stock Selection: MDT Field Stock
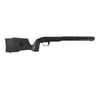
For the stock, I went with the MDT Field Stock, specifically designed for the Howa action. It’s a polymer stock with an aluminum bedding block, which gives it that solid, precision feel without the cost of a full aluminum chassis.
You get:
- M-LOK slots up front
-
Sling studs
-
Adjustable cheek riser
-
Spacer-adjustable length of pull
It’s rigid where it counts, and it keeps the weight and cost down.
Magazine Compatibility
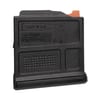
Because the MDT stock is AICS-pattern magazine-fed, I used a Magpul PMAG labeled 7.62x51—totally compatible with 6.5 Creedmoor as well.
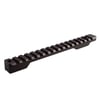
Scope Base and Rings
For the scope base, I installed a Talley 1913 aluminum rail, which provides plenty of room for ring placement.
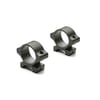
The rings are Leupold Rifleman rings—basic, affordable, and surprisingly durable. I've used them before on several builds and had great luck. They're not flashy, but they work.
Optic Choice: Vortex Crossfire II
The scope I chose is the Vortex Crossfire II, specifically the 6–24x50mm model. It's a second focal plane optic, which keeps the price down. First focal plane would’ve pushed us past the budget.
This scope comes with:
- Lens caps
-
Cleaning cloth
-
A screw-on sunshade
For the money, it’s a hard scope to beat in the entry-level precision space.
Tools You’ll Need
Since the barreled action already includes the barrel and trigger installed, the list of required tools is pretty minimal.
Here’s what I used:
- Brownells Torque Wrench – adjustable to specific inch-pound values
-
Fix It Sticks Field Armorer’s Kit – comes with multiple driver bits
-
T15 Torx bit for scope base screws
-
3/16" driver for action screws
-
Threadlocker (blue or red)
Most of the rings and base come with their own Allen wrenches, but I always toss those and go with quality bits and torque wrenches to get consistent results.
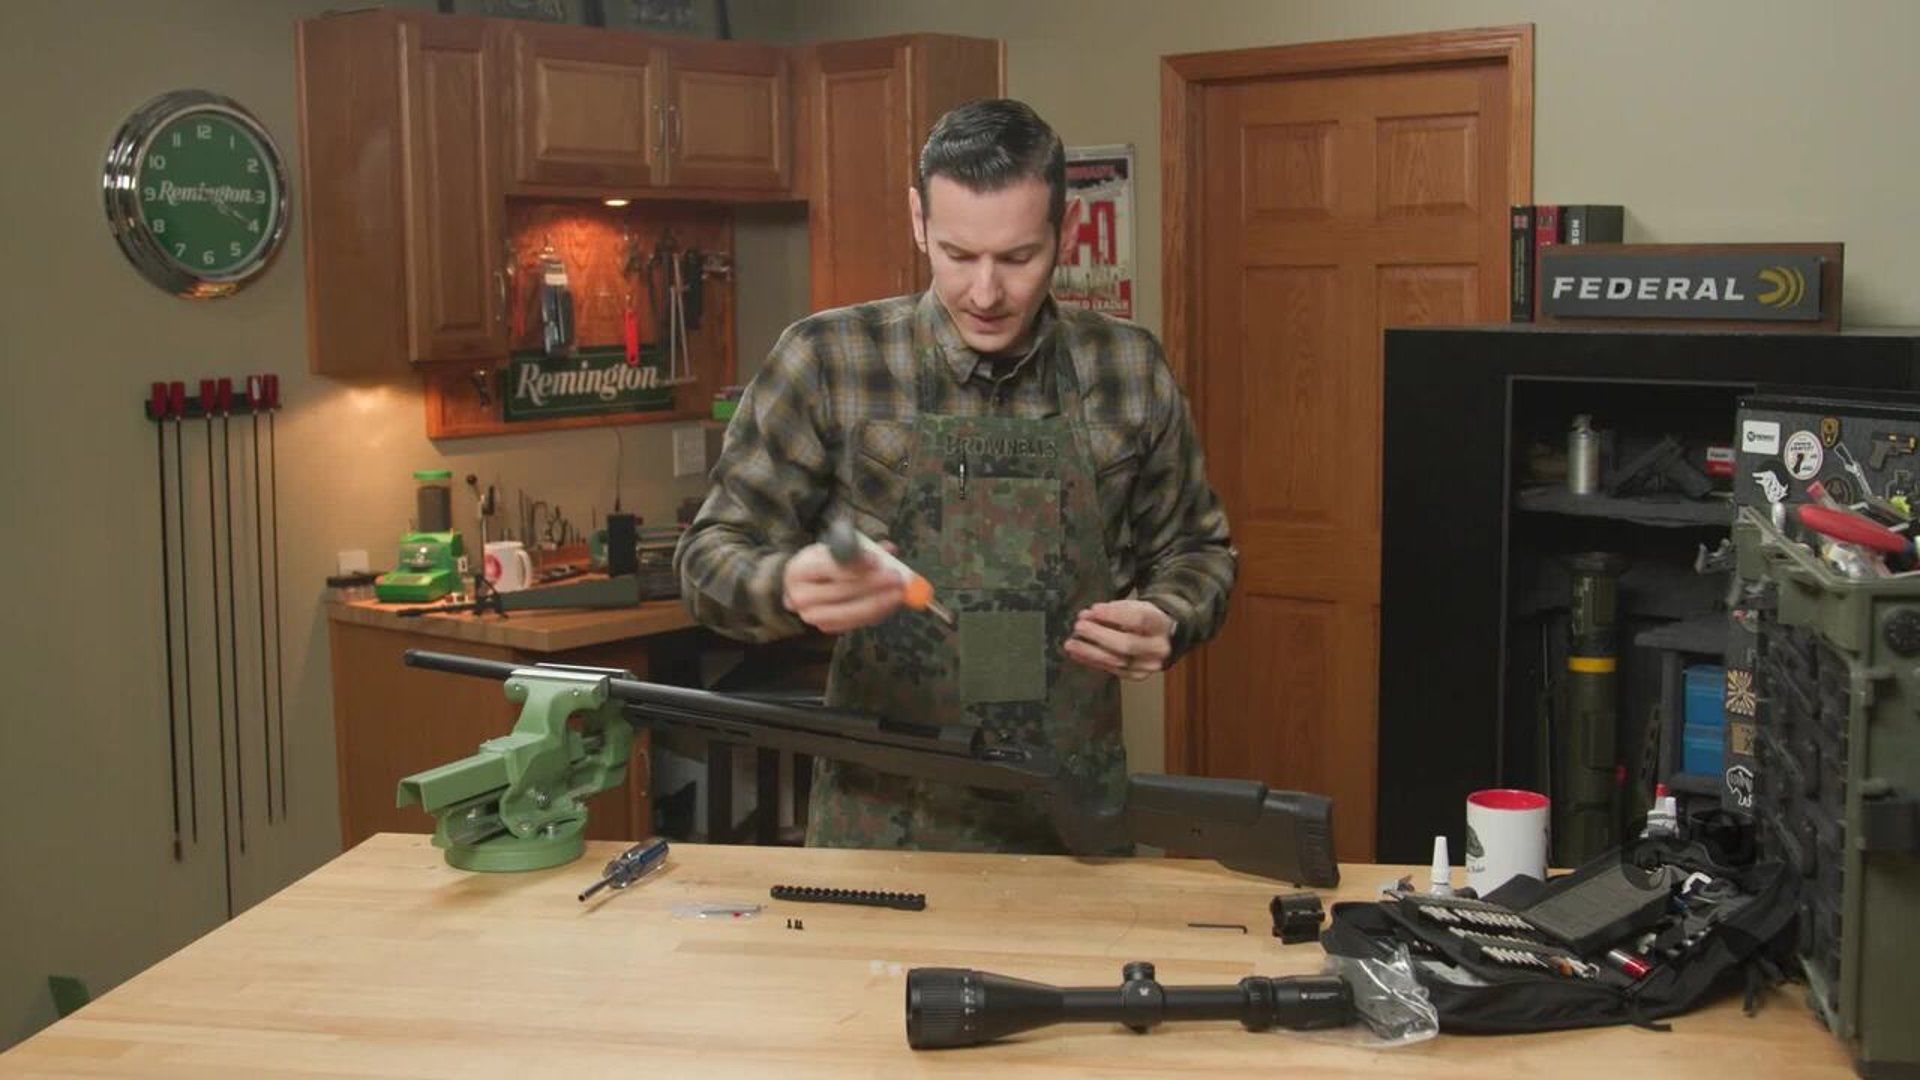
Assembling the Rifle
Installing the Action into the Stock
I started by removing the plastic shipping retainers for the action screws and positioned the barreled action in the stock. With just a small bit of play in the fit, I made sure to pull the stock rearward to seat it fully before torquing.
I torqued the action screws to 45 inch-pounds, which is the high end of the recommended range (35–45 in-lb).
Mounting the Scope Base
Next, I mounted the Talley base. All the screws were the same length, so no sorting required. I chose to use red threadlocker because I don’t plan to remove the base, but blue (medium strength) would be totally fine if you want something easier to break loose in the future.
I applied the threadlocker using a small plastic bag—dabbed it on, then tightened everything down with the torque wrench set to 18 inch-pounds.
A Note About Beverages... and Safety
While building, I joked about needing a beverage—coffee in my case. But seriously, don’t drink alcohol while working on firearms. A good beer or whiskey can wait until you’re done and everything’s torqued and tested.
Pro tip: keep drinks away from your workbench. I’ve lost too many detents to a coffee cup over the years.
Wrapping It Up
Once the scope rings and optic were installed and torqued, that was it—the rifle was fully assembled. The only thing left was to take it to the range and see how it performs.
For a build that came in right around $1,000, I’m incredibly happy with how this turned out. You’re getting:
- A quality barrel
-
Adjustable trigger
-
Solid bedding
-
Reliable feeding
-
Glass that holds zero
-
Tools that ensure proper setup
Final Thoughts
This build proves you don’t have to spend $3,000 to get into precision shooting. With smart part selection and just a few quality tools, you can assemble a rifle that’s accurate, upgradeable, and fun to shoot—without sacrificing reliability.
If you’re thinking about a budget precision build, this Howa + MDT combo is an awesome place to start.