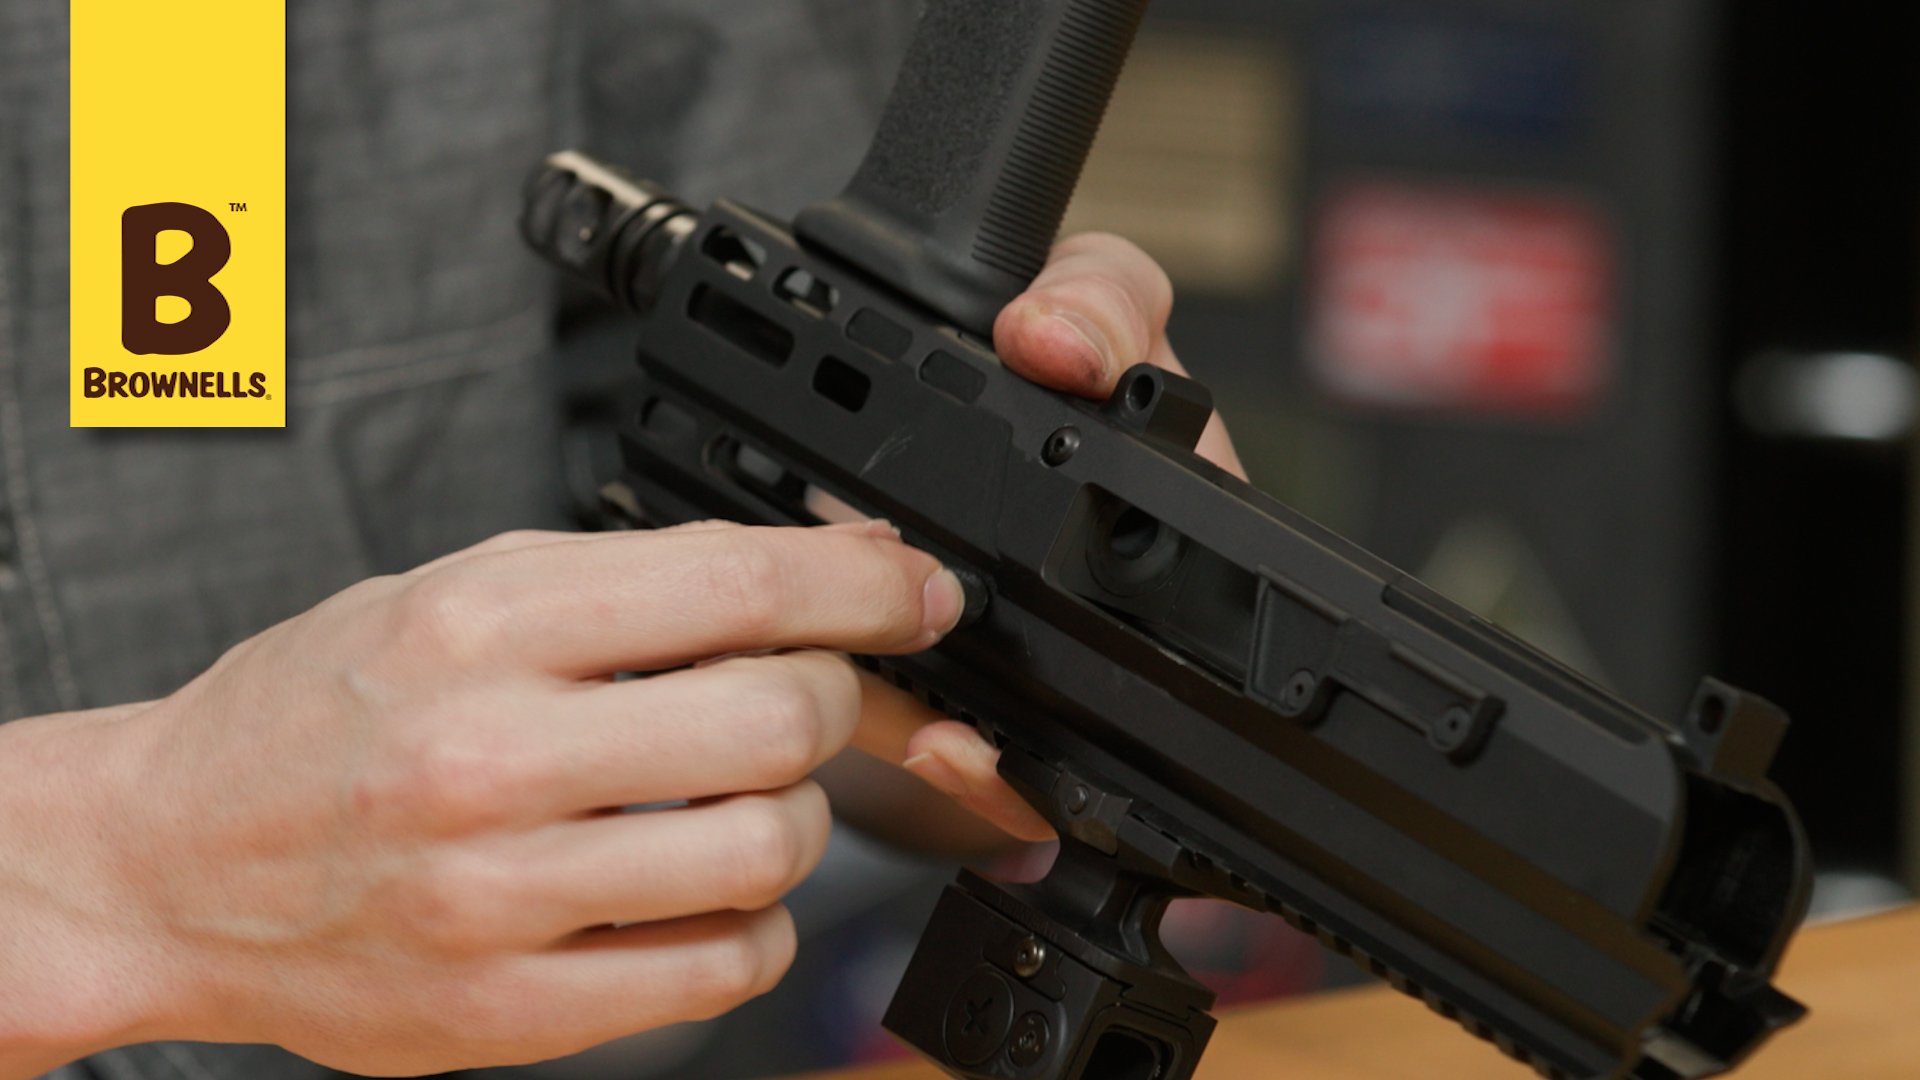
Tech Tip: BRN-9 Upper Disassembly, Maintenance & Reassembly
You bought a Brownells BRN-9® upper receiver, matched it up with a compatible AR-15 lower receiver, and built the 9mm PCC of your dreams. To help you keep it running reliably, Brownells Gun Tech™ Caleb Savant shows us how to disassemble, perform routine maintenance, and reassemble the BRN-9 upper. Good news: no tools are needed for basic field stripping!
DISASSEMBLY: Check to make sure the firearm is UNLOADED. Pull out the pivot and takedown pins to free the BRN-9 from the lower receiver. Push in on the serrated cover at the rear of the BRN-9. The U-shaped piece of metal below it should drop down, or you may have to give the ""U"" a little tug. This backplate can now be removed from the receiver. The guide rod and the recoil spring will come with it.
Tilt the rear of the receiver down with your hand behind it to catch the bolt assembly as it slides out. The bolt body and the counterweight are just dovetailed together and easily separated. Pull the charging handle all the way to the rear of its channel, where you can easily remove it. The charging block is now free to slide out of the receiver as well.
CLEAN-N-LUBE: Clean up the receiver and the other parts, as you would on any firearm, and run a bore brush through the barrel. If the bolt is particularly gunky, grab a punch and push out the firing pin retaining pin to remove the firing pin and its spring for deeper cleaning. Apply a little lubricant to the wear spots on the bolt.
WHAT TO REPLACE: Over time, the recoil spring and rubber buffer on the backplate will wear out and need to be replaced. Wear is affected by the ammo you use and how much you shoot suppressed. A good rule of thumb is to replace these parts every 5,000 rounds.
REASSEMBLY: Slide the firing pin spring back onto the firing pin. Insert the firing pin into the bolt. While pushing on the firing pin, insert its retaining pin into the bolt. Slide the charging handle block into the receiver, with the end that has the little hole facing the rear. Line up the hole in the side of the block with the hole in the receiver and reinsert the charging handle. The charging handle should ride freely in its channel. NOTE: The charging handle is ambidextrous, so you can install it in the other side of the receiver, if you like.
Slide the bolt back onto the recoil weight. With the hole in the weight facing rearwards, insert the whole assembly into the receiver. Insert the backplate / guide rod / recoil spring into the receiver, with the recoil spring going into the hole in the rear of the counterweight. Making sure the steel ""U"" on the backplate is still in the down position, push the backplate a little farther in than flush with the rear of the receiver. Push up on the ""U,"" and you should feel the backplate lock into the receiver.
Your BRN-9 upper is reassembled and ready to be reunited with the lower assembly.


